Achieving perfectly defined lashes is often the final flourish that pulls a whole makeup look together. While the process of putting on mascara seems straightforward, mastering the technique can transform your gaze from subtle and natural to dramatic and voluminous. Many people struggle with common issues like smudging, clumping, or uneven distribution, but these are usually avoidable with the right approach.
By understanding the anatomy of your lashes and how your tools interact with different formulas, you can significantly improve your results. This guide breaks down the essential steps and professional secrets to help you achieve a flawless finish every single time you reach for your favorite tube.
Understanding Your Lash Needs and Formula Types
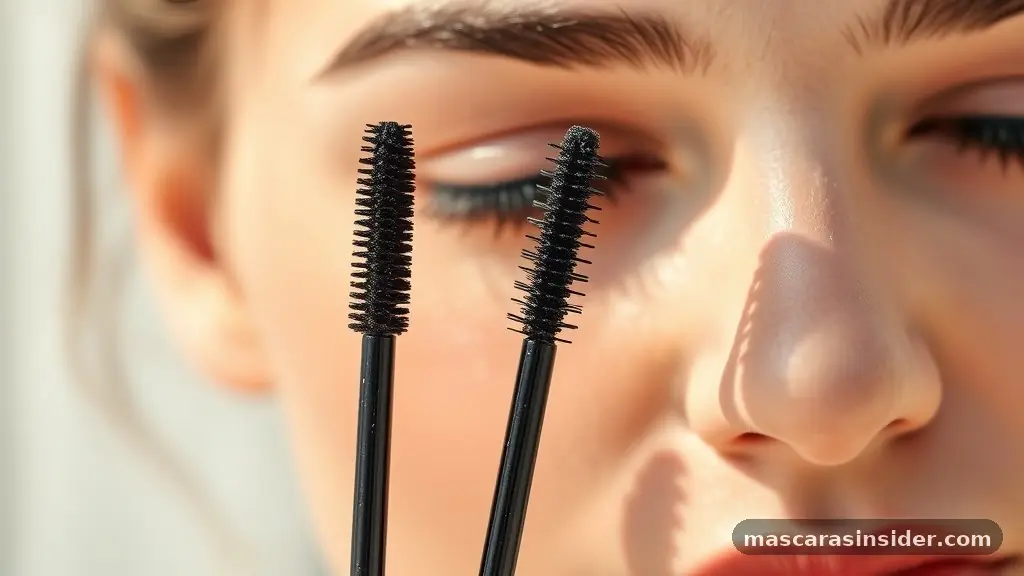
Before you even open the tube, it is vital to understand that not all products are created equal. The market is saturated with options, and choosing the right one is the first step toward success. If your primary goal is to add drama, a thickening formula is your best friend.
These products often contain waxes and polymers that build density. Conversely, if you want to extend your natural reach, you should look for a lengthening mascara that typically features fibers to stretch the appearance of your lashes.
You should also consider the shape of your brush. A curved wand is designed to mimic the natural shape of the eye, making it easier to reach the inner and outer corners.
A thicker, bristled brush is generally better for building volume, while a thin or plastic-bristled wand is superior for separation and precision. Knowing your desired outcome helps you select the right tool for the job.
The Importance of Proper Lash Preparation
Preparation is the secret weapon of makeup artists. If you have ever wondered why your results don’t look as clean as those seen in magazines, it often comes down to what you did before the product touched your eyes. Start with a clean slate.
Any residual oils or leftover makeup from the previous day can cause your product to smudge or flake prematurely. Using a gentle micellar water to cleanse your lid and lash area ensures the formula adheres strictly to the hair rather than sliding off onto your skin.
Using an eyelash curler before you apply your makeup is a non-negotiable step for many. Curling your lashes opens up the eye and creates a visible lift that makes the entire face look more awake. Position the curler at the base of your lashes, squeeze gently for a few seconds, and then release.
Avoid pumping the curler aggressively, as this can crimp the hair rather than creating a smooth, natural curve. If you want to dive deeper into the science of eye health and safety, you can find more information on proper eye makeup safety through established medical resources.
Mastering the Application Technique
When you are finally ready to start, the way you hold the wand matters. Most people make the mistake of pulling the wand straight up, which often leads to uneven coating and clumping.
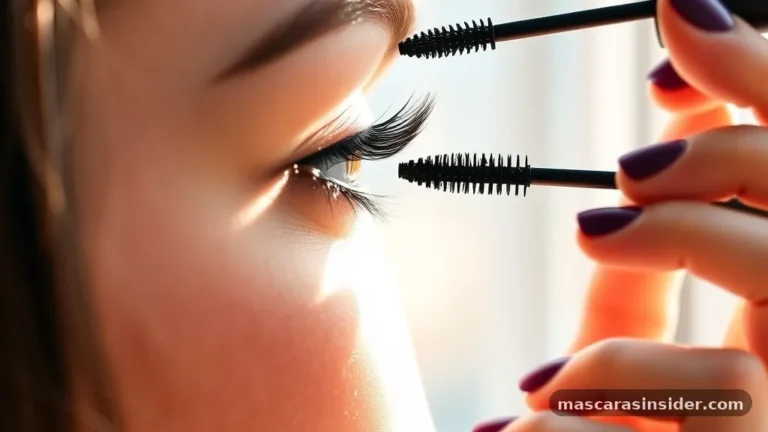
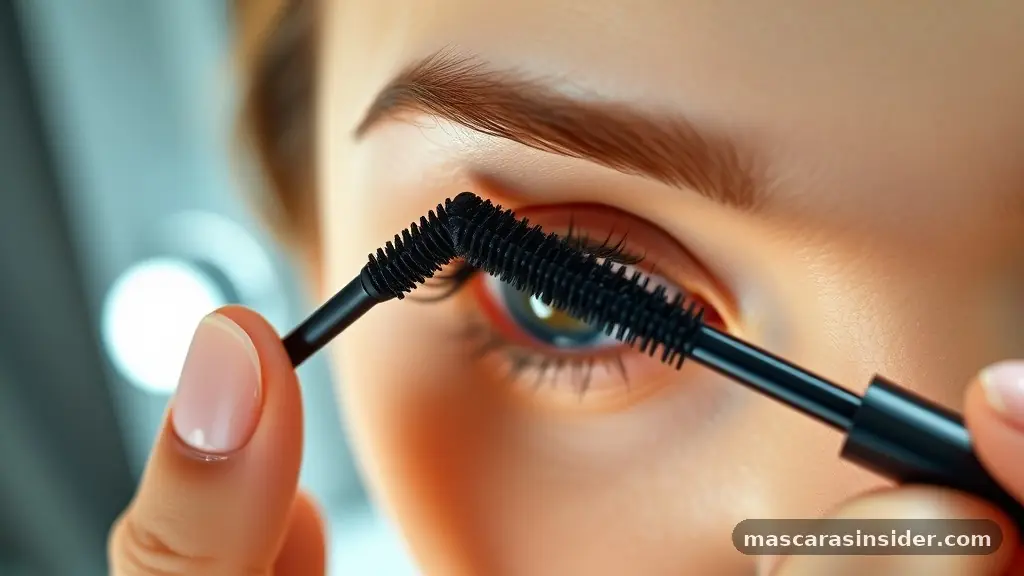
Instead, place the wand at the very base of your lashes—the root—and wiggle it back and forth as you pull it toward the tip. This technique, often called the “wiggle and sweep,” ensures that you deposit more product at the root, which gives the illusion of a thicker lash line while keeping the tips light and fluttery.
Don’t forget the outer corners. These lashes often get neglected, but coating them properly helps to create a wider, more cat-eye effect.
If you find that the formula is gathering at the tips, use a clean spoolie brush to comb through the lashes while the product is still wet. This simple step removes excess buildup and ensures that every individual hair is separated and defined.
Navigating the Challenges of Bottom Lashes
Applying product to your lower lashes is where most people encounter the dreaded “raccoon eye” effect. Because the skin under the eye is thin and often prone to movement, any smudging becomes immediately apparent.
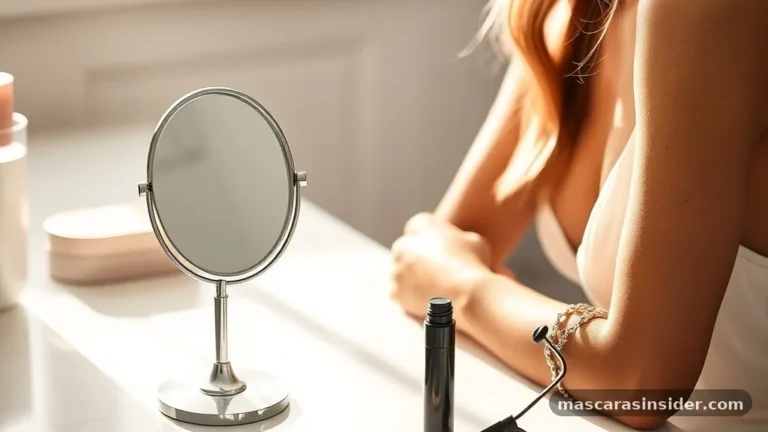
To avoid this, try holding a small mirror or a business card underneath your lower lashes while you work. This creates a physical barrier that protects your skin from stray marks.
Use the very tip of the wand or a smaller, dedicated bottom-lash brush for this area. You do not need as much product here as you do on the top.
A light, delicate touch is more effective than a heavy hand. If you prefer a more natural look, you can even skip the bottom lashes entirely, or simply use the residue left on the brush after you have finished the top lashes to give them a soft, barely-there tint.
Preventing Clumping and Spidery Lashes
Clumping is usually the result of applying too many layers while the previous one is already dry. When the formula begins to set, it becomes tacky; if you run the wand through it again, you are essentially pulling the hairs together into clumps.
To avoid this, work quickly. If you want to build multiple layers for a more dramatic effect, apply the second coat while the first one is still slightly damp.
Another common cause of clumping is an old or dried-out product. Mascara should generally be replaced every three months to ensure the formula stays smooth and, more importantly, to maintain eye hygiene.
If you notice the product becoming thick or stringy, it is time to move on to a new tube. Never pump the wand in and out of the tube, as this pushes air into the container, which accelerates the drying process and can introduce unwanted bacteria.
Comparing Different Application Strategies
Not every person uses the same method for their daily routine. The following table highlights common approaches and their specific benefits depending on your desired aesthetic.
| Technique | Best For | Key Benefit |
|---|---|---|
| Wiggle and Sweep | Volume | Builds density at the root. |
| Vertical Flick | Separation | Prevents clumping on tips. |
| Back-combing | Drama | Coats both sides of the lash. |
Addressing Common Topical Gaps
A frequent question that arises is whether you should apply your product before or after your eyeshadow. While there is no universal law, most professionals prefer to apply eyeshadow first.
If you apply your mascara at the very beginning, you run the risk of getting eyeshadow fallout on your freshly coated lashes, which turns them gray and dull. By saving the application for the final step, you ensure that your lashes remain jet-black and vibrant.
Another gap in common knowledge involves the use of primer. Many people view a lash primer as an unnecessary extra expense, but it can be a game-changer for those with sparse or short lashes.
A white or clear primer adds a layer of “bulk” to each hair before the dark pigment is applied. This creates a much thicker, more substantial result that can make a standard drugstore formula perform like a high-end luxury product.
Tips for Older Eyes and Sensitive Skin
As we age, the skin around the eyes can become more hooded, and the lashes themselves may become thinner or more brittle. For these cases, avoid heavy, waterproof formulas that require aggressive rubbing to remove, as this can lead to lash breakage and irritation.
Instead, look for tubing mascaras. These formulas wrap each lash in a “tube” that slides off easily with warm water, eliminating the need for harsh scrubbing.
If your eyes are sensitive, look for products labeled as ophthalmologist-tested. Avoid formulas that contain heavy fragrances or excessive glitters, as these are common irritants.
Focus on the base of the lashes rather than the tips to avoid weight that might cause the lashes to droop. A subtle, natural application is often much more flattering on mature eyes than a thick, spiky, or overly heavy look.
Essential Tools for Your Makeup Kit
Beyond the product itself, having a few extra tools can make your daily routine significantly easier. A metal lash comb is an underrated item that can fix almost any mistake. If you accidentally apply too much product, a metal comb can gently separate the lashes and remove excess buildup without the tugging that plastic combs might cause.
You may also want to keep a few cotton swabs and a small bottle of oil-free makeup remover nearby. If you do make a mistake—and everyone does eventually—let the product dry completely before trying to remove it.
Once it is dry, you can gently flick the smudge off with a clean cotton swab. If you try to wipe it while it is wet, you will only smear the pigment further across your eyelid.
How to Choose the Right Formula for Your Lifestyle
Your lifestyle should dictate the type of formula you choose. If you live in a humid climate, have oily eyelids, or spend a lot of time outdoors, a waterproof or water-resistant option is likely your best choice.
These formulas are designed to withstand moisture and movement without running. However, they can be difficult to remove, so ensure you have a dedicated oil-based makeup remover on hand to dissolve the wax safely.
If your priority is ease of removal and lash health, a standard wash-off formula is ideal. These are gentle and perfect for everyday office wear or casual outings. You can also explore “buildable” formulas, which allow you to start with a natural look in the morning and add another layer for more intensity in the evening without the product becoming crunchy or flaky.
Common Mistakes to Avoid
Many people fall into bad habits that undermine their hard work. Here is a list of behaviors to avoid for a cleaner, more professional look:
- Applying too many coats after the first layer has fully dried, which causes flaking.
- Pumping the wand into the tube, which introduces air and dries out the formula.
- Using an old, clumpy product that has exceeded its three-month shelf life.
- Neglecting to clean the wand periodically if you notice it getting caked with dried gunk.
- Applying mascara to the tips only, which makes lashes look heavy and weighed down.
- Forgetting to wipe excess product off the tip of the wand before applying.
Frequently Asked Questions
Do you need to put mascara on both sides of your lashes?
While not strictly necessary for everyone, coating both sides of your lashes can create a more dramatic, opaque look. To do this, look down and apply the product to the top side of your lashes first, then finish with your usual application from underneath to lift them.
Can you apply mascara before foundation?
It is generally recommended to apply your base makeup and eyeshadow before your final lash application. This prevents stray powder from landing on your wet lashes, which can dull the color. It also ensures you don’t accidentally smudge your perfectly finished foundation while focusing on your eyes.
How many layers of mascara should you use?
For a natural daytime look, one to two coats are usually sufficient. If you are aiming for a more dramatic, evening aesthetic, three coats can work, provided you apply them quickly while the product is still flexible. More than three layers often result in clumps and spider-leg lashes.
Is it possible to apply mascara without an eyelash curler?
Yes, you can achieve a lift without a curler by using your finger to gently push your lashes upward against your eyelid while the product is still wet. Hold them in place for a few seconds until the formula begins to set. It requires a steady hand but works in a pinch.
Final Thoughts
Mastering the art of putting on mascara is a journey of finding what works for your specific eye shape and lifestyle. Whether you prefer a subtle, defined look for work or a bold, voluminous effect for a night out, the techniques discussed here provide a solid foundation for success. Remember that consistency and tool maintenance are just as important as the product itself.
By keeping your brushes clean, replacing your tubes every few months, and using the wiggle-and-sweep method, you can ensure your lashes look their best every single day. Experiment with different formulas and methods until you find your signature style, and don’t be afraid to keep practicing—even the pros had to start somewhere.
Meta Description: Learn how to put on mascara like a pro with this comprehensive guide. Discover expert techniques for volume, length, and preventing clumps for perfect lashes.