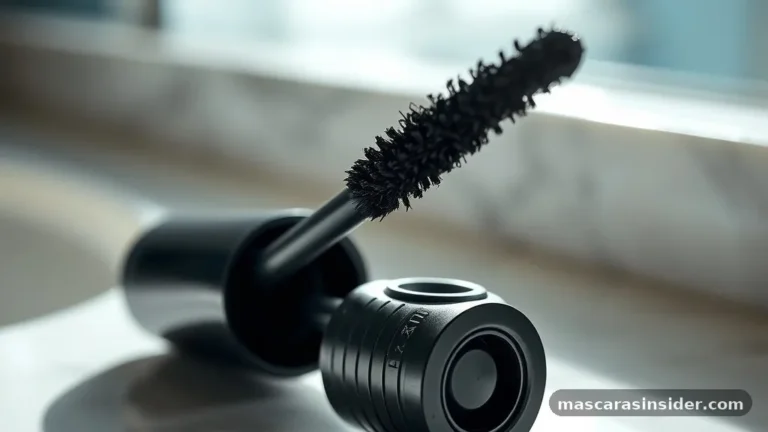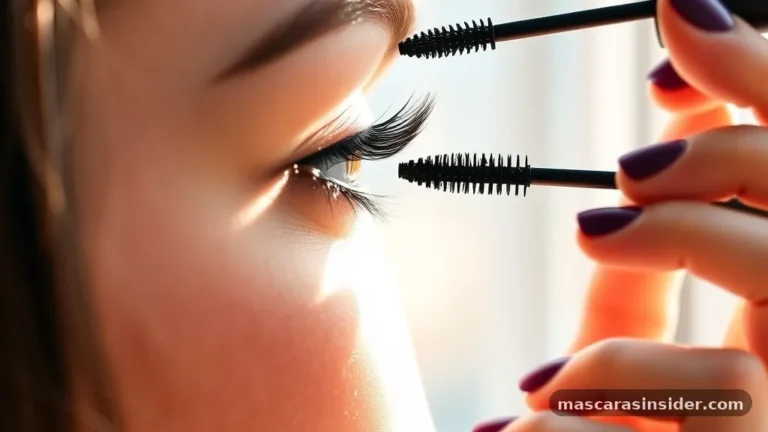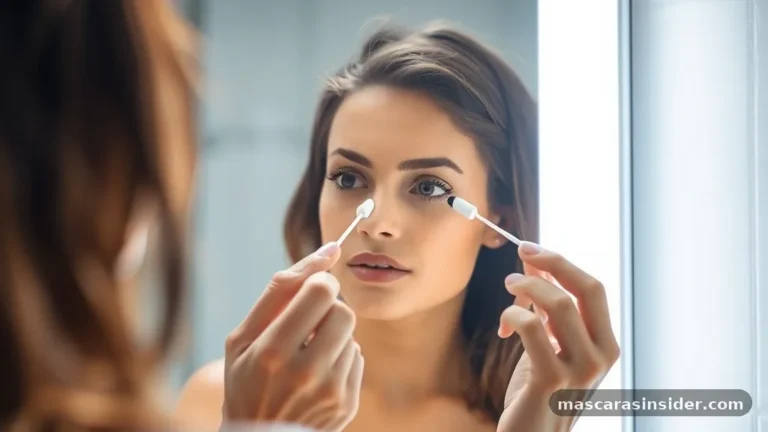
Mascara is the one product plenty of people reach for when they’ve got exactly ninety seconds to look awake. It opens up the eyes, defines the lash line, and can make you look like you slept a full eight hours even when you didn’t. But here’s the thing nobody tells beginners: most of us learned to apply it by copying whatever we saw, which means most of us picked up a few bad habits along the way.
Clumps. Smudges under the eyes by lunchtime. That one section of lashes that always sticks together no matter what.
Sound familiar? Good news is, the fixes are simple once you understand what’s actually happening on the brush and on your lashes.
Let’s walk through it properly, from prep to removal, so you get clean, separated, longer-looking lashes that stay put.
What You Actually Need Before You Start
You don’t need a drawer full of products, but a couple of tools make a real difference. The mascara wand does most of the work, sure, but the supporting cast matters more than people think.
An eyelash curler is the single most underrated tool in a makeup bag. It lifts the lashes at the root and creates a base curl that mascara then holds in place. Skip it, and even the best formula can look flat.
Here’s the short list worth having on hand:
- An eyelash curler, ideally one that matches your eye shape
- Your mascara of choice, not dried out or older than three months
- A clean spoolie brush for combing out any clumps
- Lash primer if you want extra volume or length
- Cotton buds and a little mascara remover for cleanup
A spoolie is basically a clean mascara wand without any product on it. You can buy a pack cheaply, or save an old wand and wash it. It’s the tool that separates lashes after application, and it’s how professionals get that combed-through, no-clump finish.
Freshness matters too. Mascara dries out and gets gunky, which is exactly what causes clumping.
The American Academy of Ophthalmology recommends replacing eye makeup like mascara every three months to reduce the risk of eye infections, and you can read more about safe eye makeup habits from the American Academy of Ophthalmology. If your tube smells odd or the formula has gone stringy, bin it.
Prepping Your Lashes First
Application starts before the wand ever touches your lashes. Clean, dry lashes hold mascara better and clump less. If you’ve got leftover product from yesterday, wipe it off first.
Now, the curler. Position it right at the base of your upper lashes, as close to the lash line as you can get without pinching your eyelid.
Squeeze gently, hold for about five to ten seconds, then release. Some people do a second, softer squeeze halfway up the lash for a more natural curve rather than a harsh right-angle bend.
Always curl before mascara, never after. Clamping down on lashes that already have product on them can snap them clean off. It’s a common mistake and a painful one.
If your lashes are stubbornly straight or you want extra drama, this is where lash primer comes in. Primer is a lightweight base coat, usually white or tinted, that you sweep on before mascara. It thickens each lash and gives the mascara something to grip, which improves both volume and lash curl retention through the day.
Let the primer set for a few seconds so it’s tacky, not wet. Then you’re ready.
How to Use Mascara the Right Way
Here’s the core technique. Pull the wand out of the tube slowly and wipe off any excess against the rim, not by pumping the wand in and out.
Pumping pushes air into the tube, dries the formula faster, and loads too much product onto the brush. That’s clump city.
Start at the base of your upper lashes. Rest the brush at the root, then use the wiggle technique: gently jiggle the wand side to side in a small zigzag motion as you sweep upward toward the tips. This deposits product evenly from root to tip and coats each lash properly instead of just gliding over the top.
The wiggle at the root is where the density comes from. That’s what makes lashes look fuller.
The upward pull is what gives length. Do both.
Work in sections if it helps. Do the outer lashes, then the middle, then the inner corner. For the inner lashes, you can turn the wand vertically and use just the tip to reach those tiny hairs.
Then comes the decision about a double coat. One coat gives a natural look. A second coat builds drama.
If you’re going for two, apply the second while the first is still slightly damp, so they blend rather than sitting in layers that flake. Waiting until the first is bone dry before adding more is a fast track to clumping.
Once you’re done, grab that clean
Once you’re done, grab that clean spoolie and comb through the lashes to break up any bits that stuck together. This one step is the difference between “did she even try” and “wow, are those real.”
Bottom Lashes, Length, and Volume Techniques
Bottom lashes trip a lot of people up. They’re shorter, more fragile, and easy to overload. The trick is less product, not more.
Wipe the wand almost clean before you start, then hold it vertically and use just the tip to dab each lower lash lightly. Some people prefer to skip the bottom lashes entirely for a softer, more natural look that also lowers the chance of smudging into panda eyes by afternoon.
Different goals call for different formulas. Here’s a quick comparison:
| Formula Type | Best For | Key Trait |
|---|---|---|
| Volumizing mascara | Thin or sparse lashes | Thicker formula, fuller coating |
| Lengthening mascara | Short lashes | Fibres and lighter formula for stretch |
| Waterproof mascara | Humid days, tears, sweat | Resists smudging and running |
| Tubing mascara | Sensitive eyes, easy removal | Forms tubes around lashes, slides off with warm water |
The brush shape matters as much as the formula. A tapered brush reaches the corners and works well for lengthening and separation.
A fanning brush spreads lashes wide for a false lashes effect. A silicone wand grips each lash individually and reduces clumping, which is great if you struggle with product build-up.
For maximum length, focus your eyes-open pull toward the tips and consider a lengthening formula with fibres. For volume, wiggle harder at the root and reach for a volumizing formula with a fuller brush.
Avoiding Clumps, Smudges, and Common Mistakes
Clumping is the number one mascara complaint, and it almost always comes down to too much product or a dried-out tube. Wipe the wand. Comb with a spoolie.
Replace old mascara. Those three habits solve the vast majority of clump problems.
Smudging and panda eyes usually mean either the mascara didn’t dry properly or your under-eye area is a bit oily. A few fixes:
- Let each coat dry fully before you look down or rub your eyes
- Set your under-eye with a light dusting of powder to soak up oil
- Switch to waterproof or tubing mascara if you smudge no matter what
- Avoid heavy, greasy eye creams right before applying makeup
Getting mascara on your skin during application is annoying but easy to prevent. Hold a spoon or a folded tissue behind your lashes as a shield, or just keep the wand angled so the brush doesn’t tap your lid. If you do get a smudge, wait until it dries, then flick it off with a clean cotton bud rather than smearing it while wet.
Blinking mid-application is another culprit. Look down into a mirror rather than straight ahead for the upper lashes, and try to keep your eye relaxed and open until the product sets.
One more: don’t layer mascara over yesterday’s leftover coat. It never sits right and it’s a clump trap. Clean slate every time.
Removing Mascara Without Wrecking Your Lashes
How you take mascara off matters just as much as how you put it on. Rubbing and tugging pulls out lashes and irritates the delicate skin around your eyes, so patience wins here.
Soak a cotton pad in a gentle mascara remover or micellar water. Press it against your closed eye and hold for ten to fifteen seconds to let the product dissolve.
Then wipe downward and outward, following the direction of the lashes. Repeat with a fresh pad until nothing transfers.
Waterproof mascara clings harder, so it needs an oil-based or bi-phase remover to break it down. Don’t try to scrub it off with water alone, you’ll just yank at your lashes.
Tubing mascara is the exception. It slides off with warm water and gentle pressure because it forms little tubes around each lash rather than coating them in pigment. That’s part of why people with sensitive eyes love it.
Whatever you use, never sleep in mascara. Overnight it dries hard, becomes brittle, and flakes into your eyes, which can cause irritation or even tiny scratches on the surface of the eye. Two minutes of removal saves you a lot of grief.
Frequently Asked Questions
How do you apply mascara if you’re a total beginner?
Start simple. Curl your lashes, wipe excess product off the wand, then wiggle the brush at the base of your upper lashes and sweep up to the tips.
One coat is plenty while you’re learning. Comb through with a clean spoolie to separate everything, and skip the bottom lashes at first so you don’t smudge.
How do I stop mascara from clumping?
Don’t pump the wand in the tube, wipe off excess before applying, and use a fresh spoolie to comb lashes right after each coat. Clumps usually mean too much product or an old, drying-out tube. If yours is more than three months old, that’s likely the problem.
Should I curl my lashes before or after mascara?
Always before. Curling lashes that already have wet or dry mascara on them can cause them to stick to the curler and break off. Curl on clean, bare lashes, then apply.
How do I keep mascara off my eyelids and under-eyes?
Hold a folded tissue or a spoon behind your lashes as a shield, look down into a mirror for the top lashes, and let each coat dry fully before you blink or look up. For any accidental smudge, wait until it dries, then flick it away with a dry cotton bud.
Is waterproof mascara bad for your lashes?
It isn’t inherently harmful, but it’s harder to remove, and the extra rubbing during removal can stress your lashes over time. Use a proper oil-based or bi-phase remover, avoid tugging, and save waterproof formulas for days you actually need them, like weddings, rainy weather, or a good cry.
Final Takeaways
Good mascara application isn’t about buying the most expensive tube. It’s about technique.
Curl first, wipe the wand, wiggle at the root, pull toward the tips, and comb through with a spoolie. That sequence alone will upgrade your results more than any single product swap.
Match your formula to your goal, whether that’s length, volume, or staying power, and treat your lashes gently at both ends of the process. Prep them well, and remove the mascara properly at night.
Master these basics and you’ll get clean separation, real fullness, and lashes that hold their curl all day, without a clump or smudge in sight. Practice a few times and it becomes muscle memory. Then those ninety seconds in the morning genuinely deliver.