Mastering the art of eye makeup often feels like a delicate balancing act, especially when it comes to the order of operations for your tools. Many beauty enthusiasts find themselves asking, do you use an eyelash curler before or after mascara? The short answer is almost always before, but understanding the mechanics behind this preference is key to achieving a long-lasting, wide-eyed look without damaging your natural lashes.
When you apply pressure to your eyelashes while they are coated in wet product, you change the physical structure of the lash hair. Understanding how to correctly sequence your beauty routine ensures that your lashes remain healthy and your look stays consistent throughout the day. By placing the tool correctly, you set the foundation for a dramatic, open-eyed appearance that defines your overall aesthetic.
The Scientific Reason to Curl Before Mascara
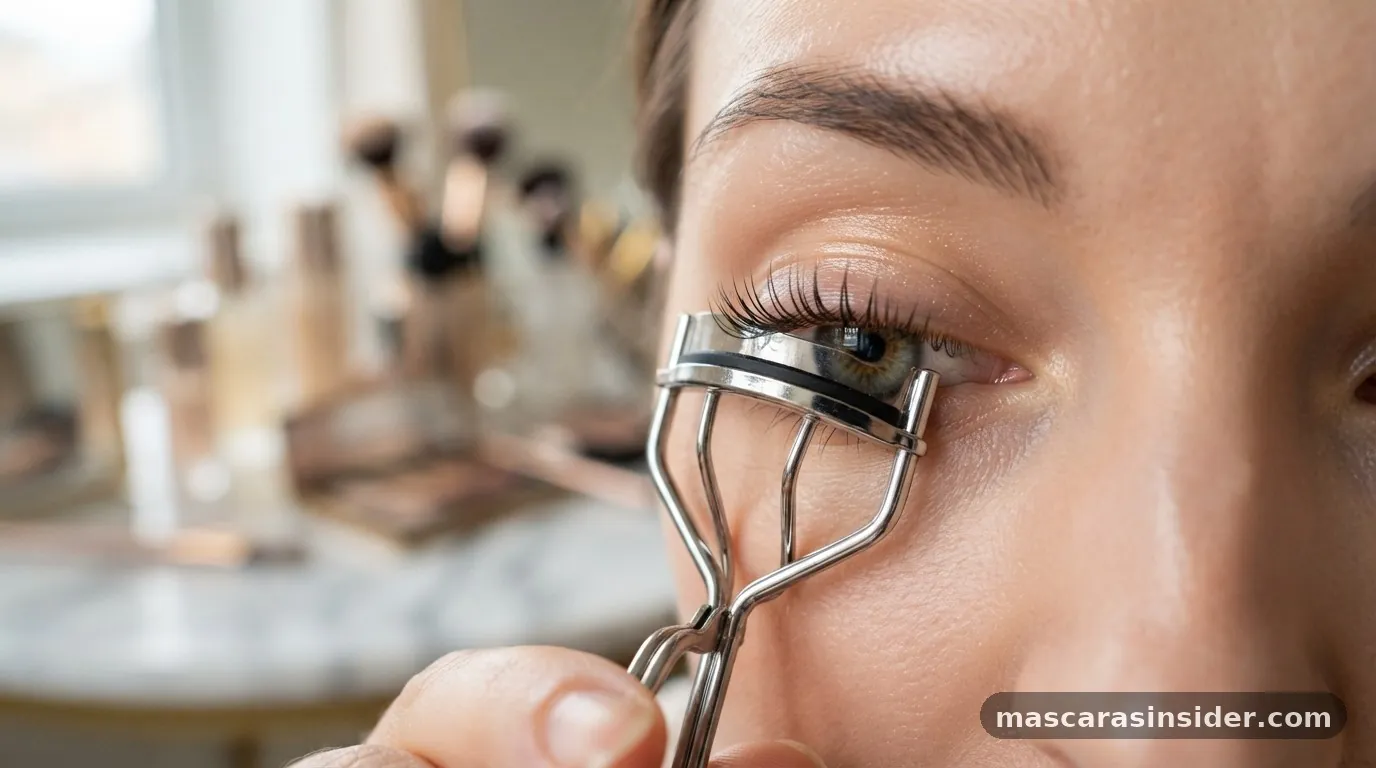
The primary reason you should use an eyelash curler before applying mascara is to prevent lash breakage. When mascara dries, it creates a rigid, brittle coating on the hair shaft. If you clamp a metal tool onto these hardened lashes, the pressure can cause them to snap, pull out, or suffer from micro-fractures that weaken their structural integrity over time.
By curling your bare lashes, you are working with their natural, flexible state. The hair is pliable and can be shaped into an upward curve without the risk of sticking to the pads of the device. Once you have achieved that perfect, lifted shape, you can then apply your mascara to lock that curve in place.
Think of the mascara as a setting spray for your lashes; it freezes the shape you created with the curler, providing both volume and structural support. If you attempt this process in reverse, you are essentially trying to bend a stiff, coated material, which is a recipe for disaster.
Furthermore, applying the tool to clean lashes keeps your beauty equipment in better condition. Mascara residue is sticky and attracts dust and bacteria.
If you use a dirty curler on top of wet or tacky mascara, you risk clumping your lashes together and potentially introducing irritants into your eye area. Keeping your tools clean is a vital part of any effective eye makeup safety routine, ensuring that you don’t accidentally pull out lashes that have adhered to the rubber pad of the device.
Steps for Achieving the Perfect Curl
To get the most out of your tools, you need a systematic approach. Follow these steps to ensure you are curling your lashes safely and effectively every single time.
1. Start with completely clean, dry lashes. Any residual oils from skincare or previous makeup can cause the curl to drop prematurely.
2.
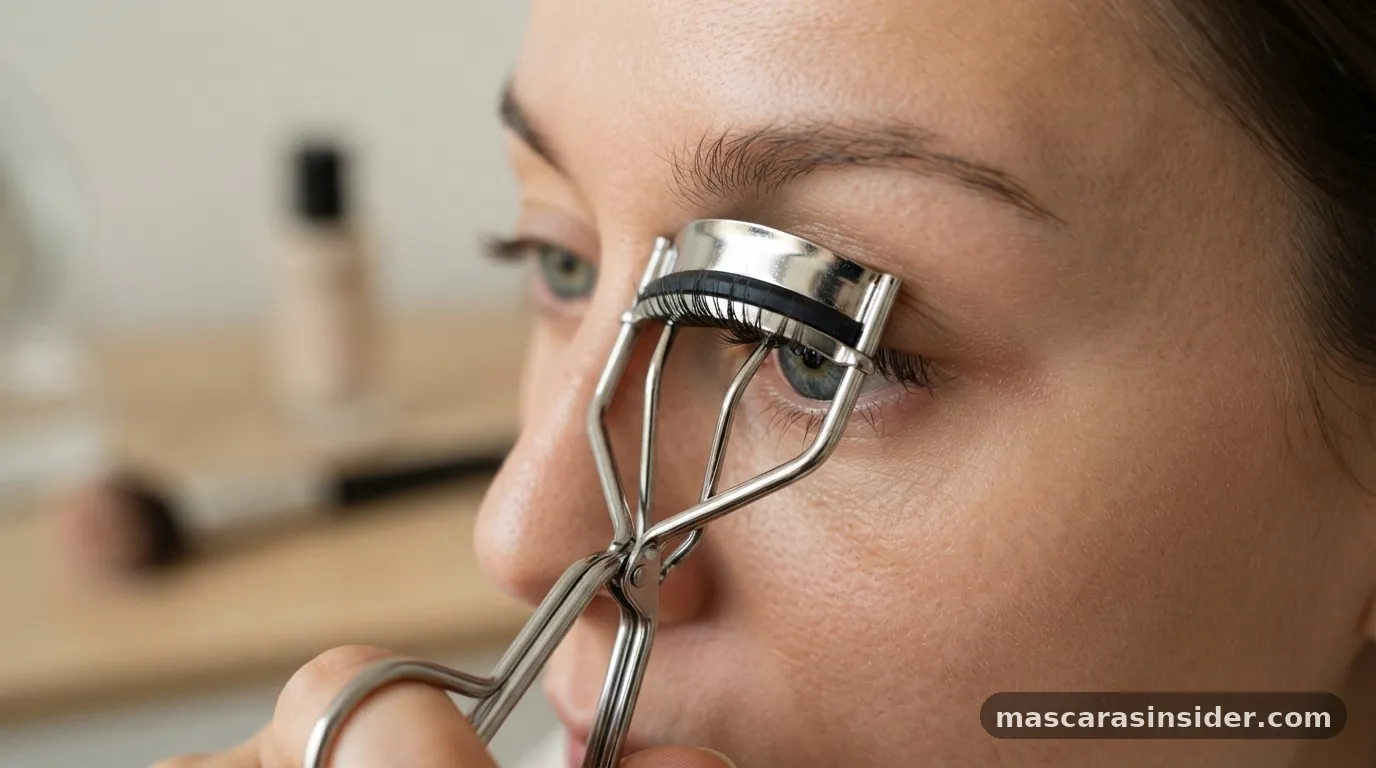
Position the eyelash curler at the base of your upper lashes, ensuring the skin of your eyelid isn’t caught in the mechanism.
3. Apply a gentle, firm squeeze for about five to ten seconds. Do not pull or tug; simply hold the position steady.
4.
If you want a more natural, fanned-out effect, release the tension slightly and move the curler to the middle of the lash length, pulsing it a few times.
5. Once you have reached the desired shape, immediately follow up with your favorite mascara to seal the lift.
6.
Apply the mascara by wiggling the wand at the roots and pulling it through to the tips to ensure even coverage.
7. If you notice any clumps, use a clean spoolie brush to separate the lashes while the product is still wet.
Comparing Methods: Before Versus After
There is a significant difference between the results you get from curling before versus after, and the following table highlights how these methods impact your overall look and lash health.
| Method | Lash Health Risk | Longevity of Curl | Ease of Application |
|---|---|---|---|
| Curling Before Mascara | Low (Safe on bare lashes) | High (Set by mascara) | Easy and consistent |
| Curling After Mascara | High (Risk of breakage) | Low (Weight can drop curl) | Messy and prone to clumping |
As indicated in the table, the risks associated with curling after applying product are significantly higher. When you add the weight of a heavy, volumizing formula to your lashes, they become heavier and more prone to drooping. Attempting to lift them after they have already been weighed down often results in a jagged, unnatural bend rather than a smooth, sweeping curve.
Why Curling After Mascara Is a Common Mistake
Many people mistakenly believe that curling after the application provides a “double boost” or extra lift, but this is usually a myth. In reality, the curler often rips the mascara off the lashes, leaving you with messy, uneven streaks on your eyelids or the device itself. This ruins the hard work you put into your eye makeup.
There is also the matter of hygiene. If you use a device that has been used previously without being sanitized, you are pressing that residue directly into your lashes and the surrounding eyelid tissue. This can lead to irritation or infections.
If you absolutely feel the need to adjust your lashes after they have dried, it is much safer to use a heated lash wand or your clean fingertips to gently push the lashes upward. Never use a traditional mechanical clamp once the product has set.
Choosing the Best Tool for Your Eye Shape
Not every person has the same eye anatomy, which means the best eyelash curler for your friend might not be the right one for you. The curvature of the metal frame determines how well the tool fits your lash line. If the curve is too flat for your rounded eyes, you will miss the inner and outer corners, leaving you with an uneven, awkward look.
When shopping for this essential tool, look for one that features a high-quality silicone pad. Cheap, hard rubber pads can pinch the skin or cut the lashes. A soft, bouncy pad provides a cushion that protects the hair while still providing enough tension to create the desired lift.
Additionally, consider the spring mechanism. Some people prefer a spring-loaded design that offers more control, while others prefer a simple, manual hinge.
To find your perfect match, try holding the curler against your eye without closing it. If you can see the entire lash line sitting comfortably within the frame, you have found a winner.
If the edges of the tool poke your skin or leave out the ends of your lashes, keep searching. A well-fitted tool is the secret to achieving that wide-awake, professional look without having to redo your makeup multiple times.
Common Myths and Misconceptions
There are many old-school beauty tips that have been passed down through generations, but not all of them hold up to modern scrutiny. One of the most persistent myths is that you should heat your eyelash curler with a hairdryer to make the curl last longer. While heat does help mold the hair, using a tool that is too hot can cause significant damage to your delicate lashes, essentially “frying” them like a curling iron would to your hair.
If you want to use heat, ensure the tool is only warm to the touch, not scorching. Test it on the back of your hand before bringing it anywhere near your eyes. Another misconception is that you need to pump the curler fifty times to get a good result.
In reality, one or two firm, sustained pulses are far more effective than dozens of quick, aggressive pumps. Excessive pumping can actually crimp the lashes, creating an unsightly “L” shape instead of a graceful curve.
Furthermore, some believe that waterproof mascara is the only way to hold a curl. While waterproof formulas are indeed better at holding a shape because they don’t contain water that can weigh the lash down, they are also harder to remove.
Frequent use of harsh waterproof makeup removers can dehydrate the lashes, making them brittle. If you use a standard formula, you can still achieve a great look by focusing on the root area during application and ensuring your lashes were properly prepped with a clean, dry curler.
Addressing Topical Gaps: Advanced Techniques
While the general rule is to curl before you apply your mascara, there are nuances for those who want to take their look to the next level. For instance, if you have very straight, stubborn lashes, you might benefit from a “sandwich” technique. This involves applying a thin, light layer of mascara, letting it dry completely, and then very carefully using a heated lash comb—not a mechanical clamp—to nudge the lashes into a more upright position.
Another gap in common knowledge involves the maintenance of your tools. Most people forget that the silicone pad inside the curler wears out. As the rubber becomes grooved or cracked, it loses its ability to grip the lashes evenly.
You should replace the silicone pad every three months, or as soon as you notice any signs of wear. If you lose the rubber pad, never use the metal curler on its own; doing so will almost certainly cut or break your lashes instantly.
Finally, consider the angle of your hand. Many people hold the curler at a downward angle, which pulls the lashes toward the cheek. To maximize the lift, hold the curler parallel to the floor or angled slightly upward toward the brow bone.
This encourages the lashes to grow into a vertical orientation, which effectively opens up the eye and creates the illusion of a more rested, youthful appearance. By paying attention to these subtle mechanical adjustments, you can move beyond basic application and start achieving professional-grade results from the comfort of your own vanity.
Frequently Asked Questions About Eyelash Curler Usage
Can I use an eyelash curler every day?
Yes, you can use an eyelash curler daily, provided you are gentle and ensure your lashes are clean and free of makeup. Always check the rubber pad for damage, and avoid tugging or pulling, which can cause long-term breakage and thinning of your natural lashes over time.
What should I do if I accidentally pinch my eyelid?
If you pinch your eyelid, release the curler immediately and apply a cold compress to the area to soothe any redness or swelling. Avoid applying further eye makeup until the area has fully healed to prevent irritation or potential infection from products entering the small wound.
Does the type of mascara affect the curl?
Yes, the formula matters. Waterproof mascaras are generally better at holding a curl because they are lighter and do not contain water that can soften the lash hair. Volumizing mascaras can be heavy, which may cause the curl to drop faster than with a lightweight, lengthening formula.
How do I clean my eyelash curler?
You should clean your curler at least once a week to remove mascara buildup and bacteria. Use a cotton pad soaked in rubbing alcohol or a gentle makeup remover to wipe down both the metal frame and the rubber pad. Ensure it is completely dry before your next use.