Mastering how to apply mascara correctly is often the difference between a polished, professional makeup look and a smudged, clumpy mess. Most people treat mascara as an afterthought, swiping it on in seconds while rushing out the door.
However, when you slow down and use the right techniques, this simple product becomes the most effective tool in your kit for framing your eyes. Whether you want to achieve maximum volume, artificial-looking length, or a subtle, natural definition, the secret lies in the mechanics of the brush and the movement of your hand.
The Foundation: Preparing Your Lashes
To apply mascara correctly, you must first ensure your lashes are primed and ready to hold the pigment. Think of your eyelashes like hair on your head; they need to be clean and shaped before you add any styling product. If you have residual makeup from the previous night, your mascara will struggle to grip the lash, leading to premature flaking or smudging throughout the day.
Start by cleansing the eye area thoroughly with an oil-free makeup remover. This removes natural oils that can cause mascara to slide off.
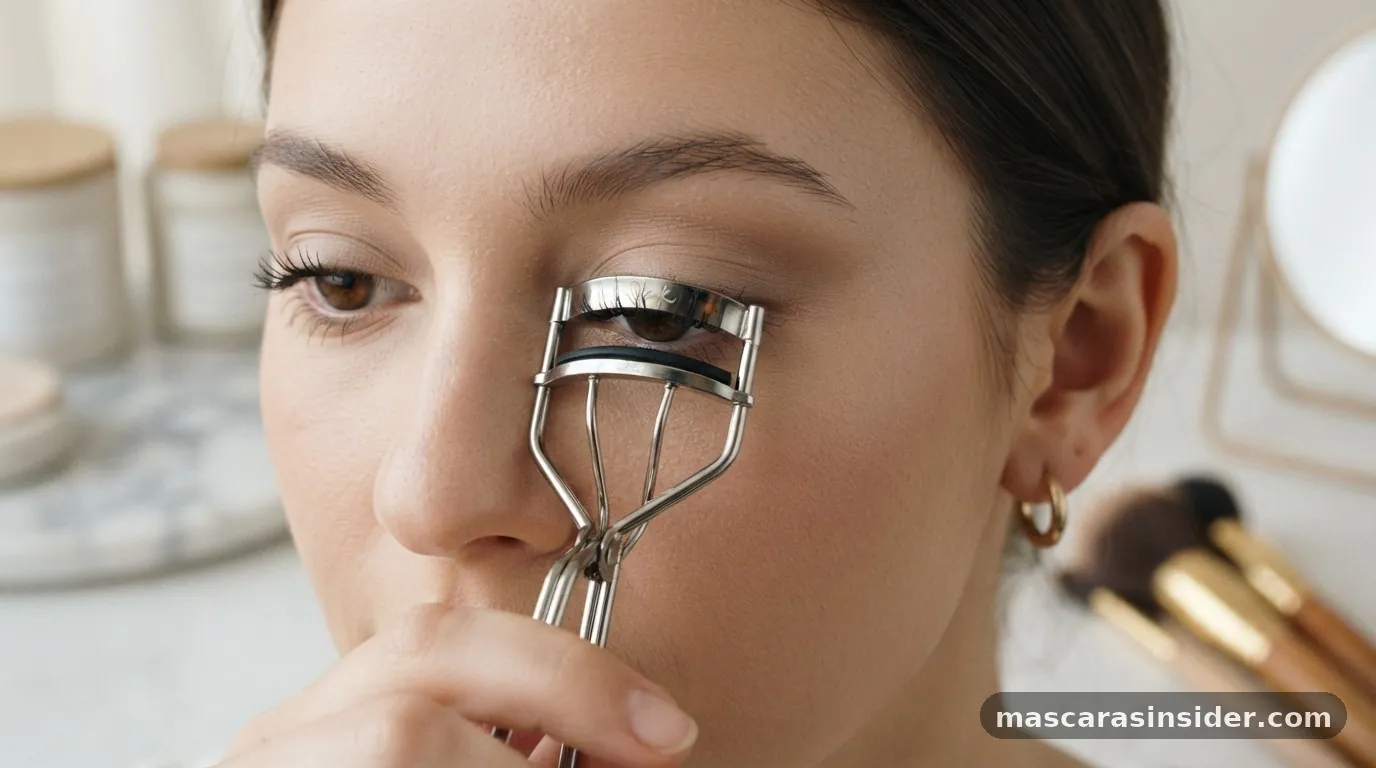
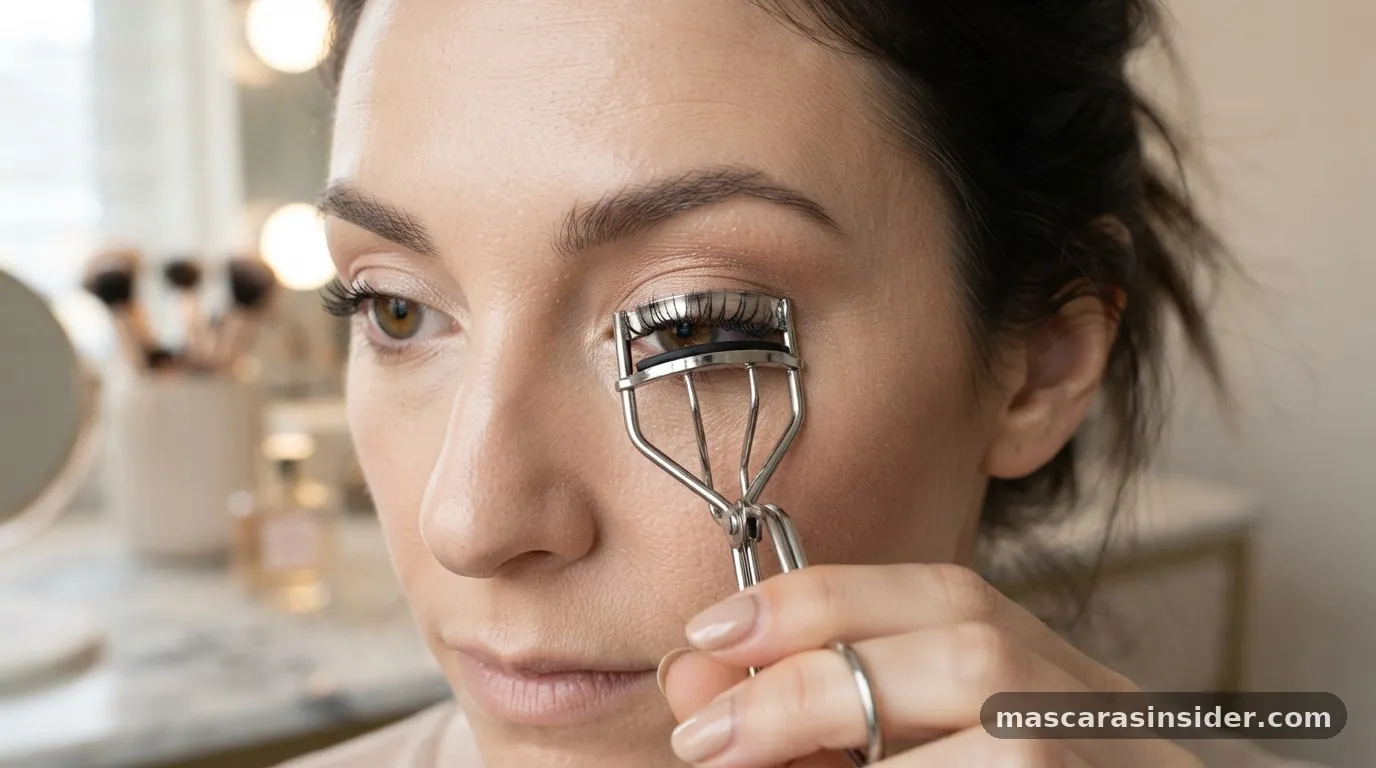
Once your lashes are clean and dry, the most vital step involves the eyelash curler. Many beginners skip this, but it is the primary way to open up the eye and make your lashes look significantly longer. Position the curler as close to the lash line as possible without pinching the skin.
Squeeze gently and hold for about five to ten seconds. Do not pump the curler repeatedly, as this can cause the lashes to break or take on an unnatural, crimped appearance. By using a curler, you create an upward lift that provides a stable base for the product to sit on, ensuring your results last from morning until night.
Selecting the Right Formula and Wand
The market is saturated with options, but understanding what you need is essential to get the look you want. Mascara comes in various formulas, each designed to solve a specific problem. If your goal is volume, look for a thicker, wax-based formula that coats each hair heavily.
If you prefer length, seek out fiber-heavy formulas that extend the reach of your natural lashes. The mascara wand is just as important as the formula itself. Silicone wands with short, stiff bristles are excellent for separation, while fluffy, natural-bristle brushes are generally better for depositing a high volume of pigment.
When you choose your mascara, consider the color as well. While black is the standard for a dramatic effect, those with very fair skin or light hair might find that a dark brown or charcoal shade looks more natural for daytime wear. Always check the expiration date; mascara is a liquid product that attracts bacteria, and using a tube older than three months is a common cause of eye irritation.
If you notice a change in smell or the formula becomes dry and flaky, it is time to replace it. Investing in a fresh tube ensures smooth application and prevents the dreaded clumps that ruin an otherwise perfect application.
Mastering the Wiggle Technique
The physical act of applying the product requires precision. To apply mascara correctly, you need to master the root-to-tip wiggle. Start by placing the wand at the very base of your upper lashes.
Instead of just pulling the brush straight up, gently wiggle the wand back and forth horizontally. This motion deposits the majority of the pigment at the root, which creates the illusion of thicker, fuller lashes and provides a foundation that holds the curl in place. After the wiggle, pull the wand slowly toward the tips of your lashes, rotating the brush as you move to ensure even coverage.
This technique is effective because it prevents the weight of the mascara from pulling your lashes downward. If you only apply to the tips, the weight will cause the eyelashes to droop, effectively undoing the work you did with the curler. By focusing on the roots, you provide structure.
You can repeat this process two or three times to build up your desired level of drama. Be sure to let the first coat dry for about thirty seconds before applying a second one. If you apply a second coat while the first is still soaking wet, you are much more likely to encounter clumping.
| Mascara Goal | Best Wand Type | Application Tip |
|---|---|---|
| Volume | Large, fluffy brush | Focus on the base of the lashes |
| Length | Thin, plastic comb | Pull through to the very tips |
| Natural Look | Small, tapered wand | Use a light hand at the roots |
Managing the Lower Lashes
Many people struggle with the lower lashes because the skin under the eye is prone to smudging. However, applying mascara here can balance your face and make your eyes appear more awake. To do this without making a mess, use a smaller brush or the tip of your regular wand.
You can also hold a small piece of tissue or a plastic card beneath the lower lash line to catch any stray droplets of product. This simple tip allows you to be aggressive with your application without worrying about creating dark spots on your concealer.
When applying to the bottom, use a vertical motion. Hold the wand perpendicular to your face and tap it gently against the lashes. This prevents the brush from touching the skin and allows you to coat even the tiniest, shortest hairs near the inner corner of the eye.
If you find that your mascara still smudges under your eyes by midday, it is likely due to the oils in your skin. Consider using a tubing mascara for the lower lashes. Tubing formulas wrap around the hair in a “tube” rather than painting it, meaning they do not smudge or flake, even if you have oily skin.
Troubleshooting Common Mistakes
Even when you know the steps, mistakes happen. Clumps are the most frequent issue, often caused by having too much product on the brush. Before you bring the wand toward your eye, wipe the excess off on the rim of the tube or a clean tissue.
If you do end up with clumps, don’t panic. Take a clean, dry spoolie brush or a lash comb and gently run it through your lashes while the mascara is still slightly tacky. This will break up the clusters and separate the hairs for a clean, fanned-out effect.
If you accidentally get a dot of mascara on your eyelid, resist the urge to wipe it away immediately. If you rub wet mascara, it will smear across your eyeshadow and ruin your makeup. Instead, let the spot dry completely.
Once it is fully dry, it will turn into a flake that can be easily flicked off with a clean cotton swab or your fingernail. This leaves the surrounding makeup untouched and saves you from having to redo your entire eye look. Following these simple steps will help you avoid the frustration that usually comes with a rushed morning routine.
- Always curl your lashes before applying any product to ensure maximum lift.
- Wipe the excess mascara off the wand on the tube rim to prevent clumping.
- Wiggle the wand at the roots to build volume before sweeping it to the tips.
- Let the first coat dry for thirty seconds before adding a second layer.
- Use a clean spoolie brush to separate lashes that have started to stick together.
- Apply to the lower lashes using the tip of the wand to avoid skin contact.
- If you smudge the eyelid, wait for the mascara to dry before flicking it off.
Advanced Strategies for Impact
If you want to take your application to the next level, consider “tightlining” in conjunction with your mascara. Tightlining involves applying a waterproof pencil or gel liner in the upper waterline of your eye. This creates the appearance of a denser lash line, which makes your mascara look even more impressive.
When your lashes are framed by a dark, defined base, the contrast makes the individual hairs pop. You can find more detailed information on eye health and hygiene regarding makeup application through the American Academy of Ophthalmology.
Another advanced trick is to use two different types of mascara. Start with a lengthening formula to define the lashes and create a long, fanned-out shape. Once that has set, apply a volumizing formula only to the roots of the lashes.
This “layering” technique allows you to get the benefits of two different brushes and formulas without the weight of a single heavy product. It is a professional technique that gives you total control over the final look, allowing you to customize your lashes based on the occasion or your outfit.
Frequently Asked Questions
Should I apply mascara before or after eyeshadow?
You should always apply mascara after your eyeshadow. Applying it last prevents the fallout from your eyeshadow powders from landing on your wet, sticky lashes. It also allows you to see exactly how much volume you need to balance your overall eye makeup look.
Do I really need to curl my lashes every single time?
While not strictly required, curling your lashes is the most effective way to open the eye. If you have naturally straight lashes that point downward, curling is essential. If your lashes have a natural upward curl, you might be able to skip it for a more casual, everyday look.
How do I stop mascara from smudging on my brow bone?
Smudging on the brow bone usually happens if your formula is too wet or if you have oily eyelids. Try using a waterproof formula, which is resistant to oils. Additionally, ensure you set your eyelid primer or concealer with a translucent powder to create a dry, matte surface.
Is it necessary to use a lash primer?
A lash primer acts like a base coat for your hair. It can help thicken the lashes and provide a smoother surface for the mascara to adhere to. If you struggle with thin or sparse lashes, a primer can definitely provide the extra boost needed for a more dramatic result.