Mastering the art of eye makeup often starts with the most transformative tool in your beauty bag: mascara. Whether you want to achieve a wide-awake look for a morning meeting or a dramatic flair for an evening out, understanding how to apply mascara for beginners is the foundation of a polished appearance. It is not just about coating your hairs in black pigment; it is about precision, technique, and choosing the right tools to enhance your natural features without the frustration of smudges or clumpy results.
Preparing Your Lashes for the Perfect Application
To achieve the best results, you must ensure your lashes are clean and properly prepped before the product touches them. Applying mascara over leftover makeup or oily residue often leads to flaking and smudging throughout the day.
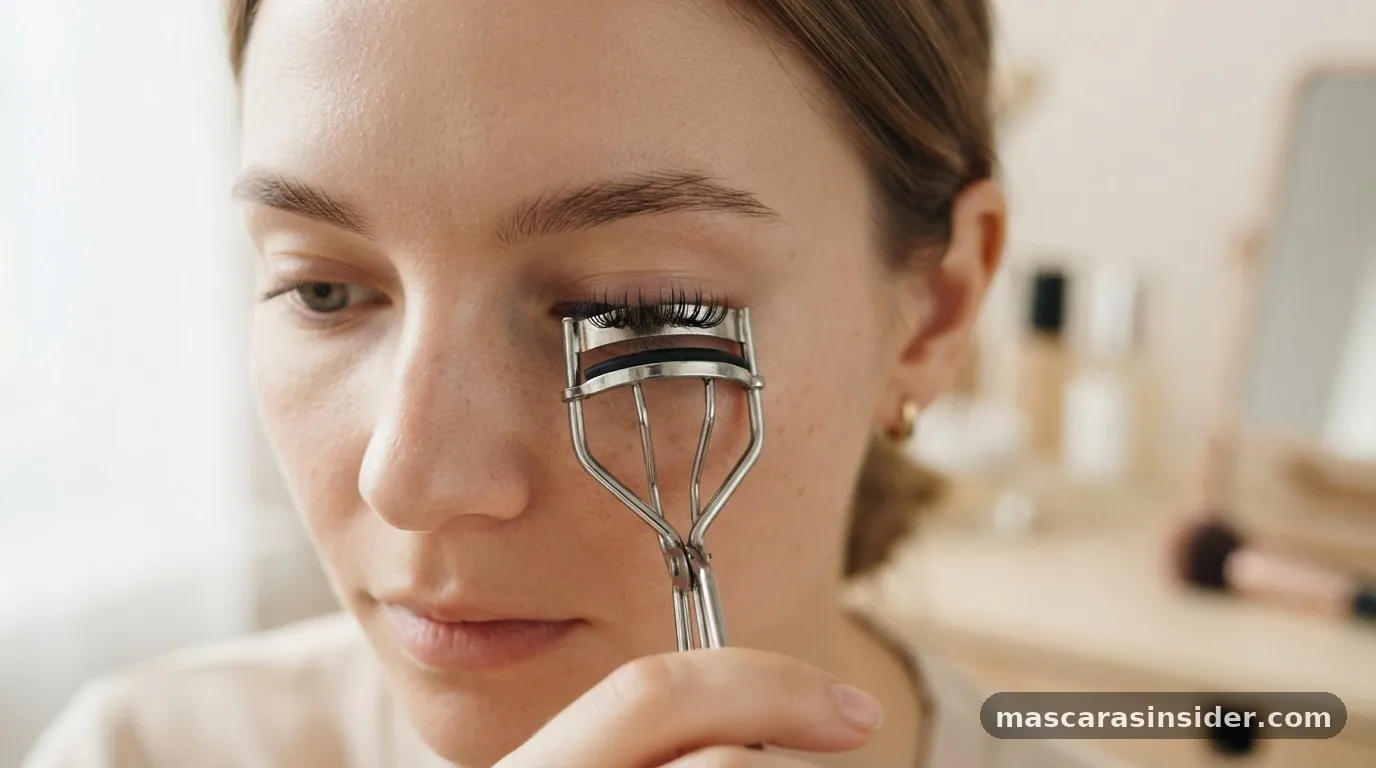
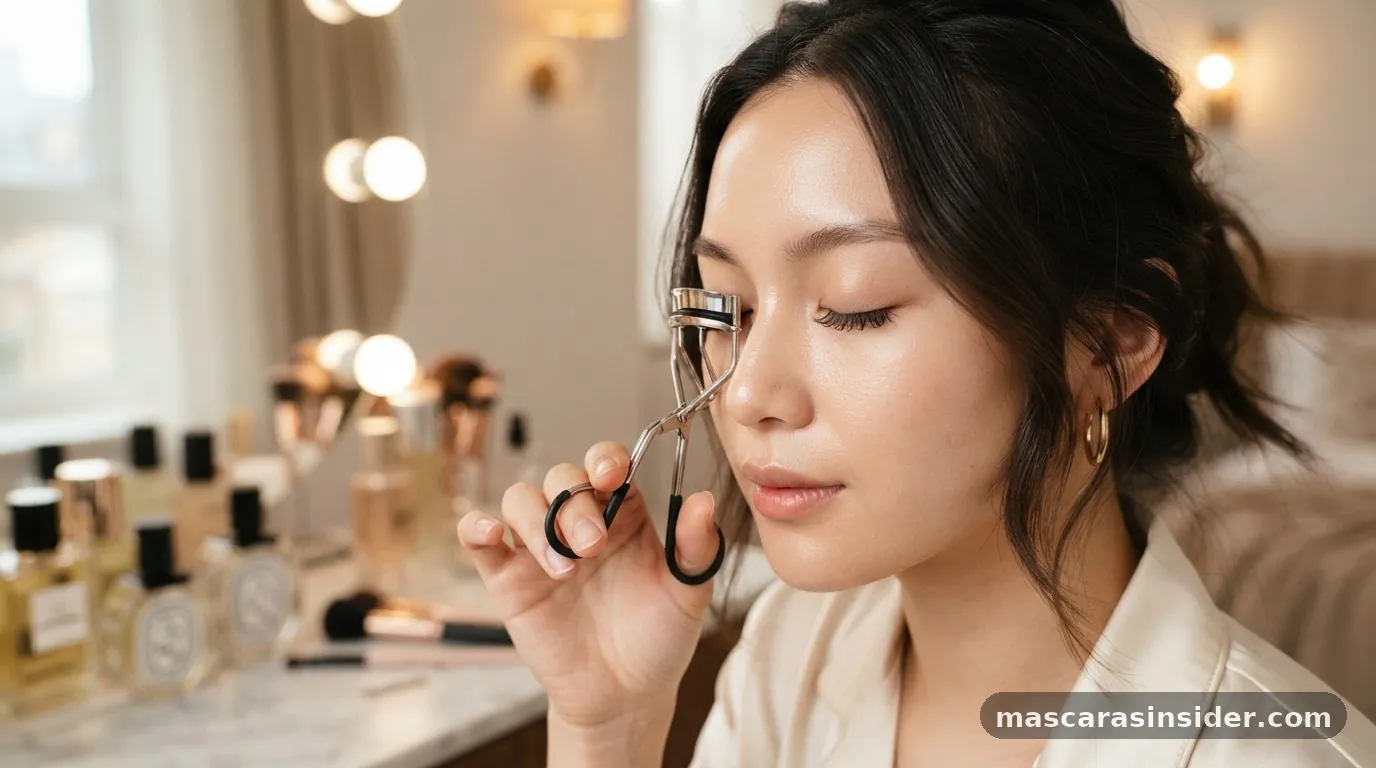
Start by cleansing your eye area gently with a mild makeup remover or micellar water to remove any debris from your last application. Once the area is dry, many professionals suggest using an eyelash curler to give your fringe an immediate lift.
When using an eyelash curler, position it at the root of your lashes. Squeeze gently and hold for about five to ten seconds, but avoid pulling or tugging, as this can damage the delicate hair. Curling before you apply mascara creates a curved canvas that makes your eyes appear more open and awake.
If you skip this step, your lashes may remain straight, which can cause the weight of the wet formula to pull them downward instead of holding a beautiful, fanned-out shape. For those with particularly stubborn, straight lashes, a heated curler or a quick blast of warm air from a hairdryer on your standard metal curler can provide extra hold.
Choosing the Right Mascara Formula and Wand
The market is saturated with options, but identifying what works for your specific eye shape and hair type is essential for success. A mascara wand is not a one-size-fits-all tool; the bristles and shape significantly impact the final look. For instance, a dense, natural-bristle brush is often better at depositing heavy amounts of product for maximum volume, while a slim, silicone-bristled brush is perfect for precision, separating individual lashes to avoid clumping.
When selecting a product, consider your desired outcome. If you are a beginner, you might want to steer clear of waterproof formulas at first, as they require more rigorous scrubbing to remove and can be drying if not handled with care. Instead, opt for a tubing mascara or a standard washable formula that provides length and definition.
You can find more information on eye safety and product ingredients via the official U.S. Food and Drug Administration guidance on eye cosmetic safety.
| Mascara Type | Best For | Key Benefit |
|---|---|---|
| Volumizing | Thin or sparse lashes | Adds thickness and density |
| Lengthening | Short lashes | Extends the look of the lash |
| Defining | Messy or clumpy lashes | Separates and coats evenly |
The Proper Technique: From Root to Tip
Once you have prepared your eyes and selected your tool, the actual process of applying mascara requires a steady hand and a bit of patience. The most effective way to coat your lashes is to wiggle the brush at the base of your lash line before pulling it upward. This “wiggle” technique ensures that you deposit the majority of the pigment at the roots, which provides the illusion of a thicker lash line and a more defined eye shape.
1. Remove the wand from the tube and wipe off any excess product on the rim of the container. This simple step prevents the formula from building up in globs on your bristles.
2.
Place the wand horizontally against the roots of your upper lashes.
3. Wiggle the brush back and forth slightly to ensure every hair is coated from the base.
4. Slowly pull the wand toward the root tip in a smooth, continuous motion.
5.
Repeat this motion until you achieve the desired level of intensity, usually two coats for a natural look.
6. Use the tip of the wand to touch up any sparse areas or to reach the tiny lashes in the inner and outer corners of your eye.
Mastering the Art of Bottom Lashes
Many beginners find the lower lash line intimidating, fearing that they will end up with dark smudges under their eyes. However, bottom lashes are a fantastic way to balance your eye makeup and make your eyes look bigger.
To execute this safely, you should use a lighter hand and perhaps a smaller, more precise brush. You don’t need the same amount of product on your lower lashes as you do on your top set.
If you are worried about transfer, try holding a small piece of tissue or a clean makeup spatula under your bottom lashes while you work. This acts as a shield, catching any stray droplets of formula before they hit your concealer. If you prefer a very soft, natural aesthetic, you can simply use the “leftover” product on the wand after finishing your upper lashes.
This gives just enough tint to define the eyes without the heaviness that might lead to mid-day smudging. Remember, if you do make a mistake and get a smudge on your skin, let it dry completely before attempting to remove it. Once dry, a clean, fluffy spoolie or a dry cotton swab can flick the flake away without ruining your foundation.
How to Prevent Clumping and Spidery Lashes
One of the most common complaints when learning how to apply mascara is the dreaded “spidery” look, where lashes stick together in thick, uneven bunches. Clumping usually occurs when you apply too many layers while the first coat is still wet, or when your brush is overloaded with product. To make your lashes look sleek and separated, you must work while the formula is still slightly tacky, but not completely saturated.
If you notice your lashes starting to stick together, use a clean, dry lash comb to brush through them immediately. This tool is a lifesaver for beginners. By combing through the lashes while the mascara is still wet, you distribute the pigment evenly and remove any excess globs.
Another tip is to avoid pumping the wand in and out of the tube. Pumping introduces air into the container, which dries out the formula faster and creates a clumpy, uneven texture that will eventually transfer to your eyes. Instead, gently swirl the wand inside the tube to pick up the product.
Troubleshooting Common Beginner Mistakes
Even with the best technique, errors happen. A makeup artist will tell you that the difference between a amateur look and a professional one is often how you handle these minor mishaps.
If you experience flaking by the end of the day, it might be that your mascara is expired or that you are using a formula that is not compatible with your natural oil production. Most mascaras have a shelf life of about three months; after that, the ingredients can break down, leading to irritation and poor application quality.
- Always check the expiration date on the packaging, which is usually indicated by an open jar symbol with a number like “6M” or “3M.”
- If your mascara feels dry or thick, do not add water to the tube, as this can introduce bacteria.
- If you have watery eyes, look for “tubing” mascaras that form tiny polymers around the lash, as these are much more resistant to moisture.
- When in doubt, use a clean spoolie to groom your lashes throughout the day to keep them looking fresh.
- Consider the angle of your head; tilting your chin up while looking down into a mirror can help you see your lash roots more clearly.
Addressing Topical Gaps: Beyond the Basics
While most articles focus on the stroke itself, there is a lack of information regarding the maintenance of the eye area itself when using makeup daily. Many beginners forget that the skin around the eye is the thinnest on the body. You must be careful not to pull on the skin when removing your mascara.
Instead of rubbing back and forth with a dry wipe, saturate a cotton pad with a gentle, oil-based cleanser and hold it against your closed eye for thirty seconds. This allows the product to dissolve, meaning you can wipe away the mascara in a single, downward motion without tugging.
Furthermore, consider the health of your lashes. If you are using a curler every day, you might experience breakage. Incorporating a lash serum or a simple conditioning oil like castor oil at night can help keep the hairs strong and flexible.
When your lashes are healthy and hydrated, they hold a curl better and are less prone to breaking during the makeup application process. It is also important to recognize that different mascaras behave differently depending on the humidity and temperature of your environment.
If you live in a very humid climate, a formula that works perfectly in the winter might smudge by noon in the summer. Don’t be afraid to switch your product based on the season to maintain that perfect, wide-eyed look.
FAQ: Common Questions on Mascara Application
How can I make my mascara last longer without clumping?
To prevent clumping, avoid pumping the wand in the tube, as this introduces air. Instead, swirl the wand gently. If the formula feels thick, you can place the closed tube in a cup of warm water for a few minutes to soften the product before application.
Is it necessary to use an eyelash curler every time?
While not strictly necessary, an eyelash curler makes a significant difference in opening up the eye, especially if you have straight or downward-pointing lashes. If you choose not to use one, you can use your fingertip to gently push your lashes upward while the mascara is drying.
What is the best way to remove mascara without damaging lashes?
Never pull or rub your lashes forcefully. Use an oil-based makeup remover or a dedicated eye makeup remover. Soak a cotton pad, press it onto your closed eyelid for thirty seconds to break down the formula, and then gently wipe downward. This minimizes friction and hair breakage.
Can I apply mascara to my bottom lashes every day?
Yes, you can apply it daily, but use a light hand. Since the skin under the eyes is prone to smudging, using a waterproof formula or simply using the excess product left on the wand after doing your top lashes is usually enough to define the area without creating dark circles.