It’s one of those beauty questions that splits a bathroom in two. You’ve got your eyelash curler in one hand, your mascara in the other, and a genuine moment of doubt about which one goes first.
Get the order wrong and you could end up with stuck-together lashes, a curl that won’t hold, or worse — a few lashes snapped clean off. So let’s clear it up properly.
The short answer, the one nearly every makeup artist agrees on, is that you curl before you apply mascara. But the reasoning behind that rule matters, and there are a couple of exceptions and workarounds worth knowing. Stick with me and I’ll walk through the why, the how, and the little tricks that make the curl actually last past lunchtime.
The Golden Rule: Curl First, Then Coat
Curl your lashes before applying mascara. Full stop. This is the standard almost universally taught, and it comes down to physics more than opinion.
Bare lashes are flexible and dry. When you clamp them in an eyelash curler and lift, the hairs bend cleanly into shape without anything gluing them together or weighing them down.
Once you add mascara, the fibers become coated in a wet or slightly sticky product that dries into a firmer structure. Try to curl those with a metal clamp and you’re pressing down on a brittle, hardened surface.
That’s where the trouble starts. Curling over dried mascara is the fastest route to breaking lashes.
The product cracks, sticks to the silicone pad, and drags your lashes out by the root. Beauty editors at outlets like Vogue have repeated this warning for years, and dermatologists back it up — dried product makes each hair rigid, and rigid things snap.
So the sequence looks like this:
- Start with clean, completely dry lashes — no oils, no leftover product.
- Curl the upper lashes near the lash line first, then walk the curler outward.
- Apply your mascara once the curl is set.
- Let everything dry fully before you touch it again.
Do it in that order and you get lift that holds plus a clean mascara finish with no clumping. Reverse it and you’re gambling with your lashes.
Why Curling After Mascara Damages Lashes
Let’s dig into what actually happens when you curl the wrong way, because understanding the damage helps the rule stick.
Mascara dries. That’s its whole job — it coats each hair and hardens slightly to hold volume and length. A dried lash is far less forgiving than a bare one.
When the metal or silicone edge of the eyelash curler comes down on a coated lash, it doesn’t bend the hair, it fractures the mascara shell around it. Bits of product cling to the curler pad. When you release, some of those lashes come with it.
Eyelash curler pinching gets worse in this scenario too. With bare lashes, a smooth clamp glides.
With sticky, half-dried mascara, the product can adhere to the pad and yank. People report losing several lashes at once this way, and lashes don’t grow back overnight — a full cycle takes weeks.
There’s also the cosmetic problem. Curling dried mascara flattens and cracks the coating, so you lose the smooth, glossy look you just spent a minute building. You end up with flaky, spidery lashes instead of clean definition.
If you absolutely must adjust the curl after mascara — say, one section fell flat — wait until the mascara is bone dry, then use a very gentle heated eyelash curler rather than a mechanical clamp. Warm heat coaxes the curl without the crushing pressure. Even then, treat it as a rescue move, not a routine.
How to Curl Your Lashes the Right Way
Technique matters as much as timing. A rushed clamp gives you that harsh right-angle bend that looks fake. A patient one gives you a soft, natural lash curl.
Step by step
- Position the curler at the very base of your upper lashes, right against the lash line. Don’t catch skin.
- Squeeze gently and hold for about 10 seconds. Count it out.
- Release, then move the curler out toward the middle of the lash and squeeze again for a few seconds.
- Finish near the tips. This three-point method creates a rounded curve instead of a sharp kink.
Look straight ahead into a mirror, or tilt your chin down and look up — that angle helps you get right into the base without pinching your eyelid. Light pressure is your friend. You’re shaping hair, not crushing it.
A trick that genuinely works: warming the curler with a hairdryer. Blow warm air over the metal for a few seconds, test it on the back of your hand so it’s warm and not hot, then curl.
The gentle heat sets the curl the way a curling iron sets hair, and it holds noticeably longer. This “blow dry curler” hack mimics what a heated curler does without you buying a new tool.
Choosing the Right Eyelash Curler
Not all curlers are equal, and the one you pick affects both your results and your risk of damage. Here’s how the main types compare.
| Type | How it works | Best for | Notes |
|---|---|---|---|
| Mechanical (classic clamp) | Metal frame with a silicone pad, squeezed by hand | Everyday curling, quick results | The Shu Uemura eyelash curler is a cult favorite; replace the silicone pad regularly |
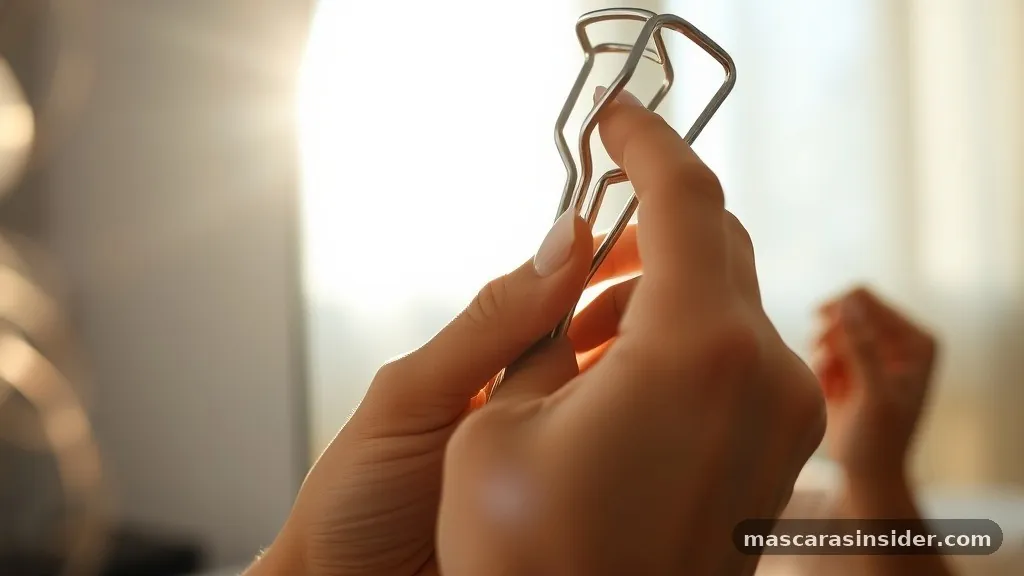
| Heated eyelash curler | A warm wand or comb that curls with heat, no clamp | Sensitive lashes, holding curl longer | Gentler, less pinching risk, but slower to see results |
| Mini / partial curler | Small clamp for corners and lower lashes | Precision, short lashes, corners | Great backup for hard-to-reach spots |
Whatever you choose, keep the silicone pad clean and swap it out when it flattens or cracks. A worn pad presses unevenly and grips lashes badly. Most brands sell replacement pads cheaply, and a fresh one makes a real difference to how smoothly the curler grips.
Making the Curl Actually Last All Day
Here’s the frustration lots of people have — you curl, you apply mascara, and by noon your lashes have drooped straight again. The curl dropping isn’t always your fault.
Straight, stubborn, or heavy lashes fight back. But you can stack the odds in your favor.
- Use the warm-curler trick above. Heat sets a curl far better than a cold clamp.
- Reach for a curling-type mascara. A good volumizing mascara or a formula labeled “curl” or “lift” has polymers that help hold shape as it dries.
- Apply a lash primer first. Primer for lashes gives mascara something to grip and adds a base that supports the curl.
- Consider waterproof mascara. It tends to hold a curl longer because it resists humidity and doesn’t soften. The trade-off is harder removal, so don’t wear it daily.
- Use the wiggle mascara technique. Start the mascara wand at the base of the lash line and wiggle side to side as you sweep up. This coats the root, which is where the curl needs support most.
Let each coat of mascara dry a little before the next one. Piling wet product on wet product is how you get clumping and how the weight drags your curl down.
For anyone tired of the whole curl-and-hold cycle, a professional lash lift is worth considering. It’s a semi-permanent treatment that curls the lashes from the root using a setting solution, and results last six to eight weeks.
No daily curler, no droop by afternoon. An eyelash serum can also strengthen and lengthen your natural lashes over time, giving the curler more to work with.
What About False Eyelashes and Special Cases
False eyelashes change the rules a bit. If you’re wearing strip lashes, curl your natural lashes first so they blend with the false ones, then apply the strip.
Don’t curl over falsies — you’ll wreck them and possibly pull them loose. A gentle warm curler can marry your real and false lashes together after application if you’re careful, but a mechanical clamp is a no.
Lengthening mascara users sometimes skip curling entirely because the fiber formula weighs lashes down and a curl won’t survive. If that’s you, a lash lift or heated curler used after full drying is the safer bet.
And if your lashes are naturally curled already? You might not need the clamp at all.
Curling a naturally curved lash can push it past a flattering angle into a startled look. Test with mascara alone first and add the curler only if you want more lift.
Frequently Asked Questions
Can you curl eyelashes after applying mascara at all?
You can, but you shouldn’t with a standard clamp — dried product makes lashes brittle and the curler can snap them or pull them out. If you need to fix the curl afterward, wait until the mascara is completely dry and use a gentle heated eyelash curler instead of a mechanical one.
How long should you hold an eyelash curler?
Around 10 seconds at the base, then a few seconds each at the middle and tips. Holding too briefly gives a weak curl; clamping too hard or too long risks pinching. Gentle, steady pressure wins over force every time.
Does warming the curler really help?
Yes. Blow warm air from a hairdryer over the metal for a few seconds, test it on your hand so it’s warm not hot, then curl. The heat sets the curl the way a hot tool sets hair, and it holds noticeably longer than a cold clamp.
Which mascara holds a curl the best?
Waterproof mascara generally holds a curl longest because it resists moisture and doesn’t soften through the day. A curling or volumizing formula with a good primer underneath also helps. Heavy lengthening mascaras with lots of fibers tend to drag curls down.
Will curling my eyelashes damage them?
Not if you do it correctly — on clean, dry lashes, before mascara, with light pressure and a well-maintained pad. Damage happens when you curl over dried mascara, use a cracked silicone pad, or clamp too aggressively near the root.
The Bottom Line
Curl before mascara, every time. Bare lashes bend cleanly and take a curl without cracking, sticking, or breaking.
Once you add mascara, the coating hardens and any clamp becomes a hazard. Set your curl with a little warmth, support it with the right mascara and maybe a primer, and use the wiggle technique to lock in lift at the root.
Keep your curler pad fresh, be gentle near the lash line, and never force a curler onto a lash that’s already coated. Follow that order and you’ll get lashes that look fuller, lifted, and undamaged — without gambling a single hair in the process.