Mascara might be the single most transformative thing in a makeup bag. One coat and your eyes suddenly look wider, more awake, and framed like they matter.
Yet plenty of people still fight with the wand, end up with clumps, or smudge black flecks across their lids by mid-morning. If you’ve ever wondered how do you put on mascara so it actually looks good and stays put, you’re in the right place.
The technique is simple once you understand it. The trouble is nobody really teaches it.
You watch a friend do it in a car mirror, copy the motion, and hope for the best. Let’s slow it down and get it right.
Why Technique Matters More Than the Product
People spend a fortune chasing the perfect tube. And sure, the formula helps. But even a drugstore mascara can look expensive if you apply it well, while a luxury one looks like a mess if you rush it.
What you’re really doing is coating each lash from root to tip, separating them, and building just enough product to add volume or length without weighing them down. The eye is delicate.
The lash line is tiny. Getting pigment right up against those roots is where the magic lives, and it’s also where most beginners go wrong by only swiping the middle of the lashes.
Here’s a truth worth remembering: mascara is meant to enhance, not to hide. The goal isn’t spider legs. It’s your lashes, but better.
“Mascara opens up the eye instantly, but the biggest mistake is applying too much before the first coat dries,” notes guidance echoed across professional makeup training, where wet-over-wet layering is the leading cause of clumps.
What You Need Before You Start
You don’t need a huge kit. A few basics make the whole thing easier and cleaner.
- A fresh tube of mascara — check the date, because dried-out formula clumps and can irritate the eye
- An eyelash curler, if you want lift (optional but helpful)
- A lash primer for extra staying power and volume
- A clean spoolie brush to comb out any clumps
- Cotton swabs and a little makeup remover for cleanup
- Good lighting and a mirror you can get close to
That’s it. Some folks swear by a plastic spoon or a business card held behind the lashes to catch stray product and shield the lid. Worth trying if you smudge a lot.
How Do You Put On Mascara Step by Step
Let’s walk through the actual application. Do this after your eyeshadow and eyeliner, near the end of your makeup routine, so nothing disturbs the finish.
Step 1: Curl first, if you’re curling
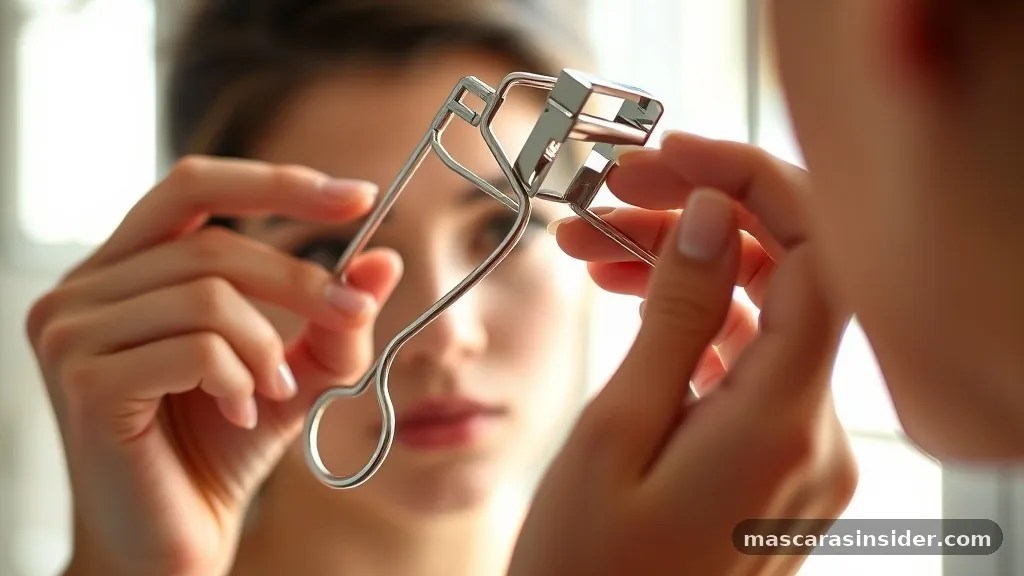
Always curl before mascara, never after. Curling coated lashes can snap them right off.
Place the curler at the base of your upper lash line, squeeze gently for about ten seconds, then release. A little wiggle up toward the tips gives a softer, more natural curl instead of a harsh right angle.
Step 2: Wipe the wand
Pull the mascara wand out of the tube and wipe off the excess against the neck of the bottle. Don’t pump the wand in and out.
Pumping pushes air into the tube, dries the formula faster, and loads too much product on the brush. That’s clump city.
Step 3: Start at the root
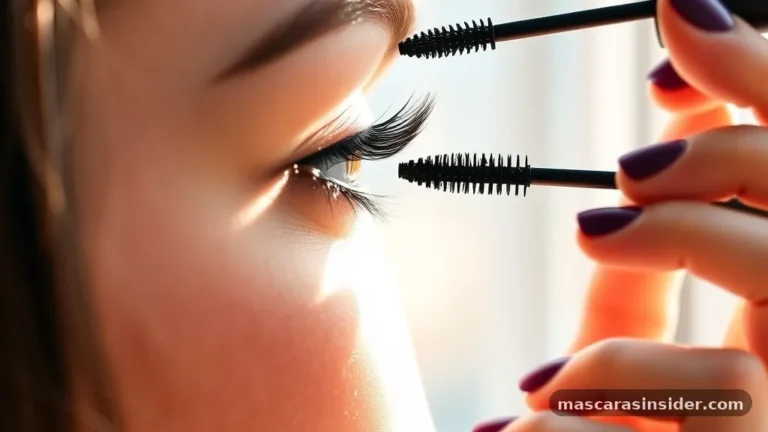
Look slightly down into the mirror. Bring the brush to the base of your upper lashes, right at the lash line, and press in gently. This deposits the most pigment where it counts and creates the illusion of a fuller lash line.
Then sweep upward and out toward the tips in a slow wiggle motion. The wiggle separates each hair.
Step 4: Build gradually
One coat is often enough. If you want more, wait a few seconds and add a second coat before the first fully dries — but not while it’s soaking wet.
Two coats maximum for most looks. Beyond that, you’re just adding weight and risking flakes.
Step 5: Coat the corners and outer lashes
Those short lashes at the inner and outer corners get missed a lot. Turn the wand vertical and use the tip to catch them. This little detail makes the whole eye look finished.
Do You Put Mascara On Both Sides Of Your Lashes?
Short answer: you can, and many pros do. Coating the underside of the top lashes is the standard move — it’s how you lift and hold the curl. Some people also brush the top surface of the lashes for extra darkness and definition, sweeping the wand down from above.
For everyday wear, the underside alone usually does the job. If you want dramatic volume for an event, work both sides. Just remember every extra pass adds product, so keep the load on the brush light.
Wiggling at the root and pulling through is more important than which side you hit. That root-to-tip motion is what separates and lengthens.
Applying Mascara To Your Bottom Lashes
Bottom lashes are optional and a matter of taste. Skipping them gives a clean, wide-eyed look. Adding them gives more definition and balance, especially if your top lashes are heavy.
Use less product down here. Hold the wand vertically and gently touch the tip to each lower lash, or wiggle it side to side across them. A little goes a long way, and too much bottom mascara is the number one cause of under-eye smudging.
A common question is whether older women should wear mascara on the bottom lashes. There’s no rule against it.
The main concern is smudging, since fine lines under the eye can catch product. If that’s an issue, use a smudge-proof or tubing formula, apply a whisper of product, and set the under-eye area with a light dusting of powder beforehand.
Choosing the Right Formula for the Look You Want
Not every mascara does the same thing. The formula and the brush shape both matter.
A lengthening mascara stretches your lashes; a volumizing one thickens them. Waterproof holds up against tears and humidity but is harder to remove.
Here’s a quick comparison to help you choose.
| Formula type | Best for | Brush style | Keep in mind |
|---|---|---|---|
| Lengthening | Adding length to short lashes | Slim, comb-like bristles | Less thickening than volume types |
| Volumizing | Fuller, thicker lashes | Dense, fat brush | Can clump if over-applied |
| Waterproof | Humidity, tears, long days | Varies | Needs oil-based remover |
| Tubing | Smudge-proof, easy removal | Fine bristles | Removes with warm water alone |
| Lash primer | Extra hold and volume boost | Spoolie-like | Used under regular mascara |
If you struggle with staying power or want maximum volume, a primer laid down first gives your mascara something to grip. Curl, prime, then apply your chosen mascara over the top.
Common Mistakes and How To Avoid Them
Most mascara problems trace back to a handful of habits. Fix these and your results jump.
Pumping the wand, as mentioned, dries out the product and loads clumps. Applying a third or fourth coat gives you flakes by lunch.
Reaching for expired mascara — anything past three months old — risks eye irritation and infection. The American Academy of Dermatology recommends tossing eye makeup regularly and never sharing it, since bacteria thrive in the moist tube.
Other slip-ups worth watching:
- Skipping the comb-out. A clean spoolie run through wet lashes separates clumps instantly.
- Rushing. Wet mascara transfers to your lid and brow bone if you blink too soon. Give it a moment.
- Rubbing your eyes during the day, which drags product down into smudges.
- Coating only the middle of the lash and ignoring the root, which flattens the whole effect.
- Forgetting to wipe excess off the wand before you start.
If a clump does form, don’t panic and don’t rub. Wait until it dries, then comb it out with a dry spoolie or gently pinch it off.
Tips For Mature Eyes and Softer Looks
As we age, lashes can thin and the skin around the eye gets more delicate. Mascara still works beautifully — the approach just shifts a little.
Go for a lengthening or tubing formula over a heavy volumizing one, since dense product can look harsh and settle into fine lines. Curling makes a real difference here, opening the eye and creating lift without adding weight. Focus most of your product on the upper lashes, keep the bottom lashes light or bare, and choose brown-black over jet black for a softer frame.
Waterproof formulas resist watering eyes, which are more common with age, but balance that against the tugging needed to remove them. Tubing mascaras are a gentle middle ground — they slide off with warm water and a little pressure, no scrubbing required.
How To Apply Mascara Without an Eyelash Curler
No curler? You can still get lift.
Hold the mascara wand at the root of your upper lashes and press upward, holding for a couple of seconds before sweeping through. That upward press coaxes a curl into the lashes as the product sets.
Wiggle at the base, push up and out, and let each coat dry a touch before the next. A lash primer helps hold whatever curl you create. It’s not identical to a curler, but for a natural everyday look it gets you most of the way there.
Frequently Asked Questions
How do you apply mascara without clumping?
Wipe excess off the wand before you start, never pump the brush, and apply thin coats. Comb through with a clean spoolie while the product is still wet, and stop at two coats. Clumps usually mean too much product or a formula that’s drying out.
Should you put mascara on before or after eyeshadow?
After. Do your eyeshadow and liner first, then finish with mascara. Applying it last means no eyeshadow fallout lands on wet lashes, and you won’t smudge fresh mascara while working on the lid.
How do you apply mascara for length instead of volume?
Choose a lengthening formula with a slim, comb-like brush. Start at the root, then draw the wand slowly through to the very tips with a light hand, wiggling to separate. Avoid piling on coats, which adds bulk rather than length.
What should you not do when applying mascara?
Don’t pump the wand, don’t apply more than two or three coats, don’t curl after applying, and don’t use old, expired product. Also avoid rubbing your eyes afterward and skip coating only the middle of the lash while ignoring the base.
Can you use a spoon to apply mascara?
Yes. Hold the curved back of a clean spoon against your eyelid, behind the lashes, while you apply. It catches stray product and keeps mascara off your lid, which is handy if you smudge easily or have hooded eyes.
Final Thoughts
Learning how do you put on mascara really comes down to a few reliable moves: curl first, wipe the wand, start at the root, wiggle upward, and build in thin coats. Pick a formula that matches the look you’re after, whether that’s length, volume, or a smudge-proof finish for a long day.
The rest is practice. Your first few attempts might smudge or clump, and that’s normal.
Keep your product fresh, work slowly, and don’t overdo it. Do that, and mascara stops being a chore and becomes the ten-second step that ties your whole look together.