Mastering the art of using mascara primer can transform your daily beauty routine from average to professional. Many people struggle with lashes that clump, flake, or fail to hold a curl throughout the day. By incorporating a conditioning base coat, you create the perfect canvas for your favorite volumizing mascara.
This simple addition ensures that every application looks smooth, bold, and long-lasting. Whether you are aiming for a natural daytime look or dramatic evening glamour, understanding the nuances of application will help you achieve the best results without the frustration of smudging or uneven coverage.
Understanding the Role of Mascara Primer
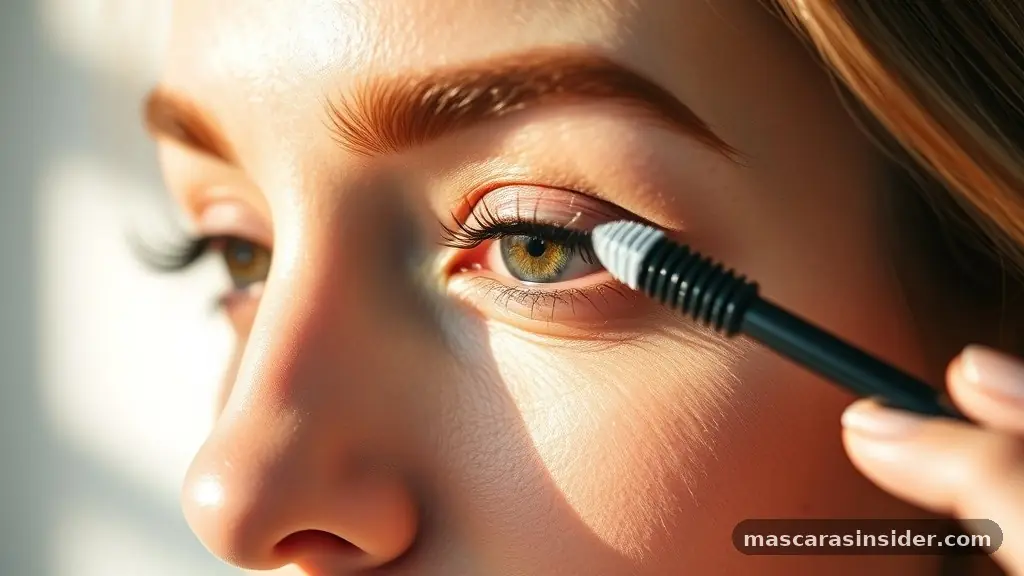
A mascara primer acts as a foundational layer for your eyes, similar to how a face primer prepares your skin for foundation. It typically features a creamy, often white or tinted formula designed to coat each individual lash from root to tip.
The primary goal is to add thickness and length before your colored mascara even touches the hairs. By building this extra volume at the base, you provide a structural scaffold that makes your final coat of makeup appear significantly more dramatic.
Beyond aesthetics, these products often contain nourishing ingredients like panthenol, peptides, or natural waxes. These components help condition the lashes, preventing them from becoming brittle or dry over time.
When you use a high-quality primer, you aren’t just improving the immediate look; you are also protecting the delicate hair fibers from the harsh ingredients sometimes found in waterproof formulas. It creates a protective barrier that makes the final removal process much easier on your eyes.
Selecting the Right Formula for Your Needs
Not all primers are created equal, and choosing the right one depends entirely on your specific lash goals. Some formulas focus on extreme length, while others emphasize maximum volume.
If you have naturally thin or sparse lashes, look for a product that contains micro-fibers. These tiny synthetic fibers cling to your natural hair, extending the reach of your mascara to create a false-lash effect.
If you prefer a more subtle, everyday appearance, a tinted primer might be a better choice. These versions usually come in muted shades like brown or light grey, which blend more naturally with your lashes than stark white options.
They provide the necessary base without the risk of visible light patches if you don’t apply your top coat perfectly. Consider your daily routine and whether you need a formula that pairs specifically with a waterproof or washable top coat for the best adhesion.
Preparing Your Lashes for Application
Before you even open the tube, your lashes need to be clean and free of residual oils. Any leftover eye cream, moisturizer, or old makeup will prevent the primer from gripping properly, leading to flaking later in the day.
Use a gentle, oil-free cleanser to wipe your lids and lashes thoroughly. Once clean, make sure they are completely dry, as moisture can cause the product to clump immediately upon contact.
Using an eyelash curler is an essential step that should happen before you apply any liquid products. Curling your lashes while they are bare allows the curler to reach the root effectively without slipping on wet mascara.
Once they are lifted, they are ready for the primer. This sequence ensures that the curl is locked into place by the weight of the dual-layer application, providing a wide-awake look that lasts from morning until night.
Step-by-Step Application Technique
The process of applying primer is similar to using regular mascara, but the speed at which you work matters. Start by placing the brush at the very base of your lashes.
Wiggle the wand side-to-side to deposit a generous amount of product at the roots; this is where the most volume is generated. Slowly pull the wand upward through the length of the lashes, ensuring that you coat every side of the hair.
You do not need to wait for the primer to become completely bone-dry before moving on. In fact, most makeup artists recommend applying your top coat while the primer is still slightly tacky.
This creates a better bond between the two layers, preventing the “spidery” look that happens when products are applied to fully hardened surfaces. If you notice any clumps, use a clean spoolie brush to comb through the lashes immediately while the formula is still workable.
Managing Dry Time and Layering
Timing is arguably the most critical aspect of the entire process. If you wait too long, the primer will set and become rigid, making it difficult to coat with your colored mascara.
Conversely, applying the top coat too quickly can cause the two formulas to mix, leading to a greyish, muted color rather than a deep, rich black. The sweet spot is usually about thirty seconds to a minute of drying time.
You can test the readiness of your primer by touching the very tips of your lashes with a clean finger. If they feel slightly tacky but don’t leave wet residue on your skin, they are perfectly primed for the next step.
If you are using a very heavy or fiber-rich primer, you might find that you only need a single coat of your favorite volumizing mascara to achieve the desired effect. Layering too much product will eventually cause the lashes to droop under their own weight.
Addressing Common Application Challenges
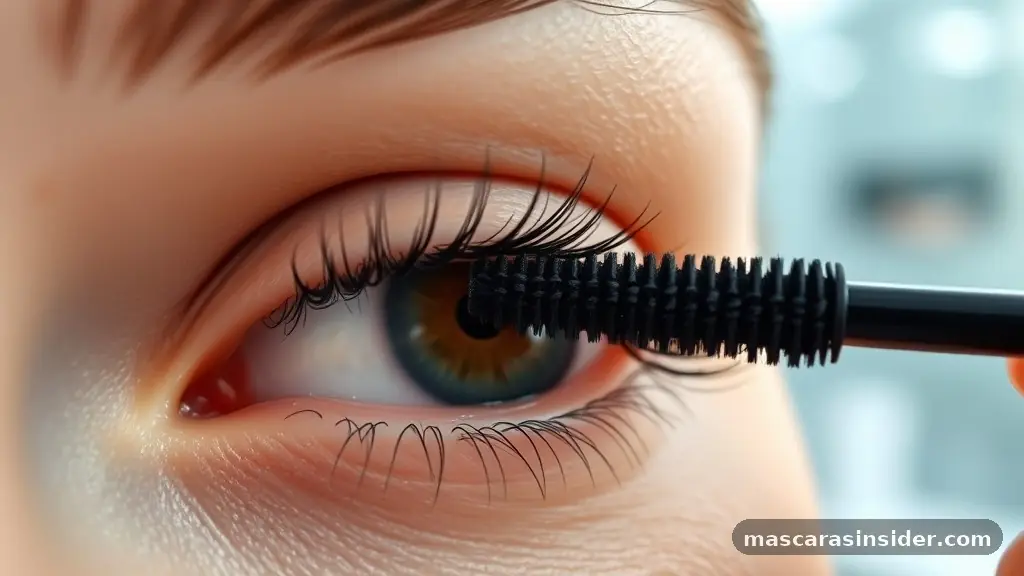
One of the most frequent complaints is the appearance of white residue at the tips of the lashes. This usually occurs when you apply too much product to the very ends of the hair, which don’t have enough surface area to hold the weight. To fix this, focus your application on the roots and mid-lengths, using only the residual product on the wand to lightly sweep over the tips.
Another common issue involves clumping, which often results from an old or dried-out brush. If your mascara primer wand is caked with old product, it will deposit chunks rather than a smooth, even coat.
Make sure to wipe the excess product off the wand onto the rim of the tube before each application. This simple habit keeps your brush clean and ensures you are only applying the necessary amount of formula to your eyes.
Comparing Different Types of Primers
To help you decide which product fits your routine, consider the following breakdown of common primer types and their primary benefits.
| Primer Type | Best For | Key Characteristic |
|---|---|---|
| Fiber-Infused | Adding significant length | Contains nylon or silk fibers |
| Conditioning/Clear | Health and maintenance | Rich in vitamins and oils |
| Tinted/Colored | Natural, subtle definition | Blends easily with dark lashes |
| Volumizing/Thickening | Sparse or thin lashes | Builds bulk at the lash base |
Tips for Achieving Maximum Volume and Length
If you want to push your look to the next level, try a technique known as “tight-lining” in combination with your primer. By applying a tiny bit of waterproof liner to your upper waterline, you create the illusion of even thicker, denser lashes at the base. When you follow this with your primed and mascara-coated lashes, the transition from skin to hair is seamless and incredibly impactful.
Another pro tip involves the “zig-zag” motion. Instead of pulling the brush straight up, always use a horizontal wiggling motion as you move from the roots to the tips. This action separates the lashes while simultaneously coating them from all angles.
It is the secret to getting a fanned-out, wide-eye effect that looks like a professional salon job. You can find more detailed advice on eye makeup health at the American Academy of Ophthalmology to ensure you are always using products safely.
Troubleshooting Clumps and Smudges
If you find that your lashes are sticking together, don’t panic. Keep a metal lash comb or a clean spoolie in your vanity kit specifically for this purpose.
If you see clumping, comb through the lashes while the mascara is still damp. A metal comb is particularly effective because the thin teeth can slice through even the most stubborn clumps without removing too much of the product.
Smudging under the eyes is another common frustration, especially if you have naturally oily lids. Using a primer actually helps solve this issue by creating a barrier that prevents the mascara from migrating.
However, if you still notice smudging, ensure that you aren’t applying your primer too close to the waterline. Keep the application to the middle and outer sections of the lashes to avoid contact with the skin under your eyes.
Integrating Primer into Your Daily Routine
Incorporating a new step into your makeup routine can feel daunting, but it becomes second nature quickly. Keep your primer right next to your favorite mascara so you don’t forget to use it.
If you are in a rush, you can skip the primer on your lower lashes entirely. Focusing the product on the upper lashes provides the most visual impact, as that is where the volume and length are most noticeable.
Remember that a little goes a long way. You do not need to layer the product until it looks heavy or wet.
A thin, even coat is all that is required to provide the grip your mascara needs to stay put. As you get comfortable with the process, you may find that you can use less of your expensive mascara because the primer is doing the heavy lifting of building the volume.
Answering Topical Gaps
One question that often arises is whether you can wear primer on its own. While you certainly can, it isn’t designed to be a standalone product.
Most primers are white or semi-translucent, and they don’t provide the dark, defined look that traditional mascara offers. However, if you are having a “no-makeup” day, a clear or tinted conditioning primer can give your lashes a subtle, groomed appearance without the intensity of a full coat of black makeup.
Another gap in common knowledge is how to store these products. Because primers are designed to sit close to the eye, they are susceptible to bacteria.
Keep the tube tightly closed when not in use and replace your primer every three months, just as you would with your regular mascara. If the formula starts to smell different or changes texture significantly, it is time to discard it and shop now for a fresh tube to maintain your eye health.
Frequently Asked Questions
Do you need to let mascara primer dry completely before applying mascara?
You should let the primer become tacky but not completely dry. If you wait until it is fully hard, the mascara will not adhere correctly. Aim for about 30 to 60 seconds of drying time so the two formulas can bond together effectively for a long-lasting, smooth finish.
What is the primary benefit of using a lash primer?
The main benefit is the creation of a smooth, uniform base that enhances volume and length. It acts as a foundation, allowing your mascara to grip better, which reduces flaking and smudging. Additionally, many primers contain conditioning agents that protect your lashes from becoming brittle or damaged.
Can you use mascara primer with waterproof formulas?
Yes, you can use primer with waterproof mascara. In fact, it is often recommended because the primer acts as a buffer between your natural lashes and the drying agents in waterproof formulas. Just ensure your primer is compatible with the type of remover you use to keep your cleaning process simple.
Is it necessary to use a primer every single day?
It is not strictly necessary, but it is highly recommended if you want to achieve a more dramatic look or improve the health of your lashes. If you are in a hurry, you can skip it, but consistent use will help maintain lash strength and improve the overall appearance of your makeup.
Achieving Your Best Look
Mastering how to use mascara primer is a game-changer for anyone who wants to enhance their natural lashes. By focusing on the root, allowing for proper tackiness, and choosing a formula that suits your specific hair type, you can achieve a professional, wide-eyed look every single day. This simple addition to your routine not only boosts volume and length but also provides a layer of protection that keeps your lashes healthy and strong.
Start with a thin coat to see how it works with your current products, and don’t be afraid to experiment with different types of wands and formulas. With a little practice, you will find the perfect combination for your unique style. Feel free to share your favorite primer pairings or reach out if you have more questions about refining your eye makeup technique.