It’s one of those beauty questions that sparks genuine arguments at the makeup counter. You’ve got your eyelash curler in one hand, your mascara in the other, and a split second of doubt. Which goes first?
Get it wrong and you could end up with clumpy, stuck-together lashes or, worse, a few snapped off in the curler. Get it right and you’ll walk out with a wide-eyed, lifted look that lasts all day.
The short answer, backed by nearly every makeup artist worth their kit: curl first, then apply mascara. But the reasoning behind that rule matters, and there are a handful of situations where the standard advice bends. Let’s break it all down.
The Golden Rule: Curl Before, Mascara After
Almost universally, professionals agree you should curl your lashes before you reach for the mascara wand. The logic is simple physics.
A clean, dry lash is smooth and flexible. When you clamp it in the curler, it bends easily and holds its new shape.
Mascara changes everything. Once you coat a lash in a wet or drying formula, it becomes rigid and sticky. Press a curler onto that, and you’re basically gluing your lashes to the rubber pad.
When you release, some lashes come with it. Not a good look.
Celebrity makeup artist Bobbi Brown has long echoed this order in her tutorials, and the guidance shows up consistently in editorial beauty coverage. As Vogue and other publications have noted, curling on bare lashes protects them and gives the cleanest lift.
Here’s the sequence most experts recommend:
- Start with completely clean, dry lashes free of any oil or leftover eye makeup
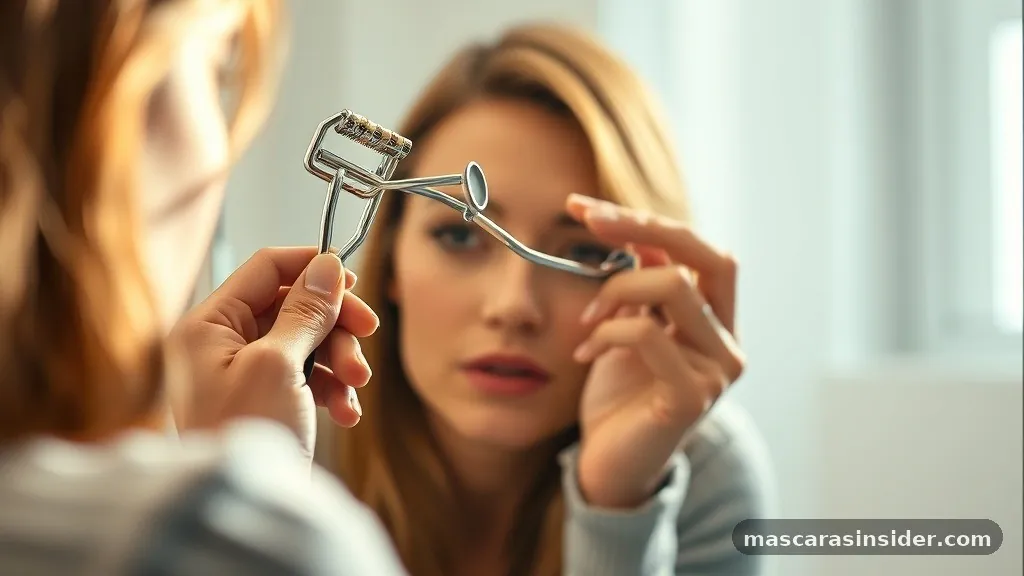
- Position the eyelash curler at the base of your lashes, close to the lash line
- Gently squeeze and hold for several seconds, then slowly move outward toward the tips
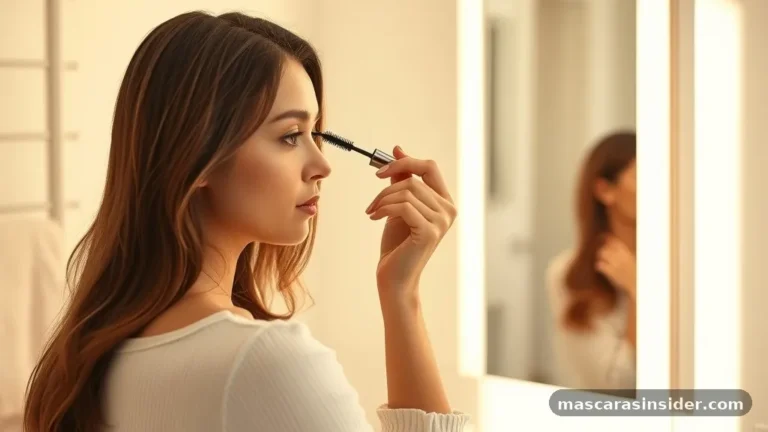
- Release carefully and only then apply your mascara in upward strokes
Follow that and you get a lifted shape plus mascara that locks the curl in place. The two steps work together instead of fighting each other.
Why Curling After Mascara Damages Your Lashes
If you take one thing from this article, make it this. Curling after mascara is the fastest way to weaken and break your lashes.
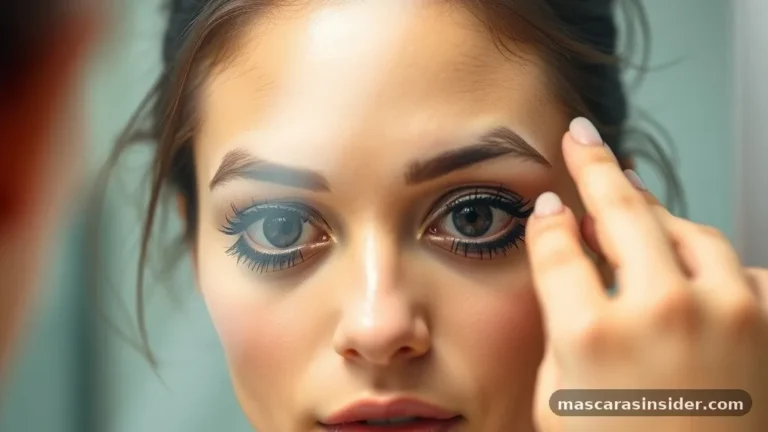
Think about what mascara does. It coats each hair in a film that dries and hardens. That film makes the lash stiff and brittle.
Now imagine bending something stiff and brittle at a sharp angle. It cracks. Your lashes do the same thing, and over time you’ll notice thinning or bald patches.
There’s also the sticking problem I mentioned. Wet or semi-dry mascara acts like an adhesive between your lashes and the silicone pad of the curler.
Release the clamp too fast and you’ll feel that horrible tug. Some lashes give up and pull right out.
Dermatologists and makeup artists both warn against this. The mechanical stress of curling coated lashes causes needless breakage, and eyelashes don’t grow back overnight.
A single lash takes weeks to fully regrow. So a habit that snaps a few each morning adds up fast.
If you’ve already applied mascara and realise your curl fell flat, resist the urge to grab the curler. Wait until your next wash, or use a heated lash tool designed to work over mascara without the same risk. More on that shortly.
How to Curl Your Lashes Properly Before Mascara
Getting the order right is half the battle. Technique is the other half.
A rushed clamp near the tips gives you a weird kinked angle that looks unnatural. Here’s how to do it well.
Prep matters
Make sure your lashes are totally dry and clean. Any residue from oil-based makeup remover or moisturiser will make lashes slippery and reduce how well the curl holds. A quick swipe with a clean spoolie can also separate them before you begin.
The pump technique
Instead of one hard squeeze at the base, work in gentle pumps along the lash. Start close to the lash line, hold for about ten seconds, then release slightly and move the curler a touch further out.
Repeat once or twice toward the tips. This creates a natural, rounded curve rather than a sharp bend.
Warm it up for a longer-lasting curl
Want the lift to hold through a long day? Warm your eyelash curler for a couple of seconds with a hair dryer, then test it on the back of your hand so it isn’t too hot.
The gentle heat helps set the curl the same way a curling iron sets your hair. Never apply a scorching tool straight to your eye area.
Then apply mascara
Once your lashes are curled, apply mascara from base to tip in upward, wiggling motions. This coats the lift you just created and holds the shape in place. Wait for it to dry fully before you touch or blink hard.
When It’s Okay to Curl After Mascara (The Exceptions)
Rules have exceptions, and lash curling is no different. There are a few scenarios where curling after mascara is either fine or actually the intended method.
The big one is heated lash curlers. These are wands, not clamps, designed to gently reshape lashes with warmth rather than pressure.
Because there’s no pinching and no rubber pad, the sticking-and-snapping problem largely disappears. Many people use them to touch up a drooping curl over dried mascara without harming their lashes.
Some makeup artists also do a very light second curl after mascara to blend or lift a few stubborn hairs. The keyword there is light, and it’s done on fully dried mascara, never wet. Even then, it’s a pro move and not something beginners should copy daily.
Here’s a quick comparison of the tools and when each fits best:
| Tool | Best Used | Risk of Damage |
|---|---|---|
| Classic clamp eyelash curler | Before mascara, on clean dry lashes | Low if used before, high if used after |
| Heated eyelash curler (wand) | Before or after mascara | Low |
| Mini corner curler | Before mascara, for inner and outer lashes | Low |
| Fingers (manual press) | After mascara, for a soft lift | Very low |
So while the default answer stays curl before mascara, the heated wand gives you a safe way to bend the rule when your curl has dropped.
Common Mistakes That Ruin Your Curl
Plenty of people follow the right order and still end up with flat or damaged lashes. Usually it comes down to small technique errors. Here are the ones I see most often.
Curling too fast. A one-second pinch does almost nothing. Your lashes need time to take on the new shape, so hold each squeeze for a proper count.
Squeezing too hard right at the base. Aggressive clamping creates that harsh right-angle kink that screams “curled.” A gentle hold gives a softer, more natural lift.
Using a dirty or old curler. The silicone pad wears down over time and can develop hard edges that literally cut lashes. Replace the pad every few months and wipe the curler clean regularly to remove mascara buildup.
Curling over wet mascara. We’ve covered this, but it bears repeating because it’s the single most damaging mistake.
Skipping the outer corners
Skipping the outer corners. A standard curler often misses the inner and outer lashes. A mini corner curler helps you reach them for an even, wide-eyed shape.
Forgetting to warm the tool. If your lashes are stubbornly straight, a slightly warmed curler holds far better than a cold one. Just always test the temperature first.
Does Curling Actually Damage Your Lashes?
This worry comes up a lot, and it’s a fair one. Any tool that clamps your lashes carries some risk. But used correctly, an eyelash curler is safe for daily use.
The damage almost always comes from misuse, not the tool itself. Curling coated lashes, yanking the curler away, pressing too hard, or using a curler with a torn pad. Avoid those, and you’re fine.
To keep your lashes healthy while still enjoying that lift, keep a few habits in mind:
- Always curl clean, dry lashes and never over wet product
- Release the clamp gently, never in a hurry
- Replace the rubber or silicone pad every three to four months
- Use a lash serum or conditioner if you curl daily to support strength
- Remove eye makeup with a gentle remover so lashes stay conditioned
Curling doesn’t have to weaken your lashes. Treat the process with a little care and your lashes stay full while your eyes look brighter.
Frequently Asked Questions
Before. Curl clean, dry lashes first, then apply mascara to hold the shape. Curling after mascara can cause lashes to stick to the curler and snap because the dried formula makes them stiff and brittle.
Can I curl my lashes again after mascara if the curl drops?
You can, but only with a heated eyelash curler on fully dried mascara. Avoid using a standard clamp curler over mascara, as it risks pulling out or breaking your lashes.
How long should I hold the eyelash curler?
Hold at the base for around ten seconds, then release slightly and repeat toward the tips. Gentle pumps along the lash create a more natural curve than one hard squeeze.
Does curling your lashes damage them?
Not if done correctly on clean, dry lashes with a well-maintained curler. Damage usually comes from curling over wet mascara, pulling the tool away too fast, or using a curler with a worn pad.
How do I make my lash curl last all day?
Gently warm your curler before use, apply mascara to lock in the shape, and reach for a waterproof or long-wear formula if your lashes tend to drop by midday.
The Bottom Line
So, do you curl your lashes before or after mascara? Before, almost every time.
Start with clean, dry lashes, curl gently from the base to the tips, then apply your mascara to set that beautiful lift in place. This order protects your lashes from breakage and gives you the most natural, long-lasting curl.
The main exception is a heated lash wand, which lets you safely touch up a drooping curl over dried mascara. Beyond that, keep your curler clean, replace the pad a few times a year, and never clamp down on wet product.
Do that and you’ll get wide-eyed, lifted lashes without sacrificing their health. It really is a small change in routine that makes a noticeable difference in the mirror.