Ever squinted at the ingredient list on your favorite tube of mascara and wondered what half those words actually mean? You’re not alone.
More people are turning to their kitchen cabinets to whip up their own lash products, partly out of curiosity and partly to dodge the parabens, synthetic dyes, and preservatives that show up in a lot of commercial makeup. The good news is that making mascara at home is far simpler than it sounds, and you probably already own most of the stuff you need.
This guide walks through exactly how do you make mascara from scratch, which ingredients matter, and how to keep the whole thing safe for the delicate skin around your eyes. Let’s get into it.
What Actually Goes Into Homemade Mascara
At its core, mascara is a blend of three things: a pigment that darkens your lashes, a wax or thickener that helps the formula cling, and a liquid base that keeps everything spreadable. Commercial brands add stabilizers, film-formers, and preservatives to stretch shelf life and improve wear. A homemade version skips most of that, which is why it’s fresher but also spoils faster.
Here’s the short list of ingredients most DIY recipes lean on:
- Activated charcoal or bentonite clay for the black pigment
- Coconut oil to condition lashes and help the formula glide
- Beeswax as the thickener and hold agent (or a plant wax if you’re vegan)
- Aloe vera gel for a smooth, buildable texture
- Vegetable glycerin to add slip and a bit of moisture
- A drop or two of essential oils like lavender for a light scent
You don’t need all of these at once. Some of the most popular homemade mascara recipes use just three ingredients. The rest are optional upgrades depending on how glossy, thick, or long-wearing you want the result.
One thing worth flagging early: activated charcoal is the ingredient people gravitate to for a deep black color. It’s finely milled carbon, the same stuff sold in supplement capsules, and it’s generally regarded as skin-friendly. Bentonite clay can substitute if you want a slightly softer, more matte finish.
The Classic Three-Ingredient Recipe
If you want the fastest route, this is it. A three-ingredient homemade mascara comes together in about ten minutes and needs no special equipment beyond a small bowl and a clean container.
You’ll need:
- 2 teaspoons of coconut oil
- 4 teaspoons of aloe vera gel
- 1 to 2 capsules of activated charcoal (roughly half a teaspoon of powder)
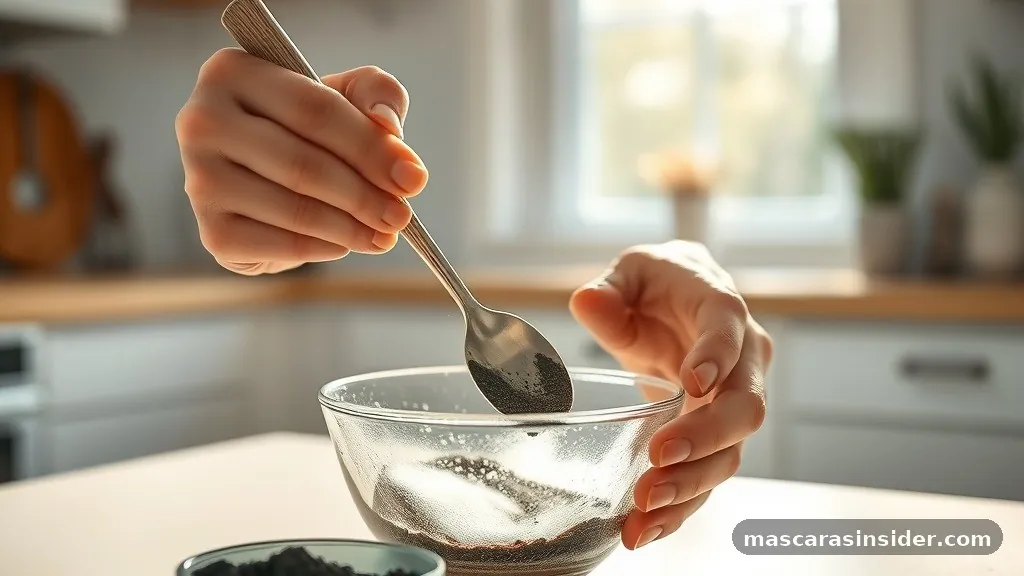
Melt the coconut oil gently until it’s just liquid, not hot. Stir in the aloe vera gel, then crack open your charcoal capsules and tap the powder in.
Mix until you get a smooth, even black paste with no gritty clumps. Spoon it into an empty, sterilized mascara tube (you can buy these online) or a tiny jar, and apply with a clean wand.
That’s genuinely all there is to it. The coconut oil nourishes your lashes while the charcoal does the darkening.
Aloe vera gel keeps the texture from separating too fast. It’s a gentle formula, which is a big plus if your eyes tend to react to store-bought makeup.
The trade-off? It won’t hold up in humidity or a rainstorm the way a waxed formula will. Think of it as an everyday, low-drama mascara rather than something for a long night out.
How Do You Make Mascara With Beeswax for Better Hold
Once you add beeswax, everything changes. The wax gives your mascara that structured, thickening quality that makes lashes look fuller and stops the formula from smudging under your eyes by lunchtime. This is the version that behaves most like the stuff you’d buy.
A reliable beeswax recipe looks like this:
- 2 teaspoons of coconut oil
- 2 teaspoons of aloe vera gel
- 1/2 teaspoon of grated beeswax
- 1 to 2 capsules of activated charcoal
- Optional: a drop of vitamin E oil or lavender essential oil
Use a double boiler to melt the beeswax and coconut oil together, since beeswax has a high melting point. Once they’re liquid, take the mixture off the heat and whisk in the aloe and charcoal.
Work quickly, because the wax firms up as it cools. Transfer to your tube before it sets.
The finished product is thicker, holds a curl better, and lasts longer through the day. It’s still not fully waterproof, but it’s noticeably more durable than the wax-free version.
If you want to make mascara without beeswax but still get some hold, candelilla wax or carnauba wax are plant-based swaps that work well for a vegan formula. They melt at slightly different temperatures, so you’ll adjust your ratios a touch, but the method stays the same.
Skipping the Charcoal: Alternative Pigment Options
Not everyone loves the idea of activated charcoal near their eyes, and that’s fine. There are other ways to get color into your DIY mascara.
Coffee is a favorite for a softer, brown-black tint. Finely ground coffee or a spoonful of strong cooled espresso can be stirred into the base for a natural-looking shade that suits fair to medium lashes.
Cocoa powder does something similar and gives a warmer brown. For a jet-black result without charcoal, non-nano black iron oxide (a cosmetic-grade mineral pigment) is the pro-level choice, and it’s what many natural makeup lines actually use.
Here’s a quick comparison of pigment choices:
| Pigment | Color Result | Best For |
|---|---|---|
| Activated charcoal | Deep black | Bold, everyday looks |
| Bentonite clay | Soft matte black | Natural, buildable coverage |
| Coffee grounds | Brown-black | Subtle, warmer tones |
| Cocoa powder | Warm brown | Light lashes, soft daytime wear |
| Black iron oxide | True black | Long-wear, salon-quality color |
Whichever you pick, make sure the powder is finely milled. Coarse grains feel scratchy and can irritate the eye. When in doubt, sift your pigment before mixing it in.
Making It Safe: Hygiene and Skin Considerations
The eye area is one of the most sensitive spots on your body, so a little caution goes a long way. Homemade mascara has no synthetic preservatives, which means bacteria can grow if you’re careless. Contaminated eye makeup is a real cause of infections, and the FDA has documented cases tied to improperly stored cosmetics.
Follow these habits and you’ll stay on the safe side:
- Sterilize your tube, jar, and wand before every batch by soaking them in rubbing alcohol or boiling water
- Make small batches so nothing sits around for weeks
- Toss any homemade mascara after two to four weeks, no exceptions
- Never share your wand, and don’t pump air into the tube
- Patch-test a new recipe on your inner arm before putting it near your eyes
For guidance on cosmetic safety and shelf life, the U.S. Food and Drug Administration’s eye cosmetic safety page is a solid, no-nonsense reference worth reading before you start.
If you have sensitive skin or a history of eye allergies, keep essential oils to an absolute minimum or leave them out entirely. Even natural oils can sting if they migrate into your eyes.
Lavender and chamomile are the gentlest picks, but less is always more here. Aloe vera gel, on the other hand, is soothing and rarely causes issues, which is part of why it shows up in so many recipes.
Turning Homemade Mascara Into a Product to Sell
Plenty of people start making mascara for themselves and then wonder if they could sell it. It’s doable, but the bar is higher than a personal recipe. To sell any cosmetic legally, you need to follow labeling rules, list all ingredients accurately, and in many regions register your products or facility with the relevant authority.
Preservation becomes the big hurdle. A homemade mascara that lasts two weeks in your bathroom won’t survive shipping and shelf time.
Commercial sellers use approved broad-spectrum preservatives and often work with a lab to run stability and challenge testing. That’s not something you can eyeball at your kitchen table.
As cosmetic chemist Perry Romanowski has put it, “The reason cosmetics have preservatives is to keep them from becoming a science experiment of microbes.” That line sums up why selling requires more rigor than DIY.
If you’re serious, invest in cosmetic-grade black iron oxide, proper preservatives, sealed sterile packaging, and product insurance. Start small, get your formula tested, and treat it like the regulated product it is. For personal use, though, none of that overhead applies, and you can enjoy your organic, homemade mascara guilt-free.
Frequently Asked Questions
How long does homemade mascara last?
Because it has no synthetic preservatives, a DIY mascara stays good for only two to four weeks. Store it in a cool, dark spot, keep the wand clean, and make small batches so you’re not tempted to stretch it past its prime. If it smells off or looks separated, throw it out.
Can I make mascara without coconut oil?
Yes. Coconut oil conditions lashes, but you can swap it for another light oil like jojoba or sweet almond oil.
Some people use a bit more aloe vera gel and a plant wax instead. The texture shifts slightly, so you may need to test the ratio until it feels right on the wand.
Is activated charcoal safe to use near the eyes?
Cosmetic-grade activated charcoal is generally considered safe for external use, and it’s a common pigment in natural makeup. That said, make sure it’s finely milled so there are no gritty bits, and always patch-test first. If you get any redness or irritation, stop using it and switch to another pigment.
How do I make homemade mascara waterproof?
True waterproofing is hard to achieve at home because it relies on film-forming polymers. Adding beeswax and a touch of candelilla wax gives you the best water resistance a DIY recipe can manage. It’ll hold up against light moisture but probably won’t survive swimming or heavy tears.
What’s the easiest homemade mascara recipe for beginners?
The three-ingredient version wins on simplicity: coconut oil, aloe vera gel, and activated charcoal. No double boiler, no wax to melt, just mix and go. It’s forgiving, gentle on the skin, and a great way to learn the basics before you experiment with thicker, longer-wearing formulas.
Final Thoughts
Making your own mascara is one of those small DIY projects that feels almost surprisingly easy once you’ve done it. A handful of natural ingredients, a clean tube, and ten minutes gets you a product you actually understand from top to bottom.
The three-ingredient recipe is your gentle everyday option, while the beeswax version steps up the hold and staying power. Swap in coffee, cocoa, or iron oxide when charcoal isn’t your thing.
Just remember the golden rules: keep everything sterile, make it in small amounts, and replace it every few weeks. Treat the sensitive skin around your eyes with care, patch-test anything new, and go easy on the essential oils.
Do that, and homemade mascara becomes a genuinely useful skill rather than a one-time experiment. Give it a try and see how it compares to whatever’s in your makeup bag right now.