Learning how to make homemade mascara allows you to take full control over the chemical composition of the products you apply near your eyes. Many commercial cosmetic products contain synthetic polymers, parabens, and fragrances that can cause irritation for those with sensitive skin.
By crafting your own natural mascara, you bypass these industrial additives in favor of simple, food-grade, or cosmetic-grade components. This process is surprisingly straightforward, requiring only a few pantry staples and a bit of patience to get the texture just right.
Understanding the Core Ingredients for DIY Mascara
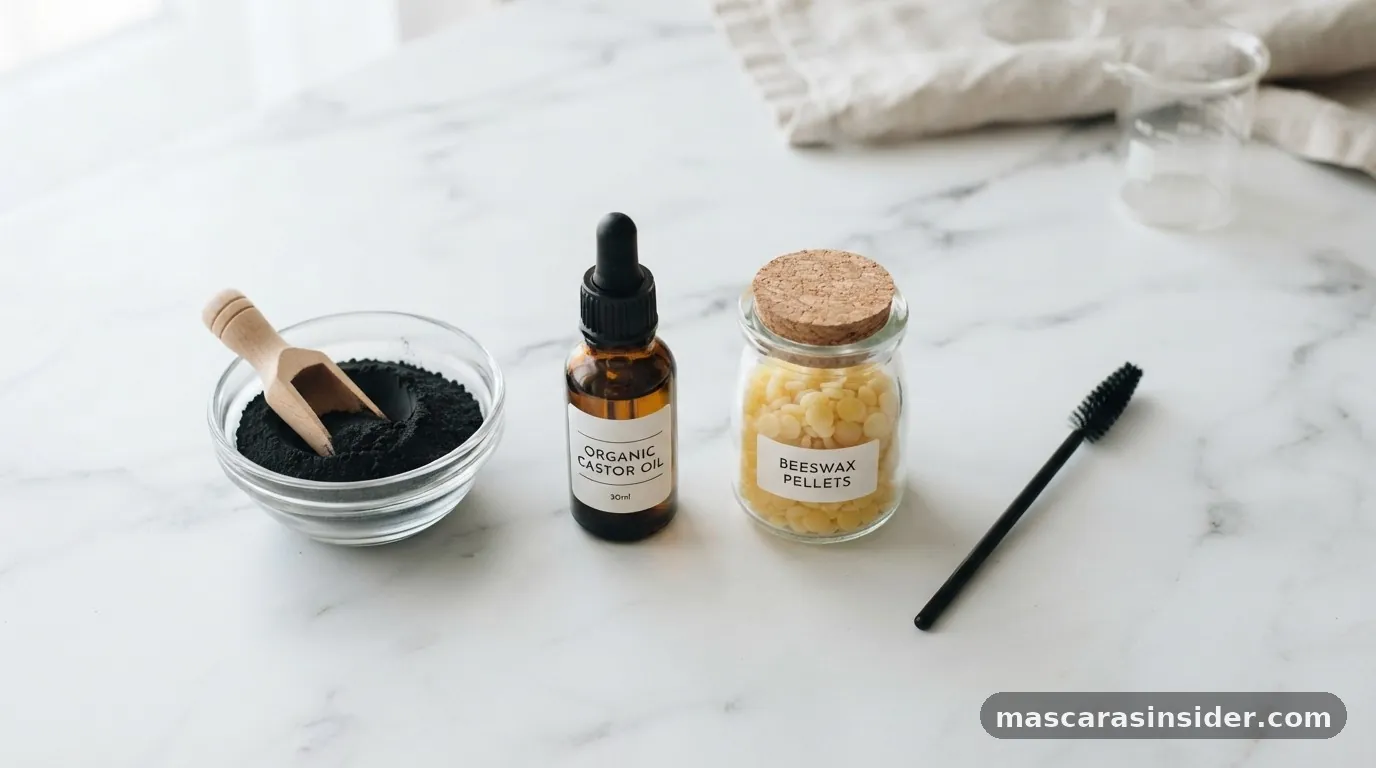
The primary ingredients used in a homemade mascara recipe typically include a fat-based carrier, a binding agent, and a color pigment. To achieve the classic black look, most recipes rely on activated charcoal or food-grade iron oxides.
Because the skin around your eyes is incredibly delicate, choosing high-quality, organic ingredients is non-negotiable. You are essentially creating a suspension where the pigment is held in a waxy or oily base that can adhere to your lashes without running or flaking.
Why Ingredient Quality Matters
You should prioritize raw, unrefined coconut oil or high-quality shea butter as your base. These fats provide the emollient properties that help the product glide onto your hair follicles. Activated charcoal acts as the primary pigment, but it also provides a slight thickening effect. When you make your own version, you ensure that no hidden harsh solvents are present. Unlike mass-produced brands that rely on synthetic waxes to achieve a waterproof effect, your DIY mascara will be gentler, though it may lack the extreme longevity of chemical-heavy alternatives.
Essential Tools and Preparation Techniques
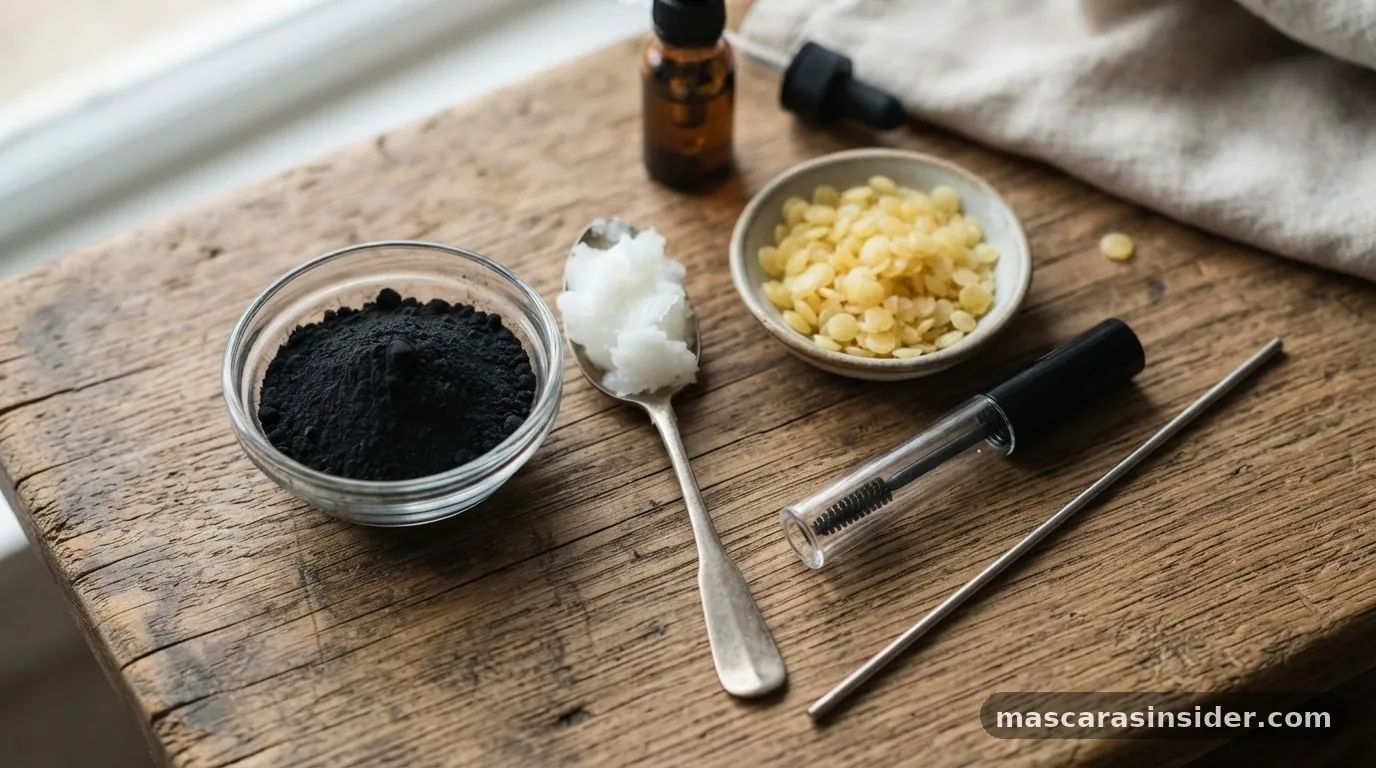
Before you begin, you need to gather specific tools to ensure your makeup creation process is sanitary and precise. You will need a clean, sanitized mascara tube with a wand, which can often be purchased empty online or repurposed from a thoroughly cleaned old container. Accuracy is key when measuring, so have a set of measuring spoons—specifically a teaspoon—ready for your dry and wet ingredients.
Maintaining Sanitary Standards
1. Sterilize your empty mascara tube using high-proof rubbing alcohol. 2. Rinse the tube thoroughly with hot water and let it air dry completely before filling. 3. Use a small funnel or a plastic bag with the corner cut off to pipe the mixture into the tube. 4. Avoid touching the wand with your fingers to prevent bacterial growth. 5. Store your finished product in a cool, dark place to maintain the shelf life of the natural oils.
Because homemade products lack the heavy-duty preservative systems found in retail items, they are prone to bacterial contamination. Making small batches is the best way to mitigate this risk.
Aim to produce only enough to last for two to four weeks. If the mixture starts to smell off or changes color, discard it immediately.
A Simple Recipe for Natural Lashes
If you are looking for an easy way to start, a basic mascara recipe involves combining a fat base with a pigment. The following method is widely considered the most effective for beginners. You will need one teaspoon of coconut oil, one teaspoon of shea butter, and about one-half to one full teaspoon of activated charcoal or bentonite clay.
Mixing and Blending
* Melt the shea butter and coconut oil in a double boiler over low heat. * Once liquid, slowly whisk in the charcoal powder. * Remove from heat and let it cool slightly until it begins to thicken. * Transfer the mixture into your mascara tube while it is still slightly warm but not hot. * Allow the product to set in the refrigerator for one hour before the first use.
This specific blend works well for everyday wear. The coconut oil provides a smooth application, while the shea butter adds a bit of structure to the formula.
If you find the mixture is too thin, you can add a tiny bit of beeswax to harden the consistency. If it is too thick, simply increase the ratio of oil.
Comparing Homemade vs. Commercial Formulations
When you decide to use a product you crafted yourself, it is helpful to understand how it stacks up against what you buy at the store. The following table highlights the functional differences between typical high-street products and a standard DIY approach.
| Feature | Commercial Mascara | Homemade Mascara |
|---|---|---|
| Preservatives | Synthetic (Parabens) | None / Natural (Vitamin E) |
| Shelf Life | 3 to 6 months | 2 to 4 weeks |
| Water Resistance | High (Polymers) | Low (Oil-based) |
| Ingredient Control | Minimal | Total |
As shown in the table, the primary tradeoff is longevity versus ingredient transparency. While you gain peace of mind knowing exactly what is in your makeup, you sacrifice the long-wear capabilities of chemical-laden tubes.
It is important to remember that the U.S. Food and Drug Administration emphasizes the importance of safety when applying substances near the eye area, so always patch-test your ingredients on your forearm before applying them to your eyelids.
Troubleshooting Common DIY Mascara Issues
Even with the best intentions, you might run into issues when you first attempt to make your own product. A common problem is clumping, which usually occurs if the charcoal powder or clay is not finely milled. If your mixture feels gritty, try straining it through a fine-mesh sieve or a piece of clean nylon stocking before putting it into the tube.
Addressing Texture and Application
Sometimes the product might smudge under the eyes. This happens because homemade, oil-based formulas don’t “dry down” like conventional ones. To fix this, you can dust a tiny amount of translucent powder under your eyes after application to absorb any excess oil. If you notice the product is too runny, you likely used too much oil. Next time, increase the proportion of your solidifying agent, such as beeswax or more shea butter. Always remember that using a small amount of product on the wand is better than over-loading it, which leads to heavy, uneven lashes.
Topical Gaps: Addressing Myths and Misconceptions
There is a lot of misinformation surrounding DIY cosmetics, particularly regarding the use of ingredients like egg yolk or aloe vera. While some online tutorials suggest using egg yolk as a protein-rich binder, this is highly discouraged.
Egg products are organic matter that can harbor salmonella and other bacteria, which can cause severe eye infections. Stick to inert, mineral-based pigments like iron oxides or food-grade charcoal.
Common Questions Answered
1. Can I use Vaseline as a base? While some people do, petroleum jelly is a byproduct of oil refining. If you want a truly natural product, stick to plant-based waxes and oils. 2. Is it really cheaper? It depends on your initial investment. Buying raw organic ingredients in bulk is cost-effective, but you must account for the cost of empty tubes and your time. 3. Why does my mascara flake? Flaking usually means the formula is too dry. A drop of organic castor oil can help improve adhesion without making the formula too greasy.
By avoiding “hacks” that involve food items that spoil easily, you ensure that your natural mascara remains a safe addition to your beauty routine. The goal is to create a product that is functional, safe, and sustainable, rather than one that relies on unstable ingredients.
FAQ: Frequently Asked Questions
Is it safe to make mascara at home?
Yes, provided you use high-quality, non-irritating ingredients and maintain strict sanitary practices. Avoid using perishable food items like egg yolks or fruit juices, which can foster bacteria. Always perform a patch test on your skin to ensure you have no allergic reactions to the oils or pigments used.
How long does homemade mascara last?
Because homemade versions lack industrial preservatives, they have a significantly shorter shelf life than store-bought products. You should aim to use your batch within two to four weeks. If you notice any change in texture, smell, or color, discard it immediately to prevent potential eye irritation or infections.
Can I make waterproof mascara at home?
True waterproof mascara requires synthetic polymers that are generally not accessible for home use. You can make a water-resistant formula by using a higher ratio of beeswax or carnauba wax, but it will not perform the same way as commercial long-wear formulas, especially in humid or wet conditions.
What is the best pigment for homemade mascara?
Activated charcoal is the most popular choice because it provides a deep, matte black color and is generally safe for cosmetic use. Food-grade iron oxides are also excellent alternatives. Ensure that any pigment you choose is labeled as safe for use around the eyes to avoid harsh chemical contaminants.