Mastering how to properly apply mascara is the secret to transforming your entire face. Whether you want a natural, wide-awake appearance or a dramatic, high-impact finish, the way you handle your mascara wand determines the final result.
Many people struggle with smudges, flaking, or those dreaded spider-leg clumps, but these issues almost always stem from technique rather than the formula itself. By refining your application process, you can maximize volume and length while keeping your eyelashes healthy and separated.
Achieving a professional result starts long before the brush touches your eye. You need to consider your lash type, the formula of your product, and the tools you utilize.
If you have been blindly swiping a tube back and forth, you are likely missing out on the full potential of your makeup. This guide breaks down the science and art of lash enhancement so you can achieve the perfect look every single time.
Preparation and Tool Selection
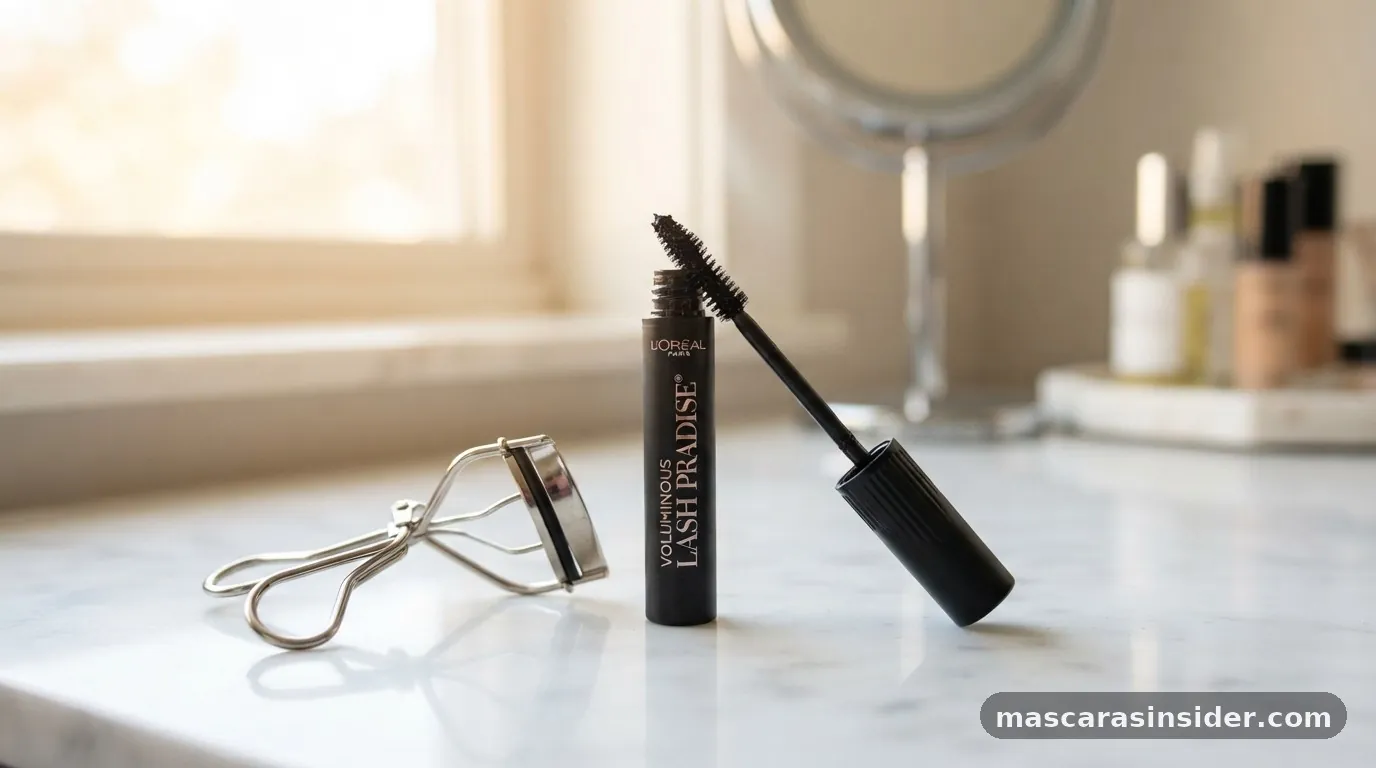
To properly apply mascara, you must first prepare your lashes by ensuring they are clean, dry, and curled using an eyelash curler before adding any product. This step is non-negotiable if you want to curl lashes effectively and open up the eye area.
Starting with a clean surface is essential because residual oils from skincare or previous makeup can cause the formula to migrate or smudge throughout the day. If you apply your makeup over oily lashes, the product won’t adhere properly, leading to flaking.
When choosing your tools, consider the shape of your mascara wand. Silicone brushes with tiny bristles are generally better for separation and definition, while larger, fluffier fiber brushes are designed to deposit more product for intense volume.
If you find that your lashes tend to stick together, a metal lash comb is an excellent investment. Use it immediately after the first coat while the formula is still wet to comb through any potential clumps.
1. Cleanse your eyelids and lashes to remove debris.
2. Use an eyelash curler at the base of the lashes, holding for five seconds.
3.
Pulse the curler slightly toward the middle of the lash length for a natural, lifted arc.
4. Ensure your mascara is not expired; old, dried-out formulas are the primary cause of clumpy, uneven application.
5. Wipe the excess product off the wand onto a tissue; this prevents overloading the lashes with too much pigment at once.
The Technique for Superior Volume
The most effective way to apply mascara for maximum volume involves a wiggling motion at the root of the lashes. This deposits the majority of the pigment where it matters most, providing a “tightlining” effect that makes the lash line appear thicker.
Many people make the mistake of pulling the wand straight through from root to tip. While this is fast, it rarely provides the lift or density that a zig-zag motion offers. By wiggling the brush at the base, you create a foundation of pigment that holds the curl and provides structural support for the rest of the lash.
Once you have established the base, pull the wand upward in a slow, steady motion. As you move toward the tips, rotate the brush slightly. This rotation helps to coat every side of the hair, ensuring that the black pigment covers the entire surface area.
If you want even more intensity, wait thirty seconds for the first layer to become “tacky” before applying a second coat. Applying a second coat while the first is bone-dry can cause the brush to catch on the dried bits, leading to breakage or unsightly clumps.
Navigating the Lower Lashes
Applying product to lower lashes requires a lighter touch and a specific hand position to avoid smudging the skin under your eye. Because the skin here is delicate and prone to fine lines, you want to ensure the formula stays put.
One common mistake is using the same amount of product on the bottom as you do on the top. The top lashes can handle multiple layers of heavy, volumizing formulas, but the bottom lashes usually look best with a single, light coat. If you find your wand is too large, you can use a small, fan-shaped brush or even a clean spoolie to apply the product.
* Hold the wand vertically to gain more control over individual hairs.
* Gently tap the wand against the roots rather than dragging it through the entire length.
* If you suffer from dark circles, keep the mascara off the very tips of the lower lashes to prevent the “shadow effect” that can make your eyes look tired.
* Keep a clean cotton swab dipped in a tiny amount of micellar water nearby to clean up any stray dots immediately.
Addressing Common Application Challenges
Even with the best products, you may encounter obstacles that prevent a smooth finish. Knowing how to troubleshoot these issues is a hallmark of someone who knows how to properly apply mascara.
If you find that your lashes are clumping together, do not try to add more product to “fix” it. Instead, take a clean, dry spoolie brush and comb through the lashes while the mascara is still wet.
This removes the excess buildup and separates the hairs without stripping away the color. For more information on maintaining eye health, you can visit the American Academy of Ophthalmology regarding safe cosmetic practices.
Another frequent issue is the “raccoon eye” effect, where mascara transfers onto the brow bone or under the eye. This usually happens because of oily skin or heavy emollients in your eye cream.
To combat this, try setting your under-eye area with a light dusting of translucent powder before doing your eye makeup. This creates a dry barrier that prevents the oils from breaking down the mascara polymers.
Comparison of Mascara Formulas
| Formula Type | Benefit | Best For |
|---|---|---|
| Volumizing | Increases density | Thin, sparse lashes |
| Lengthening | Extends lash length | Short, straight lashes |
| Waterproof | Prevents smudging | High humidity or tears |
| Tubing | Easy removal | Sensitive, watery eyes |
The Importance of Proper Removal
Understanding how to properly apply mascara is only half the battle; how you remove it is just as important for the long-term health of your eyelashes. If you scrub your eyes aggressively, you risk breaking your lashes or damaging the sensitive skin around the socket.
Always use an oil-based cleanser or a dedicated bi-phase makeup remover. These products are designed to break down the wax and pigments in your mascara without requiring harsh rubbing. Saturate a cotton pad, press it gently against your closed eyelid for thirty seconds, and let the product dissolve the mascara.
After the time is up, gently swipe downward. The mascara should slide off easily. Never pull or tug at your lashes, as this leads to premature fallout and thinning over time.
Consistent, gentle removal ensures that your lashes remain strong. If you find that your lashes are brittle, consider incorporating a lash serum into your nightly routine. This can help strengthen the hair follicles, providing a better canvas for your makeup the next day.
Strategic Placement for Eye Shape
You can actually alter the perceived shape of your eye by changing the direction in which you pull the wand. This is a pro-level tip that many makeup artists use to customize the look for different clients.
If you want to create a “cat-eye” effect, focus your application on the outer corners of your eyes. As you move toward the outer edge, pull the wand in a diagonal motion toward your temple. This elongates the eye and gives it a lifted, almond shape.
Conversely, if you have very narrow eyes and want them to appear rounder and more open, focus your application on the center of the lash line. Pull the lashes straight up toward the brow bone. This emphasizes the center of the eye and creates a more youthful, wide-awake appearance.
By being intentional with your brush strokes, you move from simply coating your lashes to actively contouring your eye shape. It is a subtle change, but it makes a massive difference in how your eyes are framed.
FAQ: Frequently Asked Questions
How can I stop my mascara from clumping?
To stop clumping, wipe excess product off the wand onto a tissue before application. Work in thin layers, and use a clean spoolie or lash comb to separate the lashes immediately after each coat while the formula remains wet. Never pump the wand into the tube.
Should I apply mascara to my top and bottom lashes?
Yes, applying to both adds balance to the eye. However, use a lighter hand on the lower lashes to avoid a heavy, bottom-weighted look. If you have very small eyes, you might choose to skip the lower lashes to avoid making the eye look smaller.
How many coats of mascara are ideal?
Most people find that two coats are perfect. The first coat provides length and separation, while the second coat adds the desired volume. Applying more than three coats often leads to a heavy, spidery, or clumpy appearance that can flake off during the day.
Is it necessary to use an eyelash curler?
Using an eyelash curler is highly recommended. It provides the initial lift that mascara formulas struggle to create on their own. By curling the lashes first, you open the eye and provide a better angle for the mascara wand to coat the lashes from root to tip.