Achieving a flawless, wide-eyed look requires more than just swiping a brush across your eyes. Learning how to apply mascara perfectly is a foundational skill that transforms your entire makeup aesthetic, whether you prefer a subtle, natural flutter or a high-impact, dramatic gaze.
Many people struggle with common issues like flaking, uneven coating, or those pesky black dots that appear on the eyelids during application. By refining your technique and understanding the nuances of your tools, you can ensure that every application results in a clean, lifted, and fanned-out effect that lasts throughout the day.
Mastering the Preparation Phase
Preparation is the secret to success when you want to learn how to apply mascara perfectly. A clean canvas is essential because any residual oil or leftover makeup from the previous day will prevent your mascara from adhering properly, leading to premature flaking or smudging.
Start by ensuring your lashes are completely dry and free of debris. If you have oily skin, consider lightly dusting your eyelids with a translucent powder to prevent the product from migrating.
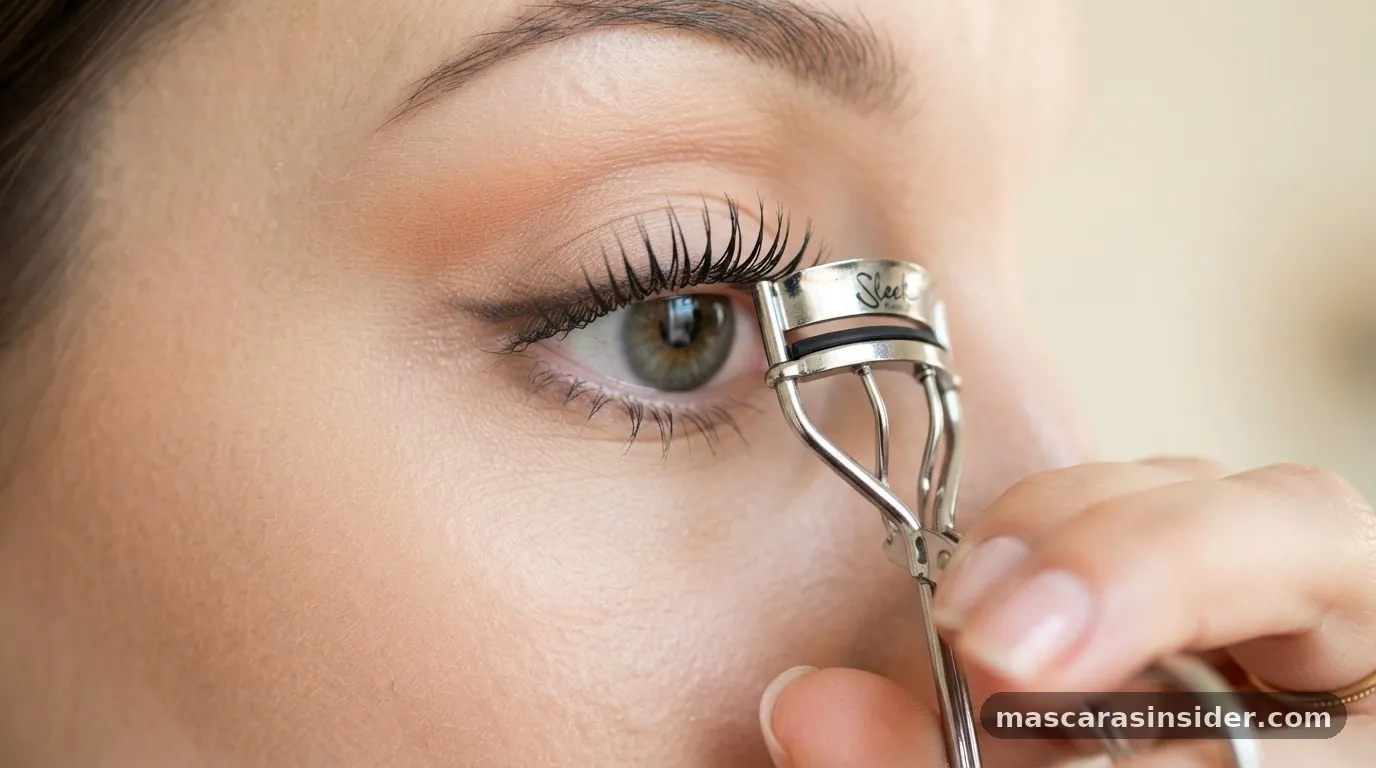
Using an eyelash curler is the most critical step before you even touch the wand. Position the curler as close to the lash root as possible without pinching your skin. Gently squeeze and hold for about ten seconds.
This creates a lift that opens up the eye, making the subsequent application much easier. If you want an extra boost, you can use a lash primer.
This white or tinted base coat thickens each hair and provides a smooth surface for your mascara to grip, which can significantly enhance both volumizing and lengthening results. Think of it as a foundation for your lashes; it helps prevent brittleness and ensures your final look stays uniform.
The Anatomy of Your Mascara Wand
Understanding your mascara wand is vital for achieving specific results. The shape and material of the applicator dictate how the product is deposited.
Silicone brushes with tiny, stiff bristles are typically excellent for lash separation and creating a clump-free finish, while larger, fluffy, natural-bristle brushes are generally better for building volume. When you pull the wand out of the tube, avoid the common mistake of “pumping” it, as this pushes air into the container and causes the formula consistency to degrade, leading to faster drying and clumping.
Instead, gently swirl the wand against the inner walls of the tube to pick up an even amount of product. If there is too much excess on the tip, wipe it off on the edge of the tube or a clean tissue. This simple habit keeps the application precise and prevents the dreaded “spidery” look.
You should also be aware of the type of formula you are using. A waterproof mascara is excellent for longevity but requires an oil-based cleanser for removal, while a tubing mascara forms tiny polymer tubes around each lash that slide off easily with warm water and gentle pressure.
Executing the Zig-Zag Technique
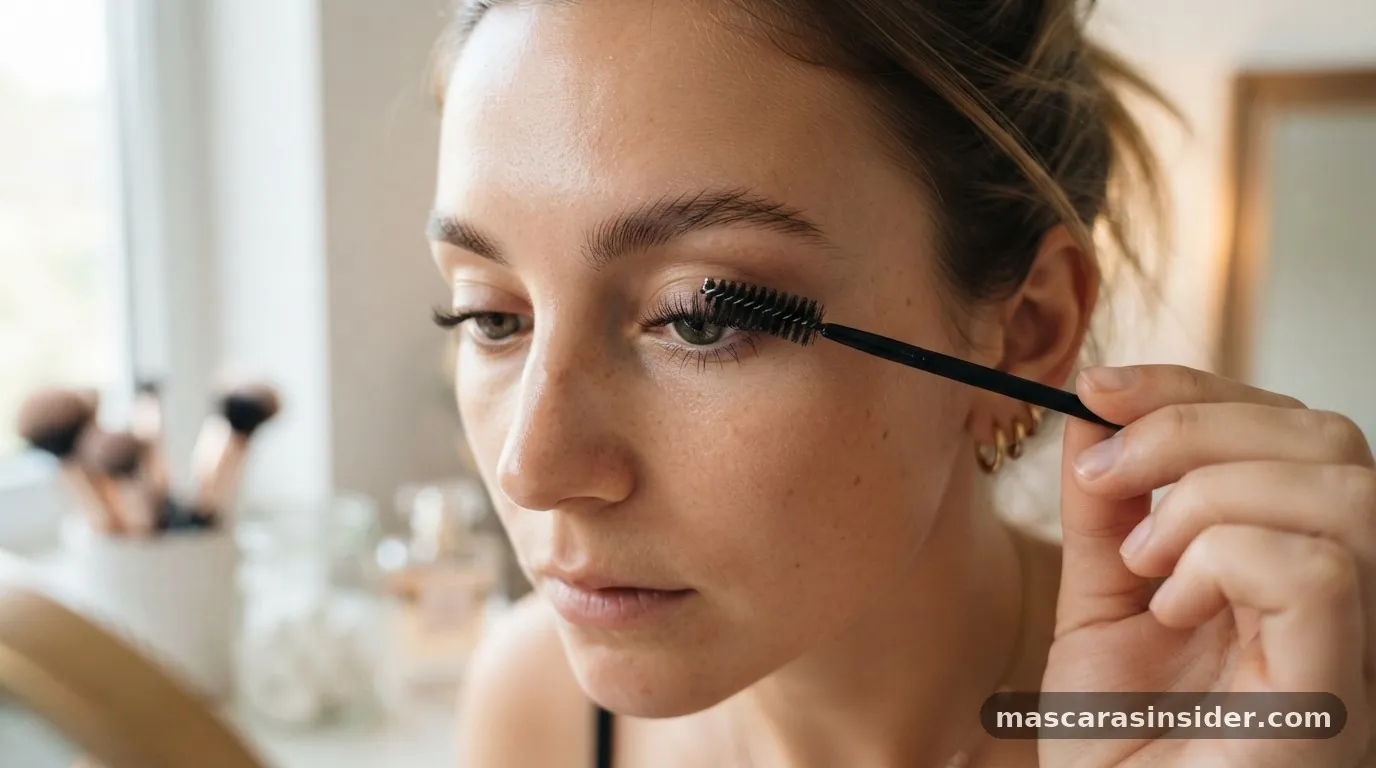
To achieve the best results, you must master the zig-zag motion. This movement is the industry standard for ensuring that the product coats the lashes from root to tip while separating them simultaneously. Start at the very base of your lashes, pressing the wand firmly against the lash root.
Wiggle the brush back and forth in a tight zig-zag pattern as you pull it upward toward the lash tips. This technique deposits the majority of the pigment at the base, which provides structural support and makes your lash line appear fuller and darker.
The wiggling action effectively wiggles the bristles between the lashes, preventing them from sticking together. If you find that your lashes are still sticking, immediately run a clean spoolie brush or a metal eyelash comb through them while the mascara is still wet. This step is non-negotiable for a professional, fanned-out effect.
By focusing on the roots first, you avoid weighing down the ends of your lashes, which helps maintain the curl you created with your curler. If you want to increase the intensity, you can apply buildable layers, but ensure you do so before the first coat has completely set to avoid flaking.
Addressing Bottom Lashes and Smudging
Many beginners find the lower lashes to be the most difficult part of the process. If you want to know how to apply mascara perfectly to your bottom lashes, the key is to use less product and keep your hand steady. You might find it easier to hold the wand vertically, using just the very tip of the brush to coat each tiny hair individually.
This prevents the mascara from hitting the skin under your eye, which is a common cause of eyelid smudging. If you do make a mistake, do not panic and try to wipe it off while it is wet, as this will smear the pigment.
1. Wait for the mascara to dry completely.
2. Take a clean, dry cotton swab.
3.
Gently flick the dried smudge off the skin.
4. If a mark remains, use a tiny bit of micellar water on a separate swab to clean the area.
This method is much more effective than trying to rub the wet product away, which usually only makes the stain larger. For those with hooded eyes or long lashes that naturally touch the skin, consider using a smudge-proof or tubing formula. These types of mascara are designed to resist the oils on your skin, ensuring that your makeup stays crisp throughout the day.
Comparing Different Mascara Formulas
Choosing the right product is just as important as your application technique. The table below highlights the differences between common mascara types to help you decide which one fits your daily routine best.
| Formula Type | Best For | Removal Method |
|---|---|---|
| Volumizing | Thickening sparse lashes | Oil-based cleanser |
| Lengthening | Adding height to short lashes | Standard makeup remover |
| Waterproof | High humidity and sweat | Oil-based cleanser |
| Tubing | Smudge-proof, sensitive eyes | Warm water and gentle pressure |
Each formula has a specific dry time that you should account for. If you are using a very wet formula, you might need to wait a few seconds longer between coats to prevent the lashes from clumping together.
Conversely, quick-drying formulas require a faster, more precise hand. If you are interested in the science behind these formulations, you can read more about eye cosmetic safety from official health guidelines to ensure you are using products that are gentle on your eyes.
Advanced Tips for a Natural Finish
A truly natural finish often looks more sophisticated than heavy, clumpy layers. To achieve this, try focusing the mascara mostly on the outer corners of your eyes.
This creates a cat-eye effect that naturally lifts the appearance of the face. You can also experiment with different colors; while black is the standard, a dark brown or charcoal gray can look much softer and more flattering on fair skin or for daytime wear.
* Always replace your mascara every three months to prevent bacterial growth.
* Store your tubes in a cool, dry place away from direct sunlight.
* If your mascara starts to feel dry, try placing the closed tube in a cup of warm water for a few minutes to soften the formula.
* Avoid sharing your mascara with others to maintain hygiene and protect your eye health.
Another pro tip involves the angle of your application. Instead of pulling the brush straight up, try pulling it toward the outer corner of your eye. This directionality helps to fan the lashes out, creating a wider, more open look.
If you are using fiber mascara, be extra careful to apply it in thin, even layers. The fibers are designed to attach to your natural lashes to add length, but if they are piled on too thickly, they can become heavy and cause your lashes to droop. Always seal fiber formulas with a final coat of regular mascara to keep the fibers securely in place.
Common Questions About Mascara Application
Should I apply mascara to both sides of my lashes?
While some people prefer to coat the top and bottom of their upper lashes for extra density, it is generally unnecessary and can lead to clumping. Focus your application on the underside of the lashes, starting at the roots, to achieve the best lift and definition without the extra weight.
How many layers of mascara should I wear?
For most people, one to two coats are sufficient for a clean look. If you are aiming for a dramatic effect, you can apply three, but ensure you do so before the previous layer is fully dry. Applying too many layers will inevitably lead to flaking and a heavy, artificial appearance.
Do I really need to use a lash curler every time?
Using an eyelash curler is optional, but it makes a significant difference in how your eyes appear. If you have naturally straight lashes, curling them is the only way to ensure they are visible from the front. It opens the eye and makes your mascara application look much more intentional and polished.
Is it better to apply mascara before or after eyeshadow?
It is almost always better to apply your mascara after your eyeshadow and eyeliner. Applying it last ensures that you don’t accidentally cover your lashes in fallout from your eyeshadow, and it allows you to see exactly how much volume you need to balance out your eye look.