Achieving perfectly defined lashes is often the difference between a tired look and a wide-eyed, polished appearance. Learning how to apply mascara properly isn’t just about swiping a wand across your lids; it involves understanding your specific eye shape, the mechanics of your tools, and the chemistry of the products you choose.
Many people struggle with smudging, flaking, or heavy clumping because they treat the application as an afterthought rather than a deliberate, structural process. By mastering the right physical movements and maintaining consistent hygiene, you can transform your lashes without needing expensive extensions or professional lifts.
Understanding Your Mascara Formula and Tools
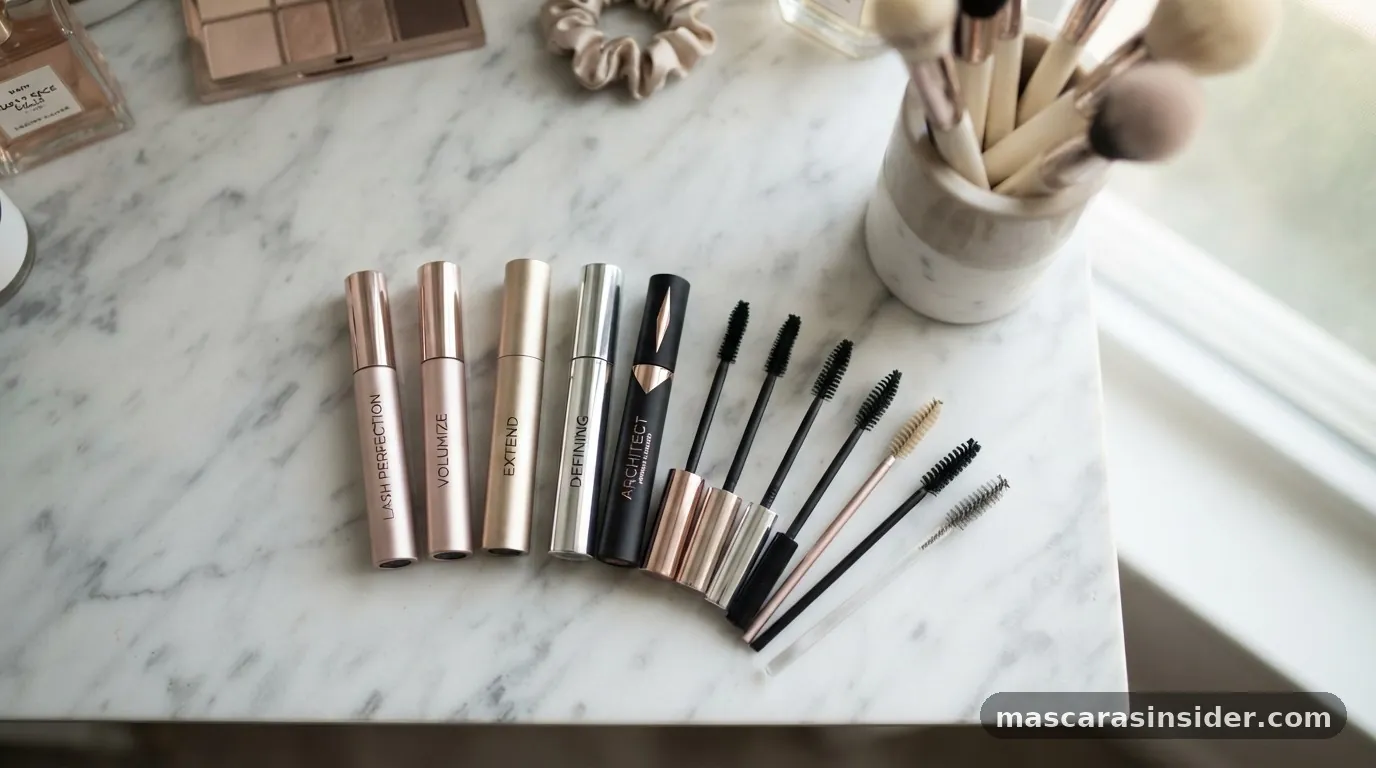
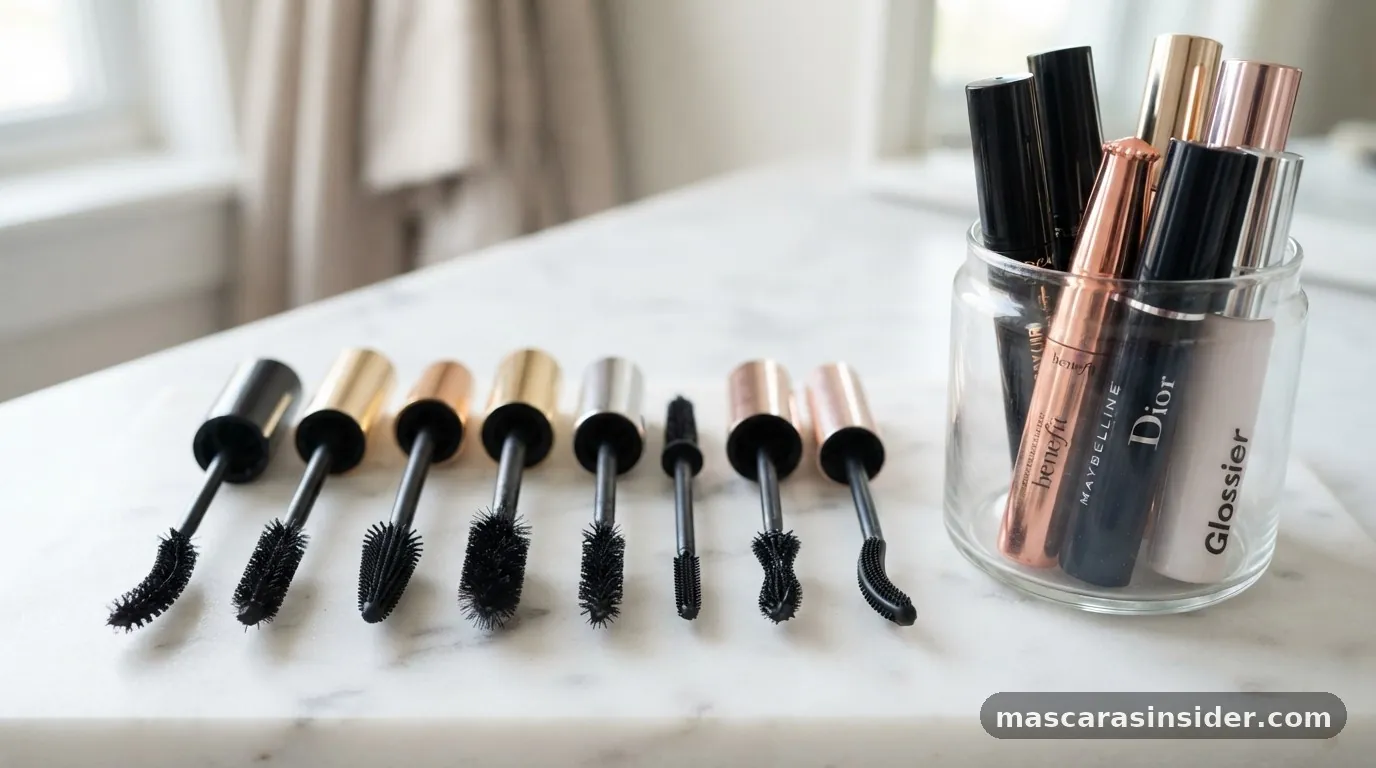
To apply mascara properly, you must first recognize that the formula viscosity and the design of the mascara wand dictate how the product sits on your lashes. Thick, volumizing formulas are designed to build bulk, while thinner, lengthening effect formulas focus on coating individual hairs from base to tip. If you use a heavy formula on thin, sparse lashes, the weight can cause them to droop, effectively undoing the lift you might have achieved with an eyelash curler.
Before you even open the tube, inspect your tools. A spoolie brush is an essential companion to your mascara. Even if your mascara wand comes with a high-quality applicator, a separate clean spoolie allows for spoolie separation, which is the act of combing through lashes to remove excess product before it dries.
If you notice your mascara feels “gummy” or thick inside the tube, it may be nearing the end of its life. Experts generally recommend replacing your mascara every three months to ensure eye makeup hygiene and prevent bacterial growth.
The Essential Preparation Phase
Applying mascara to dirty or oily lashes is the leading cause of midday smudging. Start by ensuring your eyelid and lash line are clean and free of leftover moisturizer or oil. If you have naturally oily lids, a light dusting of translucent powder or an eyeshadow primer can act as a barrier, keeping your mascara from migrating downward throughout the day.
For those who prioritize longevity, a lash primer serves as a scaffold for your mascara. It coats the lashes in a white or clear base, which adds thickness and provides a surface for the mascara pigment to grip. If you have particularly straight or stubborn lashes, use an eyelash curler before applying any product.
Always curl from the base, pulse gently, and move slightly toward the center of the lash for a natural, lifted curve. Never curl your lashes after the mascara has dried, as this can cause the lashes to snap or break under the pressure of the metal clamp.
Executing the Root-to-Tip Technique
The root-to-tip technique is the industry standard for ensuring that your lashes look full at the base and defined at the ends. By starting at the very base of your lashes, you deposit the majority of the pigment where it is most needed to frame your eyes. This creates the illusion of a tighter lash line, often making eyeliner optional.
1. Position your wand horizontally at the very roots of your upper lashes.
2. Engage a zig-zag motion, wiggling the wand back and forth as you pull it upward toward the tips.
3.
Keep your gaze directed downward into a mirror, which helps expose the roots and prevents you from accidentally stamping the brush against your upper eyelid.
4. If you struggle with precision, a smudge guard can be held behind your lashes to catch any stray marks while you work.
The zig-zagging motion is critical because it separates the lashes while coating all sides of the hair shaft. If you simply pull the wand straight up, you are likely to leave the lashes clumped together in sections. By wiggling, you ensure each hair is individually encapsulated in pigment, which maximizes the lash definition and prevents the dreaded spider-leg effect.
Managing Lower Lashes and Inner Corners
Many people skip the lower lashes out of fear that it will result in “raccoon eyes,” but applying product here can balance your overall eye makeup. The key is to hold the wand vertically.
By using only the tip of the wand, you gain total control over the amount of product deposited. This technique allows you to tint the tiny, fine hairs near the inner corner of the eye, which are often missed by larger, horizontal strokes.
If you are concerned about smudging on your lower face, consider using a tubing mascara for your bottom lashes. Unlike traditional formulas that rely on waxes and oils, tubing formulas form tiny water-resistant “tubes” around each lash.
These tubes do not smudge or flake, even if you rub your eyes, and they slide off easily when you use warm water and gentle pressure. This makes them a superior choice for long days or humid environments.
| Mascara Type | Best For | Removal Method |
|---|---|---|
| Volumizing | Sparse, thin lashes | Oil-based cleanser |
| Waterproof | Long-wearing, humid conditions | Biphasic makeup remover |
| Tubing | Sensitive eyes, oily lids | Warm water and light pressure |
Troubleshooting Clumping and Pigment Buildup
Clumping occurs primarily when the pigment buildup on the wand is too high or when you attempt to apply too many layers once the first coat has already hardened. The secret to a flawless finish is “wet-on-wet” application.
Apply your second coat while the first is still slightly tacky. If you wait until the mascara is completely dry, the second layer will drag against the first, causing it to flake or pull the lashes out of alignment.
If you do notice clumps, do not try to add more mascara to fix them. Instead, use a clean, dry eyelash comb or a metal lash separator. Work through the lashes while the product is still soft to break up the clusters.
If you find your mascara is consistently clumping, check the wand for dried residue. Sometimes, wiping the wand on a clean tissue before application removes the excess “goop” that accumulates at the tip, resulting in a cleaner, more professional finish every time. You can find more tips on maintaining your beauty tools at the official FDA cosmetic safety guidelines.
The Importance of Proper Removal
Knowing how to apply mascara properly is incomplete without knowing how to take it off. Rough removal is the fastest way to lose lashes, which leads to gaps and sparse growth over time.
If you use waterproof mascara, you absolutely must use an oil-based cleanser or a dedicated biphasic remover. These products break down the waxes and polymers that make the mascara resistant to water.
1. Saturate a cotton pad with your chosen makeup remover or micellar water.
2. Press the pad gently against your closed eyelid for 15 to 30 seconds.
This allows the solvent to dissolve the mascara.
3. Gently swipe downward; do not scrub back and forth, as this creates unnecessary friction.
4. Use a cotton swab dipped in remover to clean up any remaining residue near the roots.
For those who wear mascara daily, incorporating an eyelash serum into your nighttime routine can help nourish the follicles and keep lashes strong. Even if you are careful, the daily mechanical stress of applying and removing mascara can take a toll. A healthy lash base is the best foundation for a beautiful application.
Frequently Asked Questions
How can I stop my mascara from smudging on my brow bone?
Smudging usually happens because the mascara is still wet when you blink or because your lids are oily. To fix this, use a smaller wand for your upper lashes to avoid contact with the skin, and always set your eyelids with a translucent powder before starting your eye makeup.
Is it better to use a waterproof or regular mascara?
Waterproof mascara is excellent for events or humid days, but it is harder to remove and can be drying to the lashes. For daily use, a standard, high-quality formula is usually safer for your lash health. Reserve waterproof options for when you truly need the extra hold.
How do I know when my mascara has expired?
Mascara expires much faster than other makeup due to the dark, moist environment of the tube. If you notice a change in smell, a dry or clumpy texture that won’t smooth out, or if you have had the tube open for more than three months, it is time to discard it.
Can I mix different types of mascara?
Yes, layering is a professional trick. You can use a lengthening formula first to separate and extend the lashes, followed by a volumizing formula to thicken them. Just ensure you apply the second coat while the first is still slightly damp to avoid clumping and flaking.