Mastering the art of how to apply mascara transforms your entire look, framing your eyes and adding depth to your features. While it seems like a simple daily habit, achieving a flawless, clump-free finish requires more than just swiping a brush across your lashes.
By understanding the mechanics of your tools and the consistency of your chosen product, you can enhance your natural beauty with precision. Whether you are aiming for a soft, daytime appearance or a bold, dramatic effect, refining your technique ensures your lashes stay separated, lifted, and voluminous all day long without the frustration of smudges or messy residue.
Selecting the Right Formula for Your Lashes
Before you even touch your lashes, you must choose a product that aligns with your specific needs. The market is saturated with options, but identifying the right one is the foundation of a successful application.
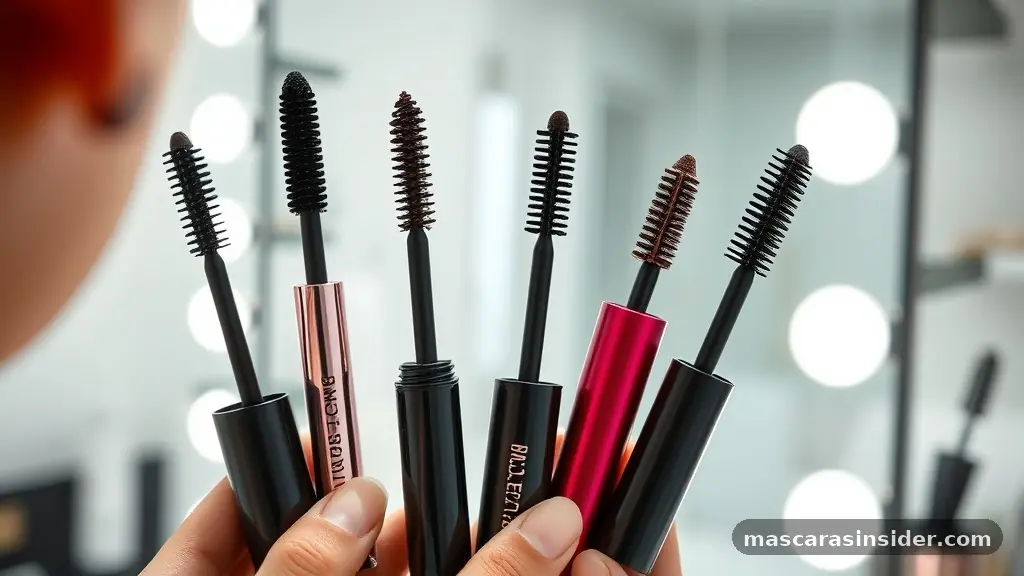
If your primary goal is to achieve significant lash lengthening, look for formulas that contain fibers or polymers designed to extend the reach of each individual hair. Conversely, if you desire a thick, full appearance, focus on volumizing formulas that are often heavier and contain waxes that coat the hair shaft to build density.
Consider the health of your eyes when selecting a product. Those with sensitive eyes or contact lens wearers should prioritize ophthalmologist-tested, hypoallergenic options to avoid irritation. Furthermore, the environment plays a role; if you live in a humid climate or have oily skin, a water-resistant or waterproof option is essential to prevent smudging.
Always check the ingredients list if you have known sensitivities. A high-quality product should glide on smoothly without feeling brittle or dry once it sets, allowing for a comfortable wear that lasts from morning until evening.
Preparing Your Lashes for Application
Preparation is the secret to avoiding the dreaded spider-lash look. Begin with a clean canvas; any residual oil or leftover makeup from the previous night can cause your product to slide and smudge. Use a gentle, oil-free cleanser to wipe your lids and lashes, ensuring they are completely dry before starting.
If your lashes are naturally straight, using an eyelash curler is a non-negotiable step. Position the curler at the base of your upper lashes, gently squeeze, and hold for about ten seconds. This simple act creates an upward lift that makes your eyes appear more open and awake.
Some people prefer to use a lash primer before diving into their main routine. A primer acts as a base coat, smoothing out the surface of the lashes and providing a grippy texture that helps the product adhere better.
It can also add a bit of extra volume and length before you even introduce the color. If you don’t have a primer, you can lightly dust your lashes with a tiny amount of translucent powder, which helps to separate the hairs and provides a bit of extra grip for the formula to cling to.
Mastering the Wand Technique
The way you handle the wand is just as important as the product inside the tube. When you pull the brush out, avoid pumping it in and out of the tube. This motion pushes air inside, which causes the formula to dry out and leads to those frustrating clumps.
Instead, gently swirl the wand against the inner walls of the tube to pick up an even amount of product. If there is an excess of formula on the tip of the brush, wipe it off on the edge of the tube or a clean tissue.
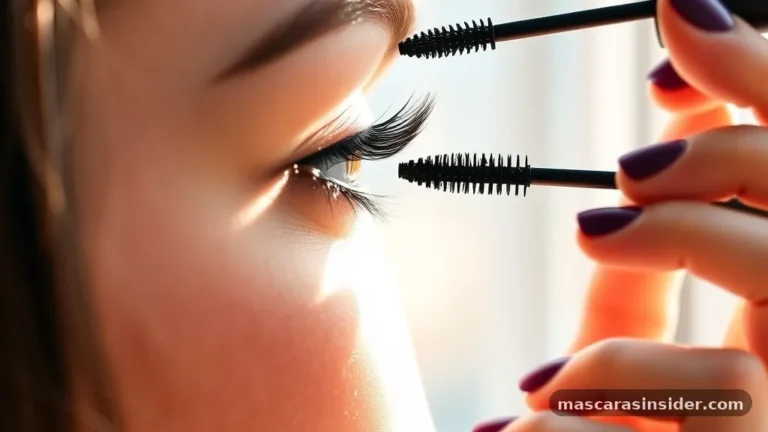
When you begin to apply mascara, start at the very base of your lashes. Place the brush horizontally against the roots and wiggle it back and forth. This “wiggle” motion deposits the bulk of the pigment at the base, which creates the illusion of a thicker lash line, similar to the effect of eyeliner.
After building the density at the roots, pull the brush upward through the length of the lashes in a slow, sweeping motion. Rotating the wand slightly as you pull it through helps to separate the hairs and ensures that each one is coated individually from root to tip.
Addressing the Lower Lash Line
Applying product to your bottom lashes can be intimidating, but it is often the step that ties your entire eye makeup look together. The trick is to use a lighter hand and a brush with a smaller head if possible.
Because the bottom lashes are usually shorter and more delicate, a large, fluffy brush can easily result in smudges on your lower skin. If your wand is too big, try using the very tip of the brush or even a specialized fan-shaped brush designed for precision work.
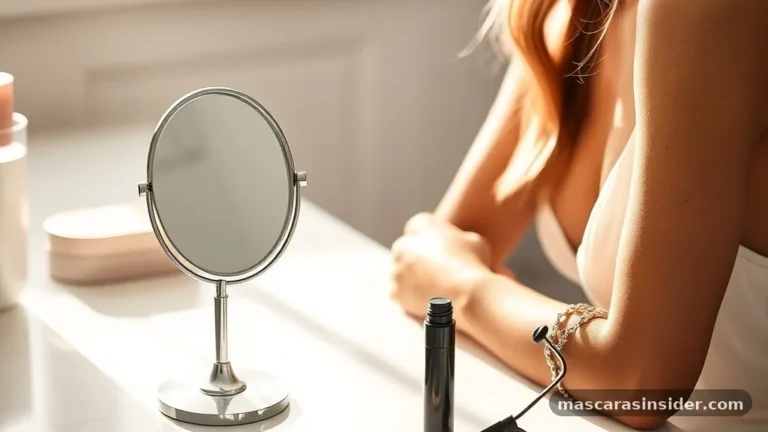
Hold your mirror slightly above you or tilt your head down to look into it. This position ensures your lower lashes are exposed and away from the skin under your eyes. Apply a very thin, light coat to the lower lashes, moving from the center outward.
If you find that you frequently get mascara on your skin, hold a small piece of tissue or a plastic card beneath your lower lashes while you work. This acts as a shield, catching any stray droplets and allowing you to press the wand right against the roots without worrying about making a mess on your concealer.
Layering for Maximum Impact
The number of coats you should apply depends entirely on the look you want to achieve. For a natural, everyday appearance, one or two light layers are usually sufficient. If you are aiming for a more dramatic, high-glam finish, you might want to add a third coat.
The key to successful layering is timing. You must apply the second and third coats while the first layer is still slightly damp. If you wait until the first coat is completely dry, the brush will struggle to glide through, which almost inevitably leads to clumping and flaking.
If you find that your lashes are starting to stick together after multiple coats, take a clean, dry spoolie brush and comb through them while the product is still tacky. This removes excess product and separates the lashes, leaving you with a clean, fanned-out effect. Remember that more is not always better.
Eventually, the weight of the product can cause your lashes to droop, losing that beautiful lift you achieved with your curler earlier. Aim for a balance where you have enough pigment for impact but not so much that your lashes feel heavy or look brittle.
Avoiding Common Application Mistakes
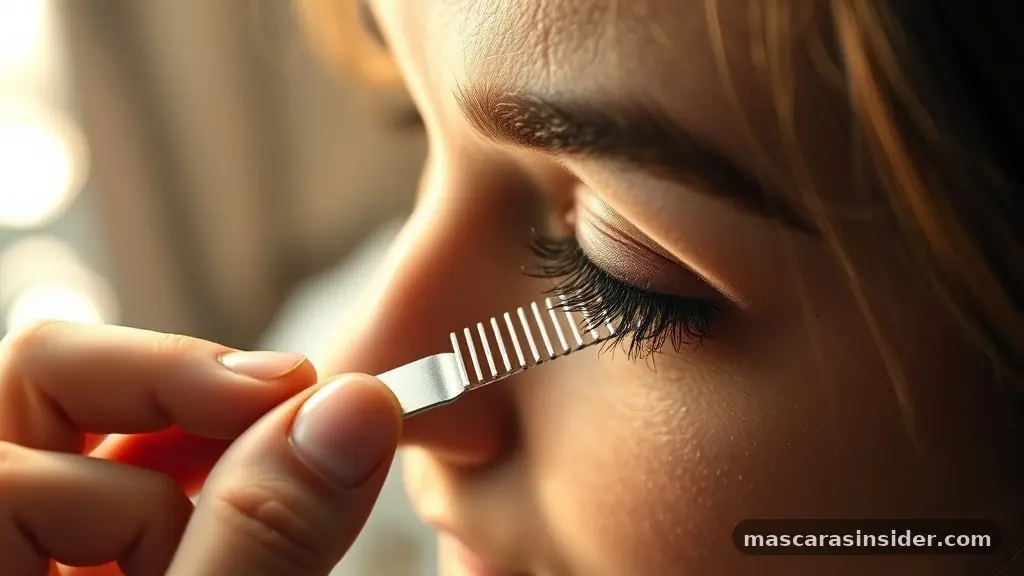
Even experienced makeup lovers encounter hurdles like smudging, clumping, or flaking. If you find yourself dealing with clumps, don’t panic. Use a lash comb or a clean spoolie to gently work through the knots.
Prevention is always better than cure, so ensure your wand is clean and free of dried, crusty buildup. If your formula is old, it might be time to toss it; mascara should generally be replaced every three months to prevent bacterial growth and maintain the integrity of the product.
Smudging on the brow bone or under the eyes is often a result of using a formula that isn’t compatible with your skin type. If your lids are naturally oily, the oils can break down the wax in your mascara, causing it to transfer.
Using an eyeshadow primer on your lids—even if you aren’t wearing eyeshadow—can create a barrier that keeps your skin dry and prevents transfer. For more information on maintaining eye health while using cosmetics, you can visit the American Academy of Ophthalmology for guidelines on safe usage and hygiene.
Tools and Accessories for Precision
Sometimes, the standard wand that comes with your product isn’t enough to get the job done. Many professional makeup artists prefer to use disposable spoolies or specialized tools to achieve a more customized application.
A fan brush, for instance, is excellent for coating the inner and outer corners of the eyes where a standard, bulky brush might miss. It also allows for a very light, feathery application that looks incredibly natural.
Another useful accessory is a lash separator. These small, metal-toothed combs are far more effective at removing clumps than plastic brushes. Because the teeth are rigid and thin, they can reach deep between the lashes to pull apart any stuck-together hairs.
While they might look a bit intimidating, they are a game-changer for anyone who loves a “doll-eye” look with perfectly defined, individual lashes. Keep your tools clean by washing them with a gentle soap and warm water at least once a week to prevent the buildup of product and bacteria.
Comparing Different Application Methods
There are various ways to achieve a great look, and the method you choose often depends on your personal preference and the shape of your eye. The following table highlights common techniques and the specific effect each one produces.
| Technique | Best For | Resulting Look |
|---|---|---|
| Horizontal Wiggle | Volume at the roots | Thick, defined lash line |
| Vertical Flick | Length and separation | Long, fanned-out lashes |
| Tip-Only Application | Subtle, natural definition | Soft, effortless appearance |
| Layered Spoolie | Fixing clumps | Clean, clump-free finish |
Addressing Topical Gaps
A common question is whether you should apply mascara to both sides of your lashes. While most people only apply it to the underside, applying a light touch to the top side of your lashes can add extra depth, especially for those with very light or blonde lashes.
By coating the top, you ensure that the entire hair is darkened, which creates a more cohesive look. However, be careful not to apply too much, as this can weigh the lashes down and make them look flat.
Another area that often causes confusion is the order of operations. Should you apply your eye makeup before or after your foundation? Generally, it is best to apply your eye makeup first if you are using dark pigments that might fallout.
However, mascara should be the very last step in your entire routine. If you apply it before your eyeshadow or eyeliner, you risk getting powder dust on your fresh lashes, which dulls the black pigment and makes them look dusty rather than dark.
Maintenance and Hygiene Practices
Your mascara tube is a magnet for bacteria, which is why hygiene is paramount. Never share your mascara with friends, as this is a quick way to transmit eye infections.
If you have had an eye infection like pink eye, discard all your eye makeup immediately and replace it once your eyes have fully healed. This might feel wasteful, but your vision is not worth the risk of re-infection.
Store your products in a cool, dry place. The bathroom is a common storage area, but the humidity from showers and baths can degrade the formula faster than in a bedroom vanity. Keep the cap tightened securely after every use to prevent the product from drying out.
If you notice a change in the smell or consistency of the formula, it is a clear sign that the product has expired or been compromised. Always listen to your eyes; if you experience itching, redness, or burning, remove the product immediately and discontinue use.
FAQ
What is the most effective way to prevent mascara clumps?
The best way to prevent clumps is to avoid pumping the wand in the tube, which introduces air and dries out the formula. Always wipe excess product off the brush onto a tissue before application, and use a clean spoolie to comb through your lashes while the product is still wet.
Should I use an eyelash curler before or after mascara?
Always use your eyelash curler before applying any product. Using a curler on lashes that are already coated with mascara can cause them to stick to the tool, leading to breakage or even pulling the lashes out at the root. Curling on clean, dry lashes is the safest and most effective method.
How many layers of mascara are ideal for a natural look?
For a natural, everyday look, one or two light layers are usually perfect. The key is to focus on the roots to create definition without overloading the tips. If you find your lashes look too heavy, a single coat followed by a thorough combing with a clean spoolie is often sufficient.
Is it necessary to apply mascara to the bottom lashes?
Applying to the bottom lashes is a stylistic choice. It can make the eyes look larger and more balanced, but it also increases the risk of smudging throughout the day. If you choose to do it, use a very light hand and a small, precise brush to avoid creating dark, messy circles under your eyes.
Final Thoughts
Learning how to apply mascara is a skill that improves with patience and consistent practice. By focusing on the health of your lashes, choosing the right formula for your specific needs, and utilizing the proper techniques for both the upper and lower lash lines, you can achieve a polished and professional look every time. Remember to prioritize hygiene by replacing your products regularly and keeping your tools clean, as this is essential for maintaining the health of your eyes.
Experiment with different wands and application motions to see what works best for your unique eye shape and lash texture. Once you find the routine that makes you feel most confident, you will find that a few simple swipes are all you need to brighten your face and define your gaze. Feel free to share your own favorite tips or ask questions about specific products you are considering.
Meta Description: Learn how to apply mascara like a pro with our comprehensive guide. Discover tips for volume, length, and clump-free lashes that last all day.