Achieving that wide-awake, fluttery look often comes down to mastering the way you handle your makeup. If you have ever wondered how to apply mascara for length without ending up with spider-leg clumps or smudged eyelids, you are not alone. Many people struggle to find the balance between coating their lashes thoroughly and keeping them separated.
The secret to long, lifted lashes is not just about the quality of the product you buy; it is almost entirely about the mechanics of your application. By changing the angle of your brush and the pressure you exert on your roots, you can drastically change the appearance of your natural lash line.
The Importance of Proper Lash Preparation
Preparing your lashes correctly is the most effective way to ensure your mascara performs at its peak. Before you even open your mascara tube, you need to address the canvas: your eyelashes. Mascara adheres best to clean, dry lashes.
If you have leftover oil, skincare residue, or remnants of yesterday’s makeup, the formula will slide off, causing flaking or smudging by midday. Use a gentle micellar water or a dedicated lash cleanser to ensure your eye area is pristine.
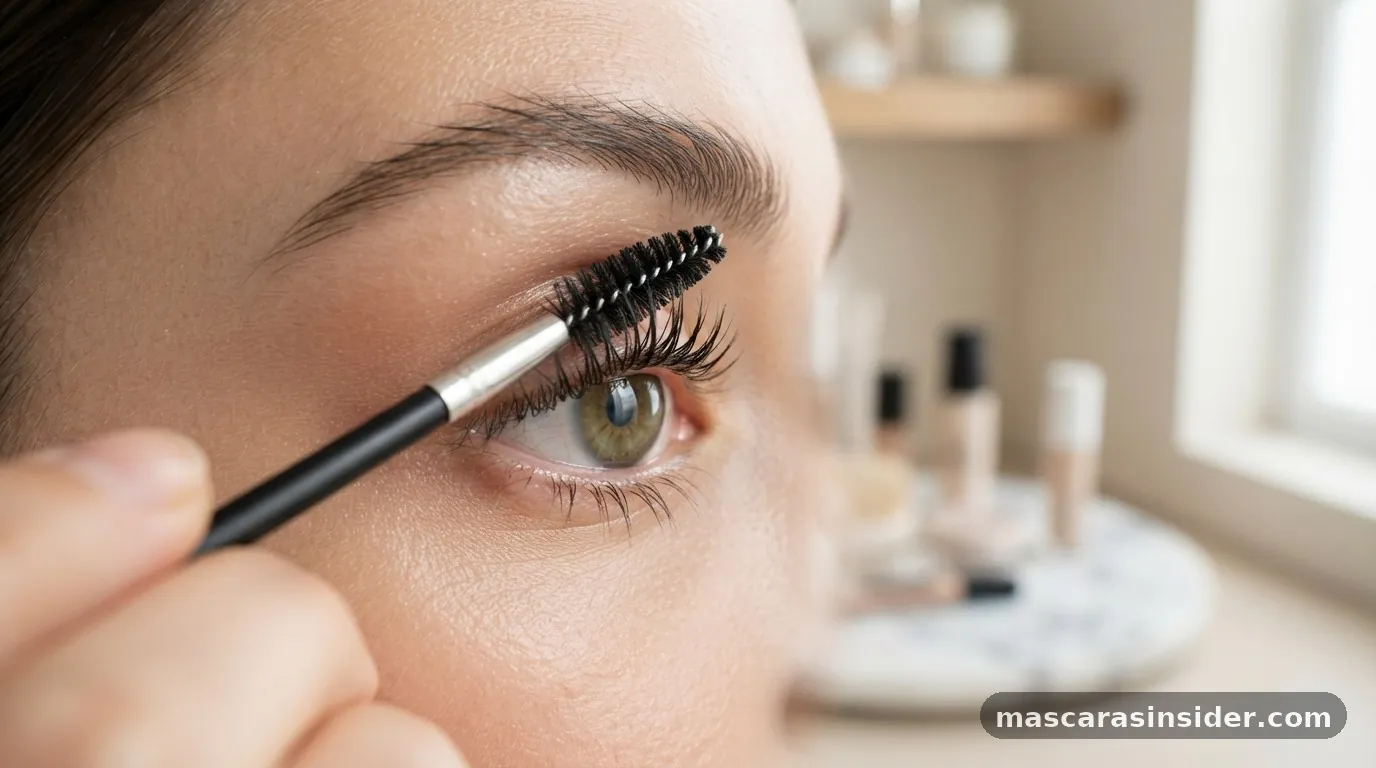
Once clean, brush through your lashes with a clean spoolie to ensure they are separated and free of any tangles. This small step prevents the “clumping” effect that occurs when multiple lashes are stuck together before you even begin applying product.
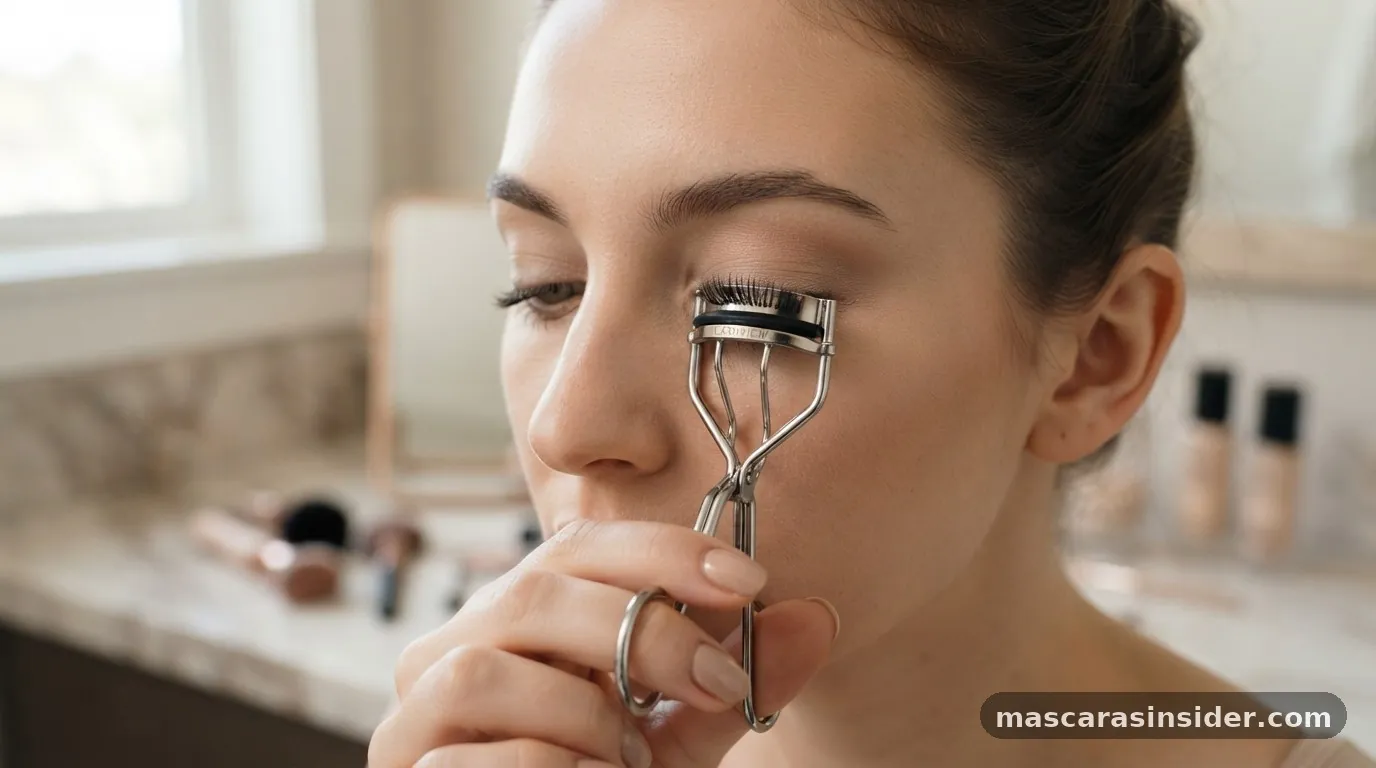
Another foundational element is the use of an eyelash curler to physically lift your lashes before adding weight. When you curl your lashes, you create a structural arch that makes them appear significantly longer. Position the curler as close to the root as possible without pinching the skin of your eyelid.
Hold it in a gentle, firm squeeze for about ten seconds. Do not pull or tug; just apply steady pressure.
By lifting the base, you provide a stable foundation for the mascara to hold that curl in place. If you skip this, your mascara might weigh your lashes down, causing them to point straight out or downward instead of fanning upward.
Choosing the Right Tools and Formulas
Not all mascaras are created equal, and understanding the chemistry behind them will help you get the length you want. For maximum length, look for formulas that contain fibers or polymers that stretch as they dry. These ingredients cling to the very tips of your lashes, effectively extending their reach.
Avoid formulas that are too heavy or “wet,” as they can cause the lashes to droop immediately after application. A dryer, lengthening formula is usually better for building multiple coats without creating a heavy, clumpy mess.
The shape of the mascara wand is just as important as the liquid inside. For length, you generally want a slender, tapered brush or a plastic-bristled wand with fine teeth.
These brushes allow you to get right into the corners of your eye and reach the tiny, hard-to-reach lashes at the inner and outer lash line. If the wand is too large and fluffy, it will likely deposit too much product at the base, which adds volume but can hide the length you are trying to emphasize.
| Feature | Lengthening Mascara | Volumizing Mascara |
|---|---|---|
| Wand Shape | Slender, Tapered, Fine Bristles | Large, Dense, Fluffy |
| Formula Consistency | Thin, Fiber-infused, Fast-drying | Creamy, Thick, Wax-heavy |
| Primary Benefit | Extension and Separation | Density and Thickness |
Mastering the Wiggle and Sweep Technique
Once you have your lashes prepped and the right tool in hand, the actual motion of applying mascara is where the magic happens. Many people make the mistake of simply swiping the wand upward from base to tip. This often leads to product gathering at the roots while the tips remain bare.
Instead, you should start by placing the wand at the very root of your lashes. Once it is touching the lash line, give the wand a small, horizontal “wiggle” back and forth. This motion ensures that the thickest part of the product is deposited at the base, which provides the most structural support.
After you have wiggled, pull the wand upward in a slow, steady sweep toward the tips. As you reach the ends, slightly rotate the wand. This rotation helps to coat the underside of the lashes evenly and ensures that the tips are tapered and defined.
If you want even more length, repeat this process while the mascara is still slightly tacky. Do not wait for the first coat to dry completely, as this can lead to brittle lashes that break or flake when you try to apply a second layer. Working while the product is still “wet” allows you to build length incrementally without creating a thick, heavy buildup.
Targeting the Inner and Outer Corners
The way you angle your brush can dramatically change the shape of your eye. To achieve a “cat-eye” or lifted effect, focus your effort on the outer corners of your eyes. When you reach the outer third of your lash line, pull the wand outward toward your temple rather than straight up.
This stretches the lashes in a way that elongates the eye, making it appear more almond-shaped. This is a classic makeup artist trick to create an instant eye-lift effect without needing surgery or heavy liner.
For the inner corners, turn your wand vertically. Using just the tip of the brush, carefully touch each tiny lash. Because the wand is held upright, you can reach those fine hairs that are usually missed by a standard horizontal stroke.
This creates a full, fanned-out look across the entire lid. If you accidentally get a bit of product on your skin, do not panic.
Let it dry completely before attempting to remove it. Once the mascara is fully set, you can easily flick it away with a clean, dry cotton swab or a spoolie, which prevents you from smearing wet ink across your fresh eyeshadow.
Dealing with Bottom Lashes
Many people skip their bottom lashes entirely, but adding a touch of product here can balance your look and draw attention to the iris. However, applying mascara to the bottom lashes requires a different approach to avoid the dreaded “raccoon eye” effect.
Because the skin under our eyes is prone to movement and oils, bottom lashes are often the first place mascara starts to smudge. To prevent this, use a lighter hand and a smaller wand.
1. Wipe the excess product off your wand on a tissue before touching the bottom lashes.
2. Hold the wand horizontally and lightly tap the brush against the lashes rather than swiping.
3.
If you find standard mascara always smudges on your lower lid, consider switching to a tubing mascara for your bottom lashes.
4. Tubing mascaras form tiny water-resistant cylinders around each lash that won’t smear, even if your skin gets oily throughout the day.
5. Only coat the center of the bottom lash line to keep the look fresh and modern, avoiding the very inner corner where smudging happens most often.
By keeping the application minimal on the bottom, you create a soft frame for your eyes without the risk of looking tired or overdone.
Common Mistakes to Avoid for Length
Even with the best technique, certain habits can work against your goals. The most common mistake is “pumping” the wand inside the tube. When you pump the brush in and out, you are forcing air into the container.
This causes the formula to dry out much faster than it should, leading to a clumpy, flaky application. Instead of pumping, swirl the wand gently against the sides of the tube to pick up the product. This keeps the formula smooth and extends the life of your mascara.
Another frequent error is applying too many coats. While you might think more layers equal more length, there is a point of diminishing returns. Once the mascara starts to harden, adding more layers will only result in clumps.
If you are struggling to get enough length, focus on the quality of your base and the precision of your root-to-tip wiggle. If you feel like your lashes look spiky, use a metal lash comb while the mascara is still wet to separate them.
Never use a needle or a sharp object to separate lashes, as this is incredibly dangerous near the eye. A clean, dedicated lash comb is a safe and effective way to ensure every single lash is perfectly placed.
Addressing Frequently Asked Questions
Should you put mascara on both sides of your lashes?
Yes, it can be a highly effective technique for extra volume and length. By coating the top of your lashes first and then the underside, you encapsulate each lash in product. This creates a thicker, more dramatic look, though it requires a steady hand to avoid getting mascara on your eyelid.
Which mascara goes first, volume or length?
Generally, it is best to apply a lengthening mascara first to extend the lashes, followed by a volumizing formula. The lengthening formula acts as a base, while the volumizing formula adds bulk. If you do it the other way around, the heavy volume formula may weigh down the lashes, making it harder to get them to stay lifted.
Should an older woman wear mascara on bottom lashes?
It is entirely a matter of personal preference, but many makeup artists recommend keeping it light. As we age, the skin under the eye can become thinner and more prone to fine lines.
Heavy mascara on the bottom lashes can draw attention to these lines or cause smudging that makes the eyes look tired. A light, waterproof touch is often best.
How to apply mascara correctly for beginners?
Start by curling your lashes, then look down into a mirror. Place the wand at the base of your lashes and wiggle it back and forth before pulling it upward.
Focus on the roots to keep the tips from getting too heavy. Practice consistency over speed to avoid messy mistakes.